Let's Play Lennus II: The Apostles of the Seals!

Episode 54: What’s Old is New Again

Lennus II6407Lennus II6408

We find ourselves, interestingly enough, in Reiyold. Time has passed since the end of the last game and the razed town has been rebuilt and people have returned to their old homes.

Lennus II6410Lennus II6411Lennus II6412Lennus II6414Lennus II6415

This is the jerk who took our money back in the first game. What a jerk. At least he points us in the right direction for figuring out what we need to do. Jerk.

Lennus II6417Lennus II6418Lennus II6419Lennus II6420Lennus II6421

Granada and his angels have not just been sitting around while we’ve been forced to play catchup with them. The news about Jurayn is particularly disheartening, considering the effort we put in the first game to prevent exactly that from happening.

Lennus II6422Lennus II6444

New weapons and armor are for sale, but its nothing I really need right now.

Lennus II6427Lennus II6428Lennus II6429Lennus II6430Lennus II6431

If you were not able to get Nikita, then I would highly recommend picking up Dark; he is the other martial artist of the game and has a higher power stat than Nikita, but it comes at the cost of him not having the support magic that Nikita does.

Lennus II6433Lennus II6434Lennus II6435Lennus II6436Lennus II6437Lennus II6438Lennus II6439Lennus II6440Lennus II6441

The name Ducas might sound vaguely familiar; Ducas was the original name for Duke, the kid who lured Chezni into the Tower of Gabnid to active Dal Gren and turned out to be Zaygos in disguise. As revealed here, there once was a real Ducas, meaning that Zaygos did not simply create a fake identity but instead found a student at the magic school, killed him, and replaced him.

As far as mercenaries go, Lucas isn’t bad. He’s got a useful range of magics and the stats to back it up. But there is someone else I have in mind, and we will soon have access to more recruits, so I’m not taking a vote just yet.

Lennus II6443

My dude, he was born here, he didn’t found the place. Talk about a fake fan, am I right?

Lennus II6445Lennus II6446Lennus II6447

Its not like we have anywhere else we can go.

Lennus II6450Lennus II6451Lennus II6452Lennus II6453Lennus II6455Lennus II6456Lennus II6457Lennus II6458Lennus II6459Lennus II6460Lennus II6461Lennus II6462Lennus II6463Lennus II6464Lennus II6465Lennus II6466Lennus II6467Lennus II6468

Chezni’s mother gives us a recap of the first game that does not mix things up with Eltzian lore, and is the first to make clear that 10 years have passed since the end of the last game.

With all that conversation taken care of, our business in Reiyold is finished. Next time, we go into a cave and discover something very important.

5 Likes

Episode 55: Heart of Steel

Lennus II6471Lennus II6472Lennus II6474Lennus II6475

Disappointingly, our first random encounter on Lennus are recolors of enemies we’ve already fought before. Fortunately, we will be encountering enemies who are brand new to Farus before long.

Lennus II6477Lennus II6478Lennus II6479Lennus II6480

We enter the Undersea Cave and not long into it, we fight a new enemy, the Affinity Soldier! These guys are very fast and like to do multiple attacks on their turn, sometimes piling on those attacks on one character.

Lennus II6481Lennus II6482

Because our gold spirit is maxed out, Momrick will now affect two groups of enemies when cast, though you don’t get to know what the second group will be.

Lennus II6484Lennus II6485Lennus II6486

In the end though, their durability does not let them last any longer and we get spirits and levels as our reward.

Lennus II6488

Another fight down the line has us getting a Medicine Refill; with the number of bottles we have I’m not too concerned about running out of medicine, but having a backup is always a good thing.

Lennus II6490Lennus II6491Lennus II6492

We pick up a stat booster and use our supply of them.

Lennus II6493Lennus II6494Lennus II6495

We are getting a good amount of Water, Sky, and Void spirits from the enemies in this cave.

Lennus II6497Lennus II6498

We get a New Moon Helmet in battle and I decide to put it onto Farus.

Lennus II6500Lennus II6501Lennus II6502Lennus II6506Lennus II6507

I just want to clarify that we found a mecha body and not a corpse that someone ditched in the cave.

Lennus II6511Lennus II6513Lennus II6514Lennus II6515Lennus II6516Lennus II6517Lennus II6518

With everyone now at level 30, I felt like taking some time to stop and look at where each party member’s stats are at. Farus has the highest Power and Stamina, the second highest Wisdom, and the third highest Speed. Myra has the highest wisdom and her speed is not far behind Nikita’s, while her power still has some more growing to do. Iris’s stats are languishing, and pretty much the only reason she is still able to do as much as she does for us is because we were able to build up her Sky spirit as early as possible with her. Once Farus’s Sky spirit gets maxed out, Iris’s niche is lost.

To be clear, Iris has been a very good character up to this point, but we are soon going to have many new options for new recruits and Iris is going to have a tough time competing with them.

Lennus II6519Lennus II6520Lennus II6521

We enter the Holy Ship deep under the cave, and inside we encounter the Baljan-1, a mighty robotic foe. How mighty?

Lennus II6522Lennus II6523Lennus II6524

Iris cannot one-shot them by herself, that’s how mighty! Of course, with the rest of the party chipping in, they go down in one round anyway. But still, taking a whole round to die instead of just one attack is an upgrade.

Lennus II6526Lennus II6528Lennus II6529Lennus II6533

Iris gains a level, and the added 9 points of wisdom does give her nearly 100 more points of damage on her Gubo. Alas, this still doesn’t one shot the Baljan-1’s.

Lennus II6534Lennus II6535Lennus II6536

We pick up a Void card and run into the other enemy inside the Holy Ship, the Rackgorn Soldier. They are not quite as hardy as the robots and so fall even more easily.

Lennus II6539Lennus II6540Lennus II6541Lennus II6542

One of these days, someone will have to teach the Raigans that not everything needs to be activates by palm shaped cavities!

Lennus II6543Lennus II6545Lennus II6546Lennus II6547Lennus II6548Lennus II6549

And so we now have the Holy Ship and with it access to all of Lennus right off the bat! There is only one location on Lennus that we can’t go to right now, but otherwise we are free to go wherever we want and explore our options in whatever order we decide upon.

First thing’s first though; we are going to fly around the world and find all the different mercenaries of Lennus and decide what our party is going to be going forward. See you then.

4 Likes

Raigan man
Raigan man

Does whatever a palm shaped cavity will let him do

2 Likes

I may have said this before but I’ve done a picture LP a couple times before and they are a lot of work (and my games weren’t nearly as long as this game), so just wanted to let you know that I appreciate all of said work you are putting into this and that it has all been very well done.

4 Likes

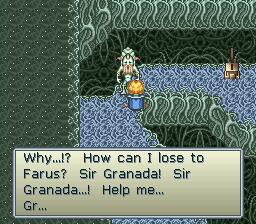
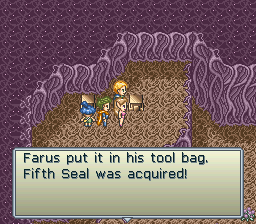
Thank you so much Username, that means a lot to me.

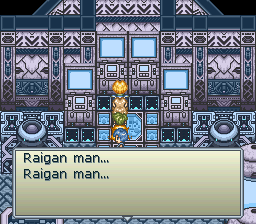
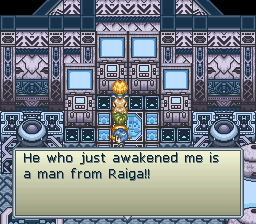
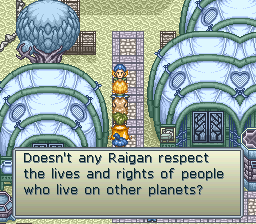
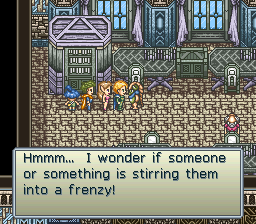
The power and freedom of Raigan Man is much restrained, Km.

Episode 56: Travel the World, Meet Interesting People, Recruit Them.

Lennus II6573Lennus II6574

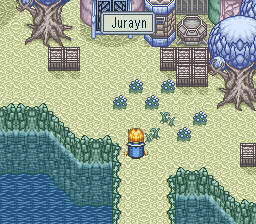
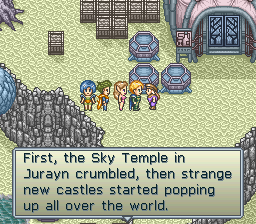
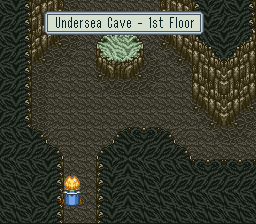
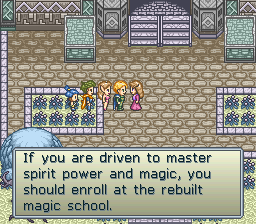
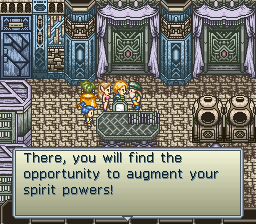
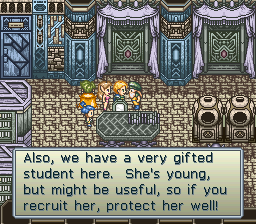
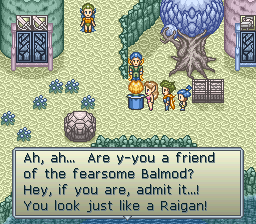
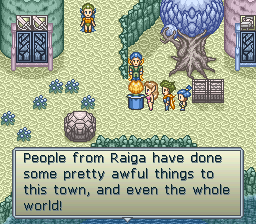
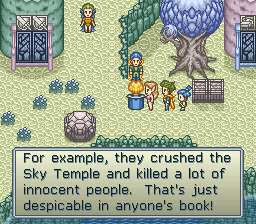
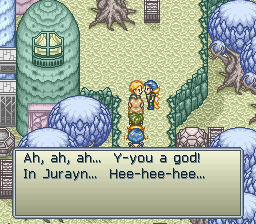
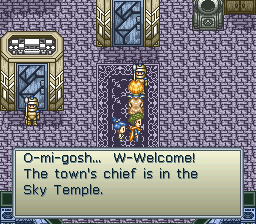
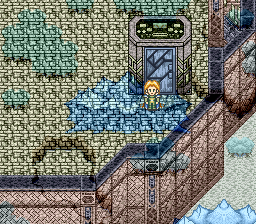
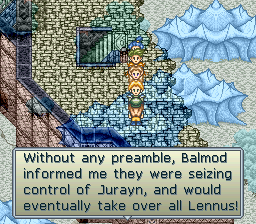
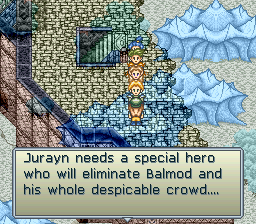
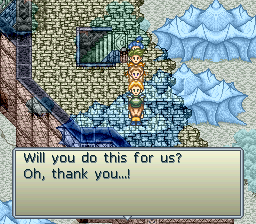
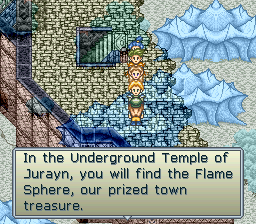
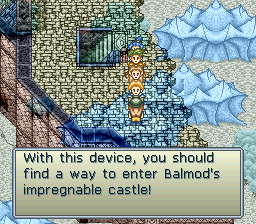
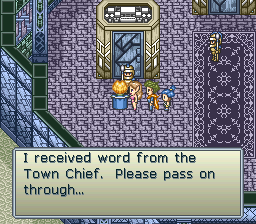
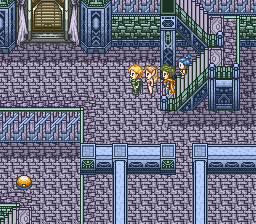
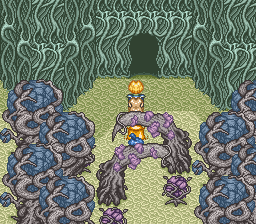
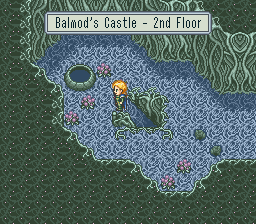
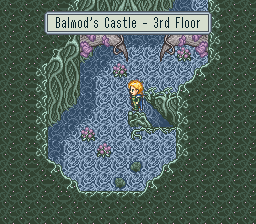
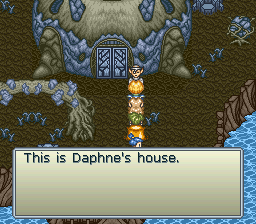
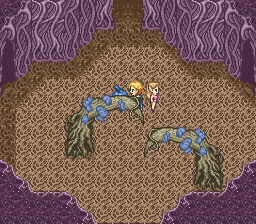
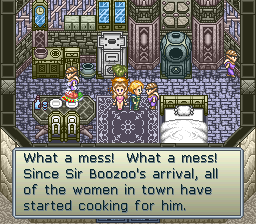
Our first town that we’ll be visiting is Jurayn, which as we heard had its Sky Temple collapse thanks to the Raigans. We’ll be finding out more about what’s going on here in Jurayn and who the nearest Raigan is another time, but this update is going to be focused on meeting the new recruits and going over their strengths and weaknesses so that you guys can decide what my party will be for Lennus.

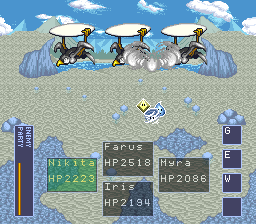
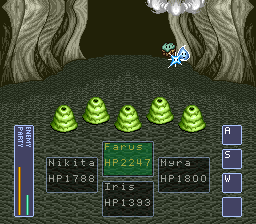
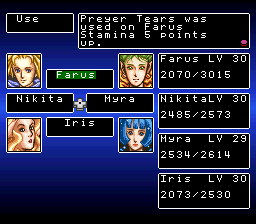
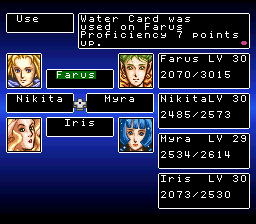
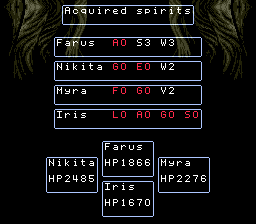
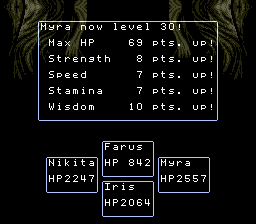
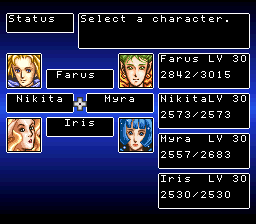
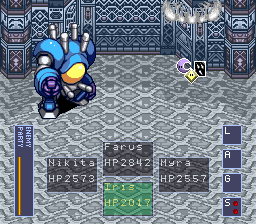
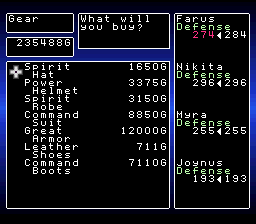
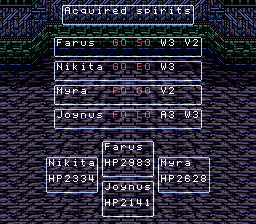
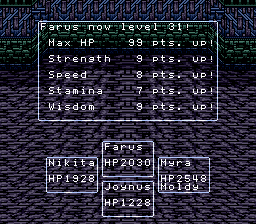
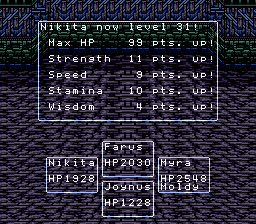
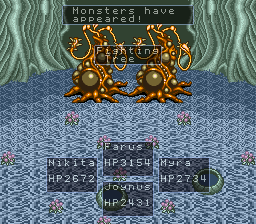
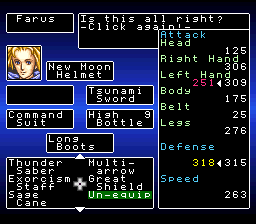
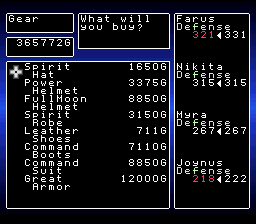
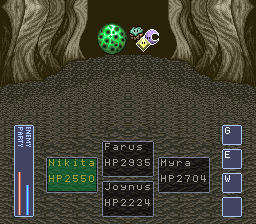
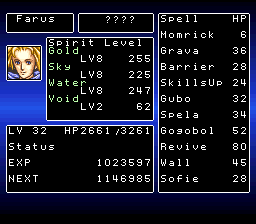
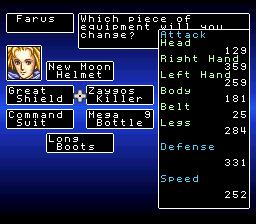
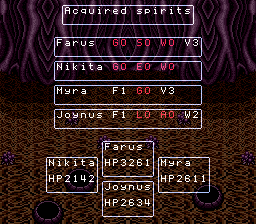
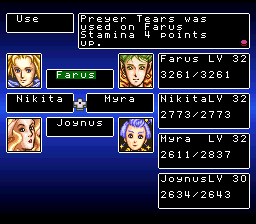
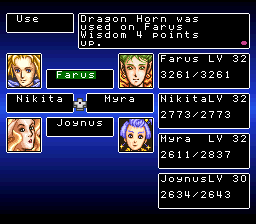
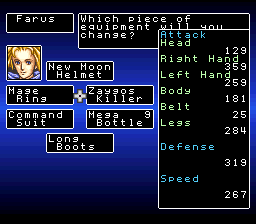
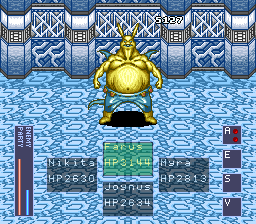
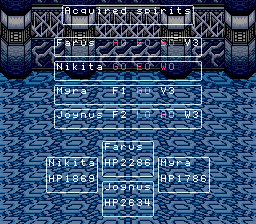
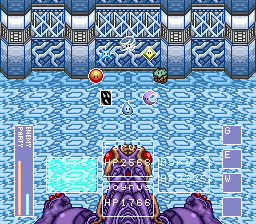
Accordingly, I will be including the stats for my party, including Farus so that you can see how the new mercenaries stack up to the MC himself.

Lennus II6515Lennus II6516Lennus II6517Lennus II6518

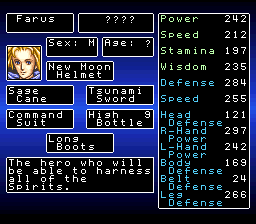
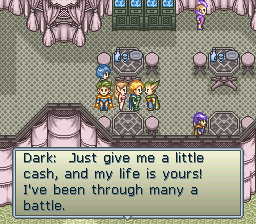
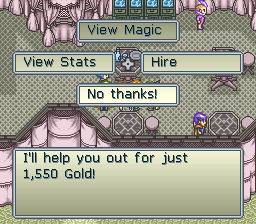
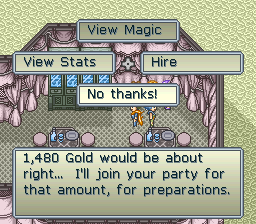
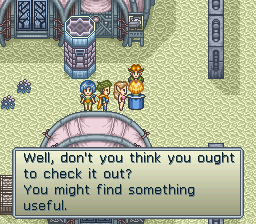
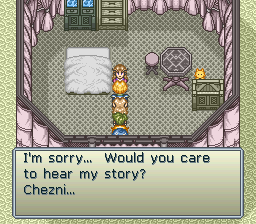
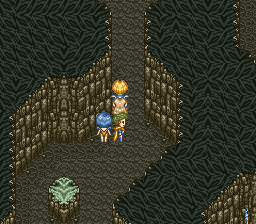
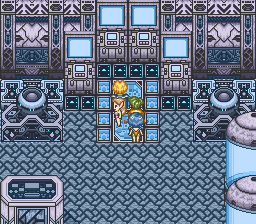
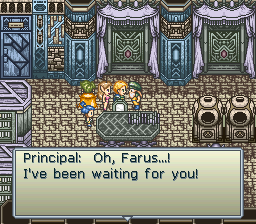
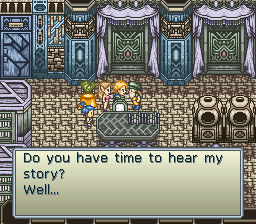
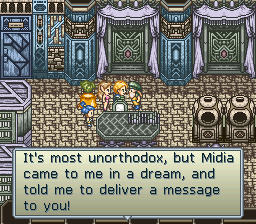
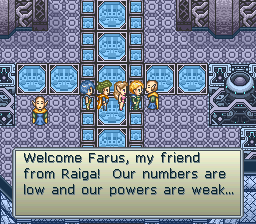
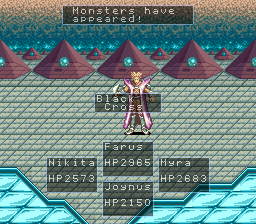
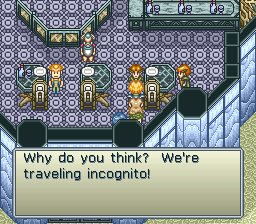
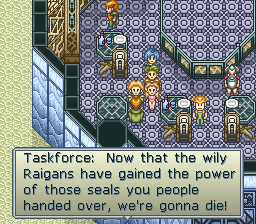
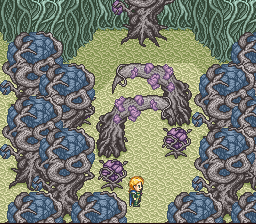
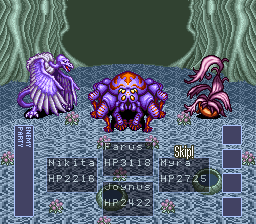
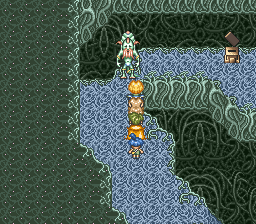
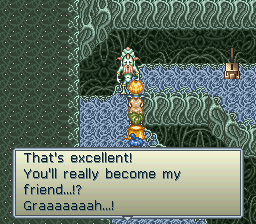
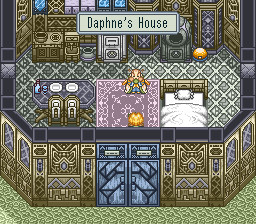
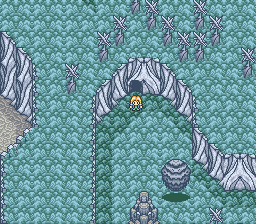
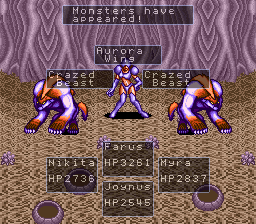
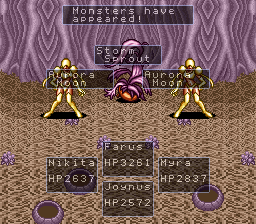
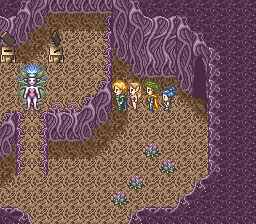
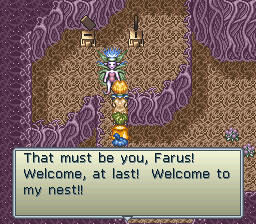
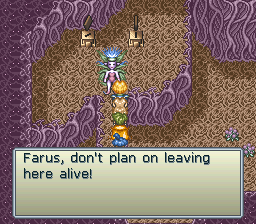
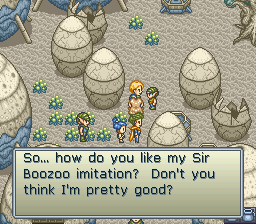
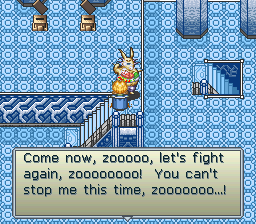
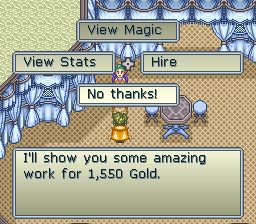
And now we go to meet our first contestant!

Lennus II6609Lennus II6610Lennus II6611Lennus II6612Lennus II6613

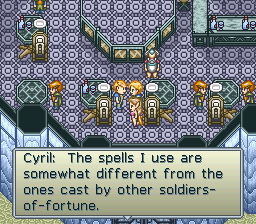
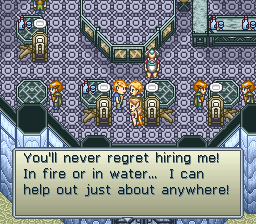
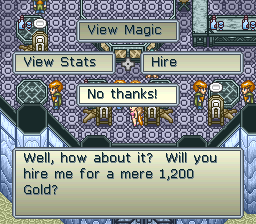
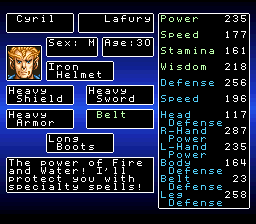
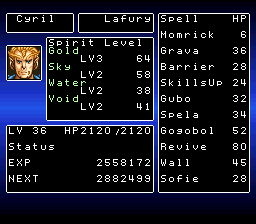
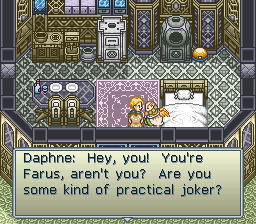
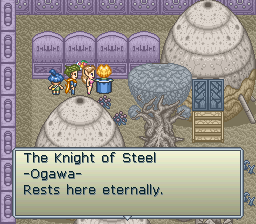
On the one hand, Cyril does have a good range of spells and does have access to strong equipment. On the other hand, his stats are quite low for level 36 and being that he’s so much higher level than us, he won’t be getting all that much stronger. There is also another complication to him; if he finishes a battle with his HP too low, he will leave the party. Making sure that we have Summon Taverns on hand to pull him back into the party will be a priority if we decide to use him.

Lennus II6619Lennus II6620Lennus II6621Lennus II6622Lennus II6623

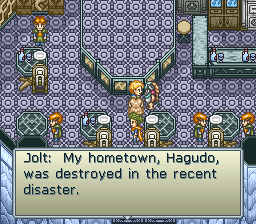
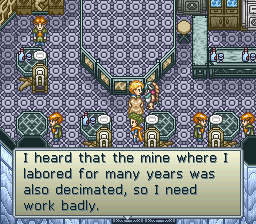
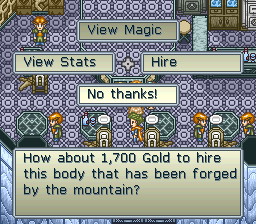
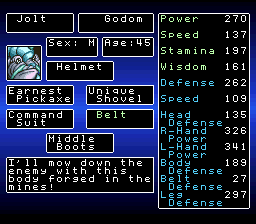
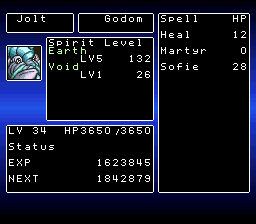
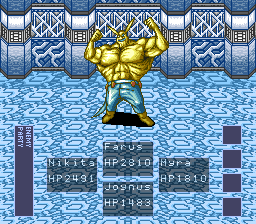
Our next choice is Jolt, who informs us that Hagudo has been completely wiped out. Another town from the first game that we worked so hard to save, now destroyed. Jolt as expected of the Godom people, specializes in heavy equipment and has some very high HP and Defense to keep him in play. His magic is basically irrelevant, so if you’re using him its as a frontline tank to take hits and dish out some pain as well.

Lennus II6624Lennus II6625Lennus II6626

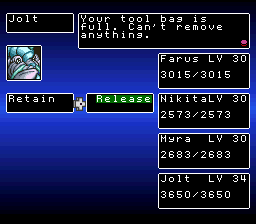
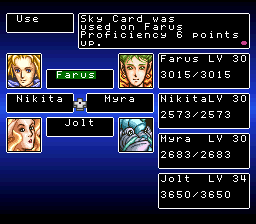
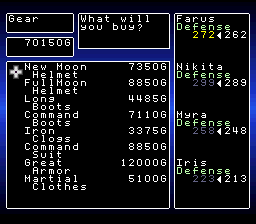
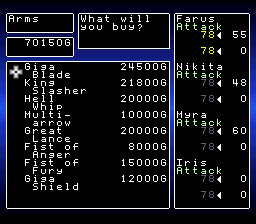
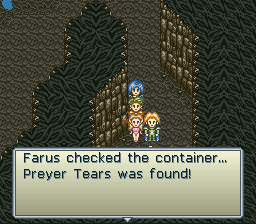
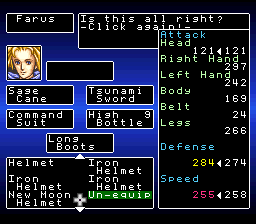
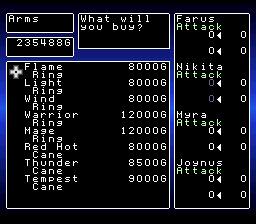
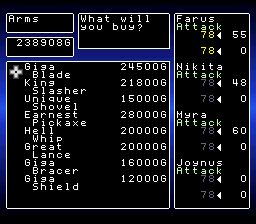
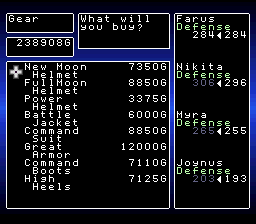
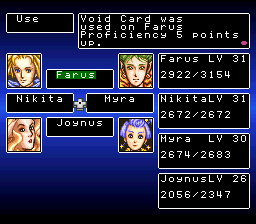
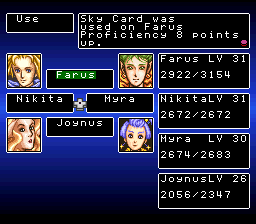
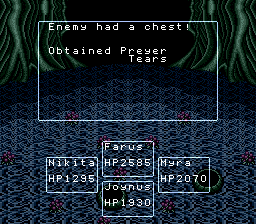
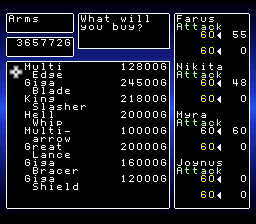
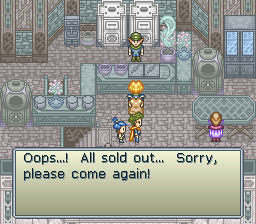
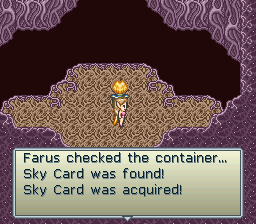
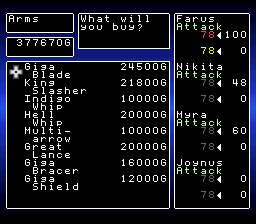
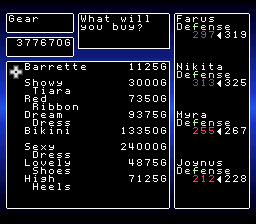
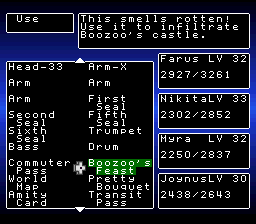
In an awkward development, when I recruited Jolt to dismiss him and take all his stuff, the game gave me this message telling me my inventory had been capped. So I use a Sky card on Farus and sell off a whole ton of junk at the weapon shop to get a massive windfall of cash.

Lennus II6628Lennus II6629Lennus II6630Lennus II6631Lennus II6633Lennus II6634

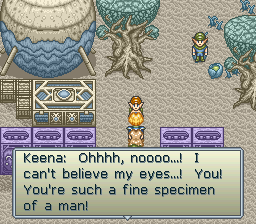
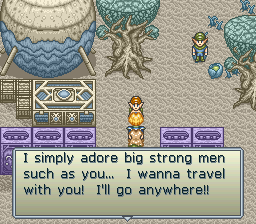
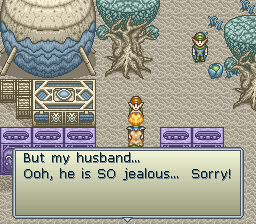
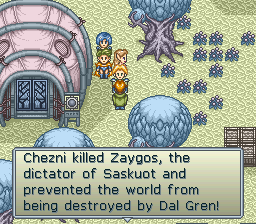
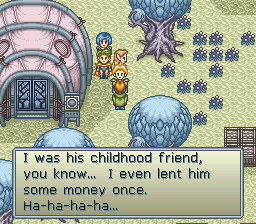
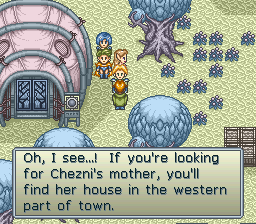
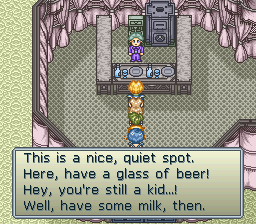
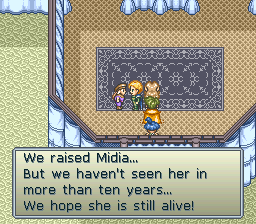
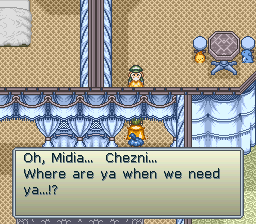
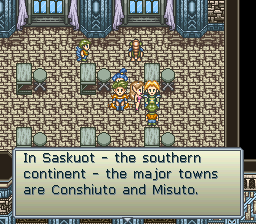
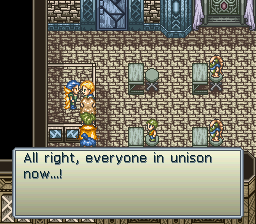
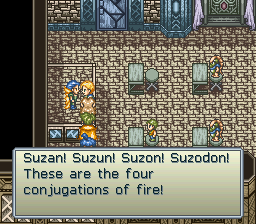
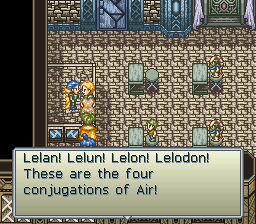
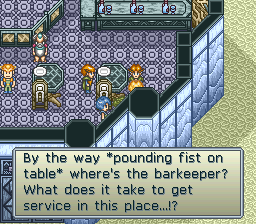
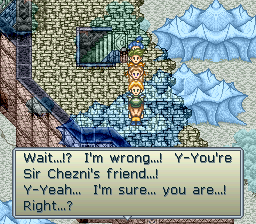
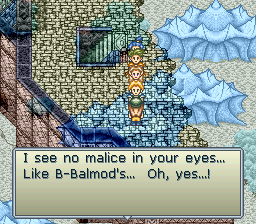
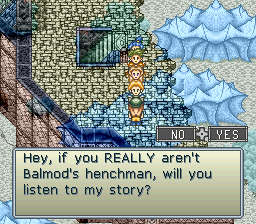
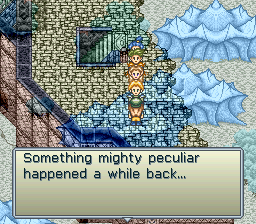
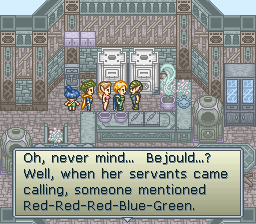
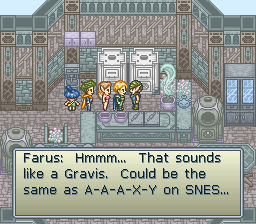
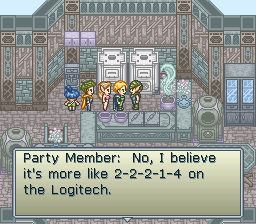
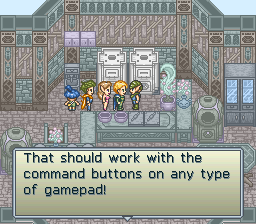
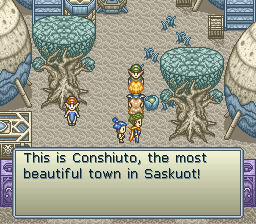
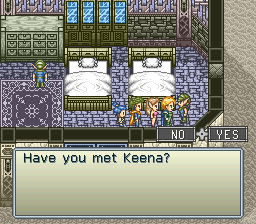
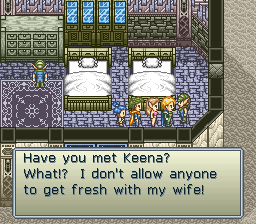
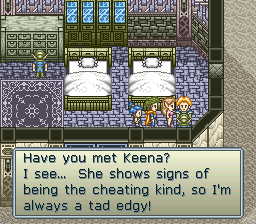
Setting foot in Conshuito, we have this rather amusing callback to the first game, with a nice subversion at the end. And yes, that is the same woman from the first game who forced herself into the party, her name had been localized as Chill at the time.

Lennus II6635Lennus II6636Lennus II6637Lennus II6638Lennus II6639

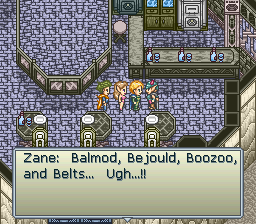
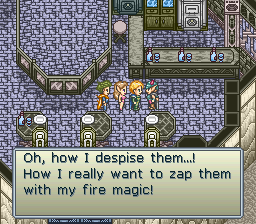
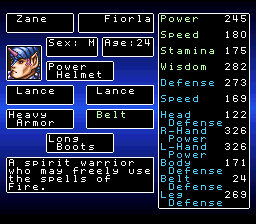
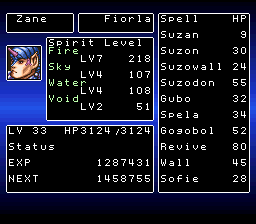
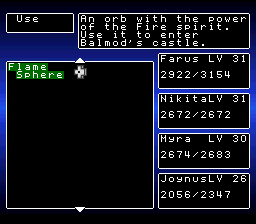
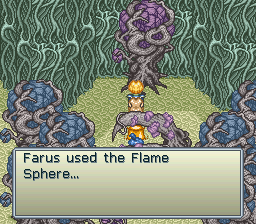
Zane is our resident fire specialist, and he’s got good equipment options, strong offensive stats, and plenty of good spells at his disposal. Once all his spirits are built up, he can be a serious force to contend with.

Lennus II6644Lennus II6645Lennus II6646Lennus II6647Lennus II6648

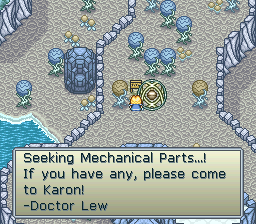
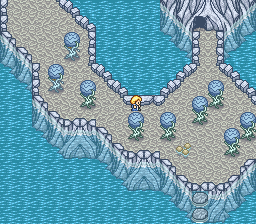
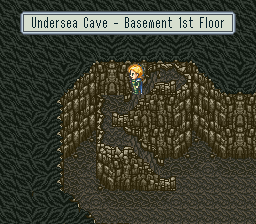
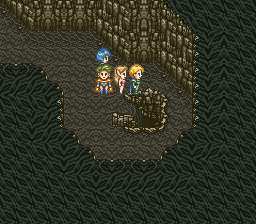
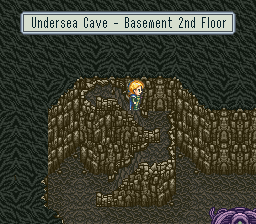
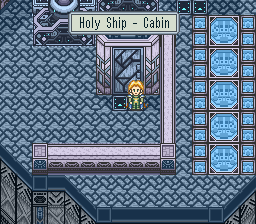
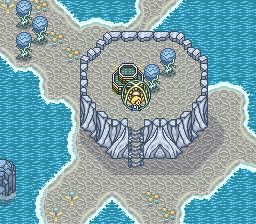
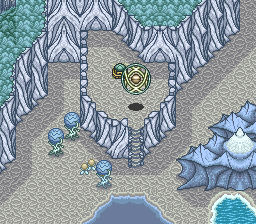
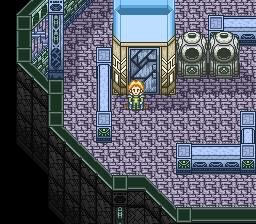
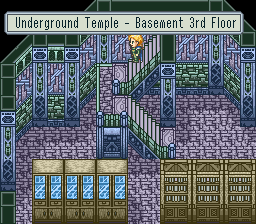
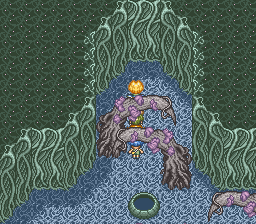
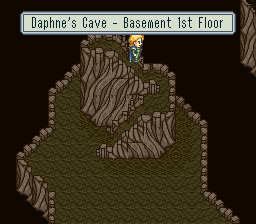
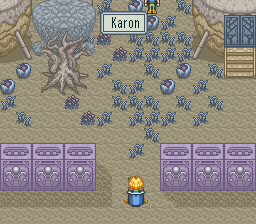
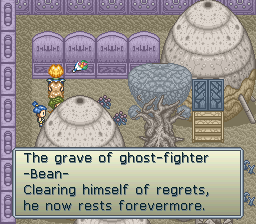
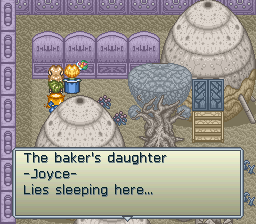
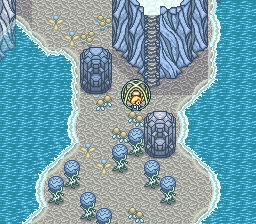
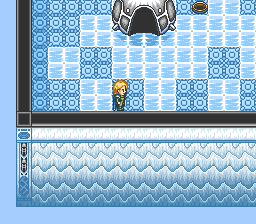
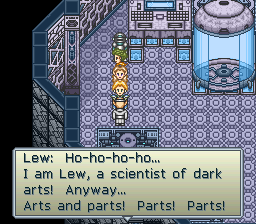
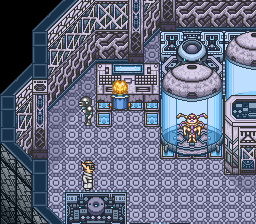
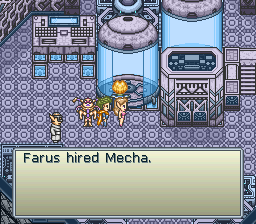
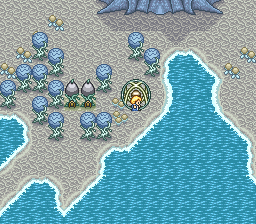
The town of Karon was once the town of ghotsts, but since we got rid of them in the last game, there is now a new game in town, the mecha game!

Lennus II6649Lennus II6650Lennus II6651Lennus II6652Lennus II6653Lennus II6654

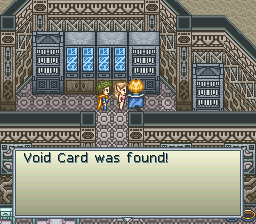
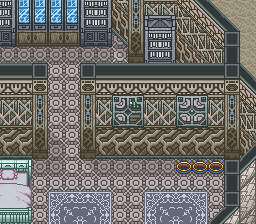
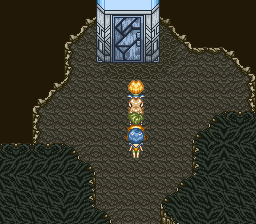
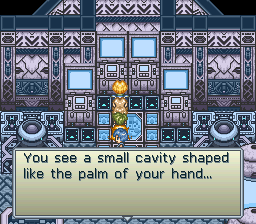
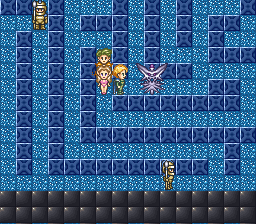
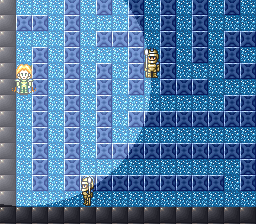
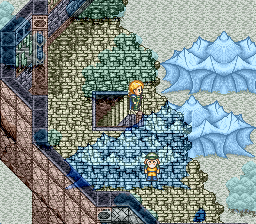
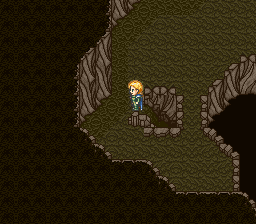
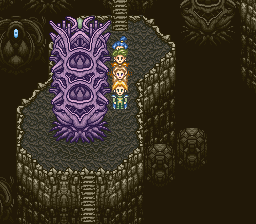
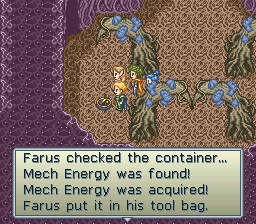
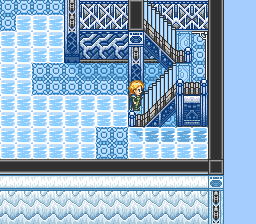
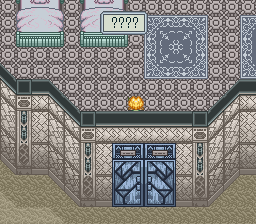
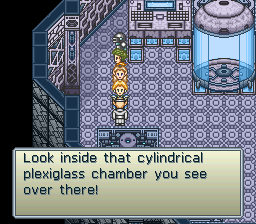
It can be hard to make out, but there is a staircase behind the left-hand window on the right wall, and that’s what we need to go down in order to make use of all these mecha parts that we just picked up.

Lennus II6655
Lennus II6656
Lennus II6657
Lennus II6659
Lennus II6660Lennus II6661Lennus II6662

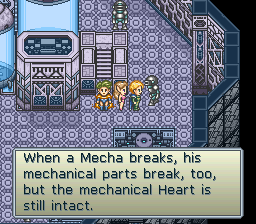
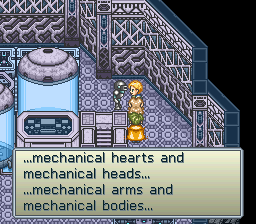
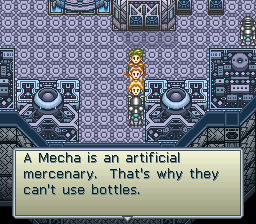
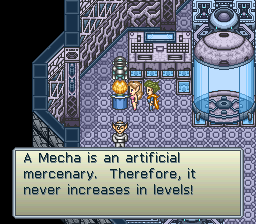
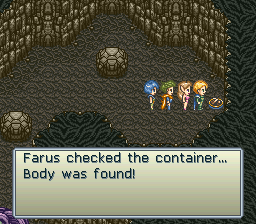
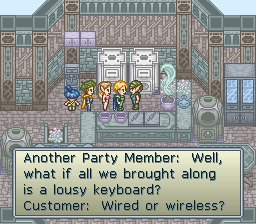
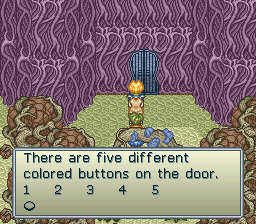
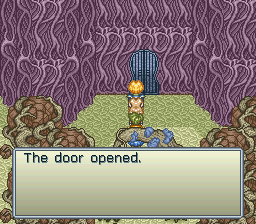
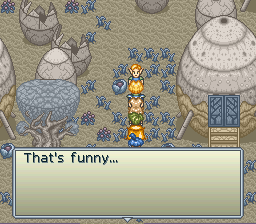
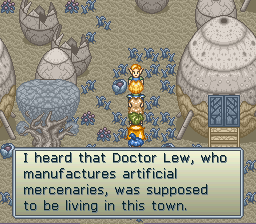
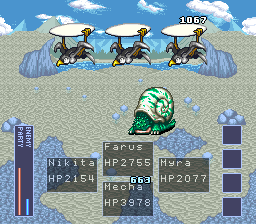
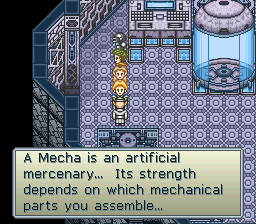
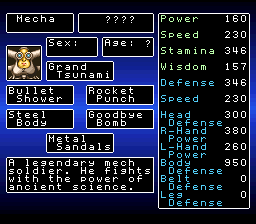
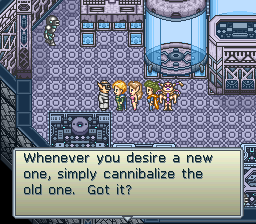
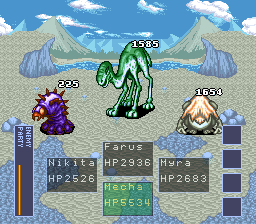
The game makes sure to inform us about the limitations of the Mecha that sets them apart, and with limitations like that, they’re going to need some serious power to make up for it. Nails was able to do a pretty good job of that in his game, how about these guys?

Lennus II6665Lennus II6666Lennus II6668Lennus II6669Lennus II6670

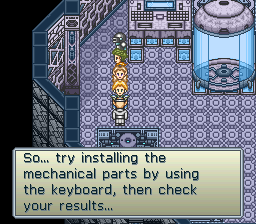
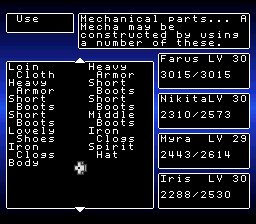
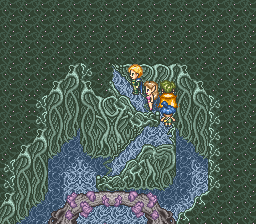
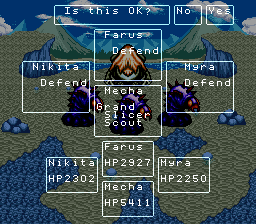
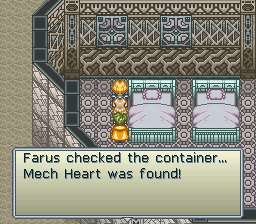
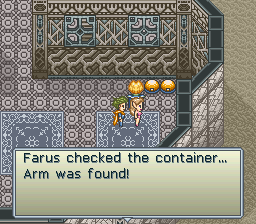
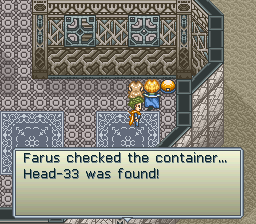
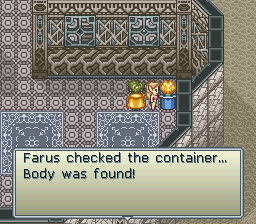
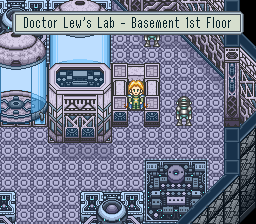
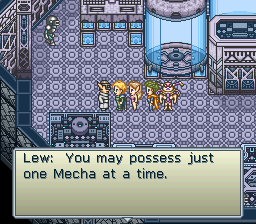
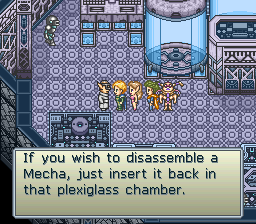
We now have our instructions for assembling our Mecha friend.

Lennus II6672Lennus II6673Lennus II6674Lennus II6676

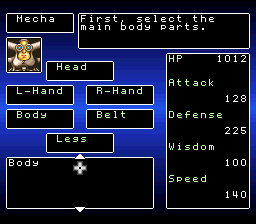
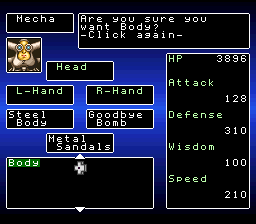
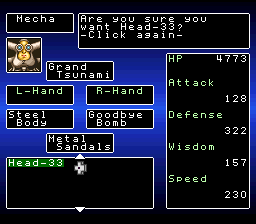
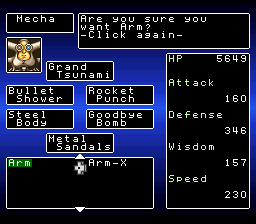
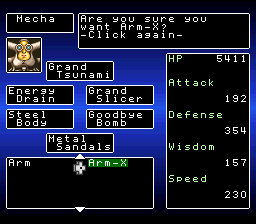
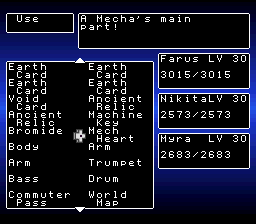
With each new part that we add to our creation, its stats rise considerably and it gains new attacks to make use of in battle. Keep in mind that these are just the starter parts. We can find better parts that will create stronger Mecha down the line.

Lennus II6677Lennus II6678Lennus II6679

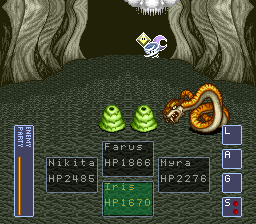
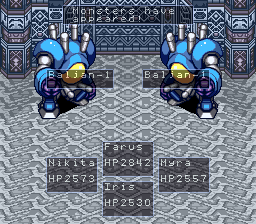
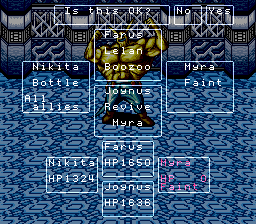
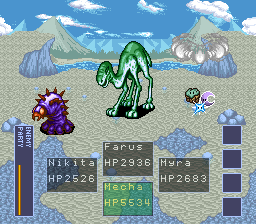
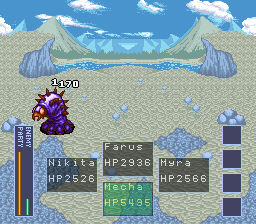
I will temporarily remove Iris from the party so that I can give the Mecha a field test; I’ve never actually used them before so I was curious to see how well they would work for us.

Lennus II6680
Lennus II6681
Lennus II6682

Alas, our dream of an entire party of Mecha will have to be fulfilled in another game somewhere out there.

Lennus II6683Lennus II6684Lennus II6685Lennus II6686Lennus II6687

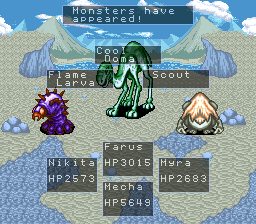
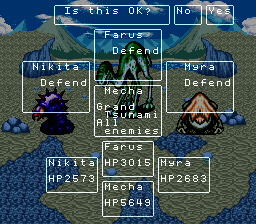
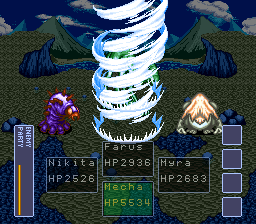
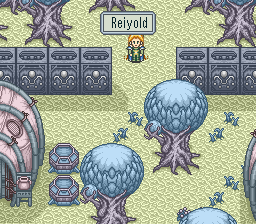
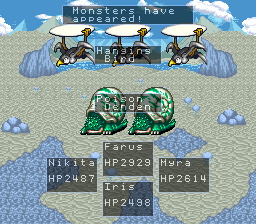
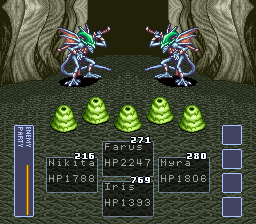
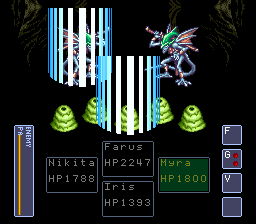
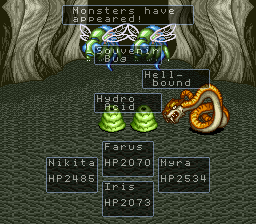
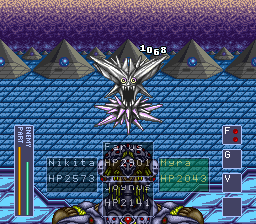
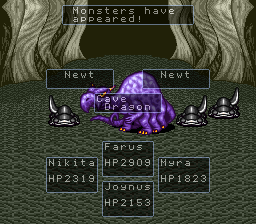
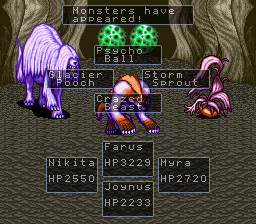
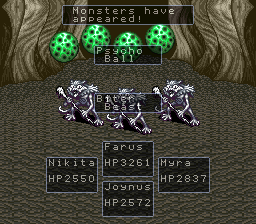
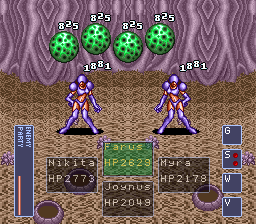
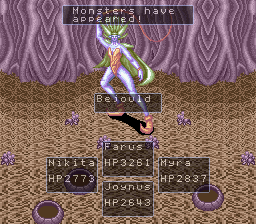
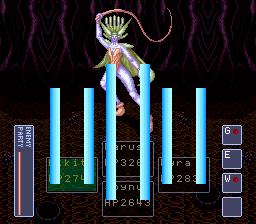
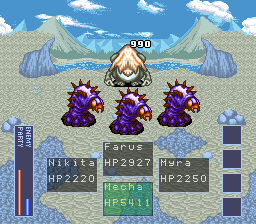
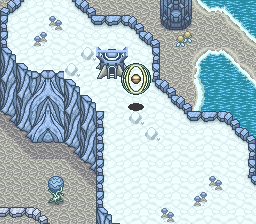
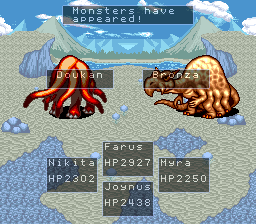
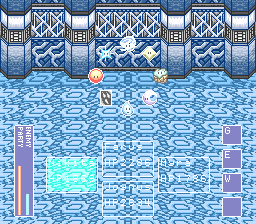
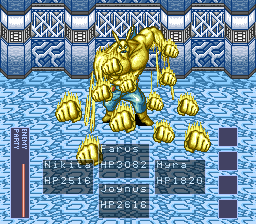
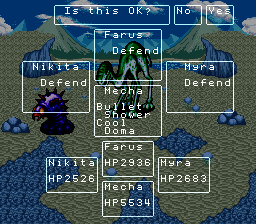
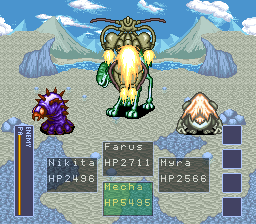
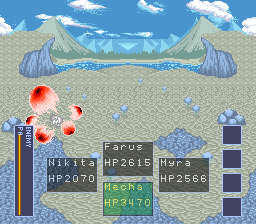
I fly back to Reiyold to run the tests and make sure that I don’t fight enemies too powerful for the test and open with the Mecha’s Grand Tsunami, which gives us a Lelodon effect, attacking every enemy on screen with each hit being randomly distributed among them. I’m not sure off the top of my head what level of Lelodon this is, but considering this is the starter Head effect, I doubt its a maxed out Lelodon. As it is, it does pretty good damage and if I’m fighting a boss that’s vulnerable to wind attacks, it could do really good damage to them.

Lennus II6688Lennus II6689Lennus II6690

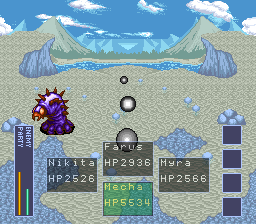
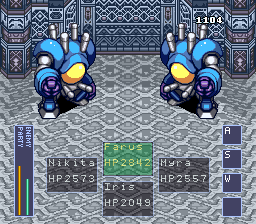
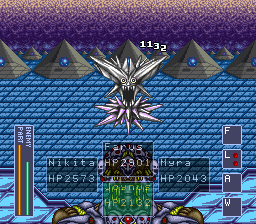
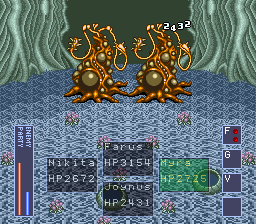
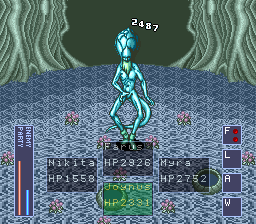
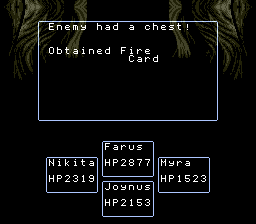
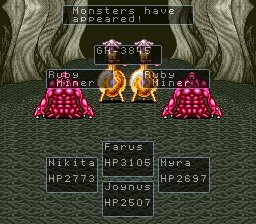
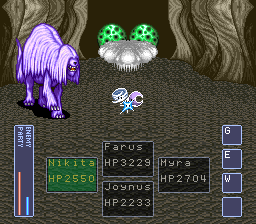
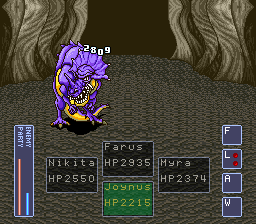
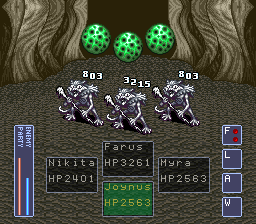
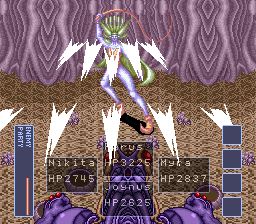
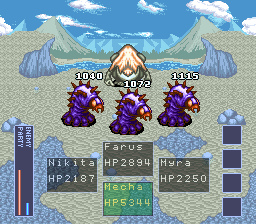
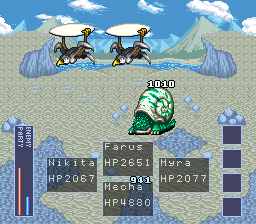
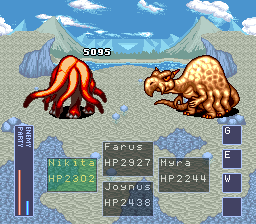
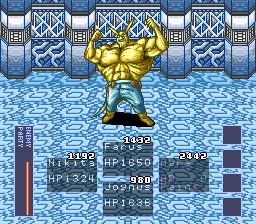
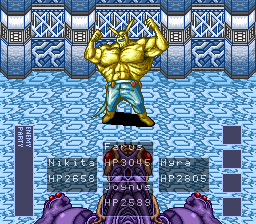
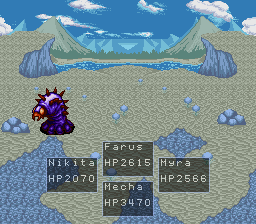
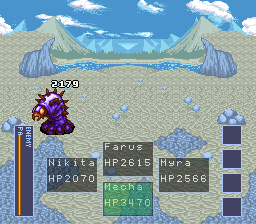
Bullet shower is a strong single target attack doing almost 3000 damage to this monster.

Lennus II6691Lennus II6692

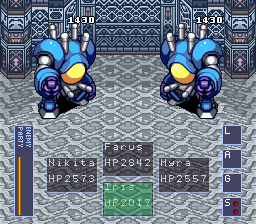
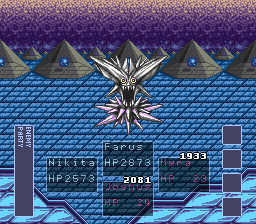
Rocket Punch is a bit underwhelming, but then again I’ve never been the biggest fan of the Rocket-Powered Fist, so that tracks.

Lennus II6693Lennus II6694

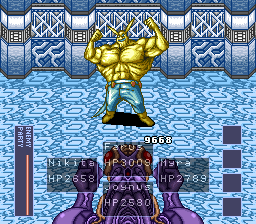
The Steel Body has the Mecha hurling itself at an enemy for an insanely huge amount of damage, with the downside that he’ll take a quarter of the damage dealt, which with how difficult it is to heal a Mecha, means that this move has to be used sparingly. Still, that is really good damage.

Lennus II6695

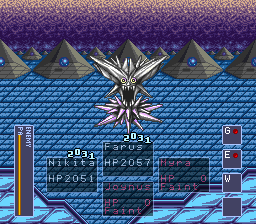
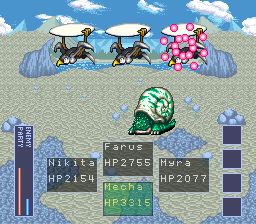
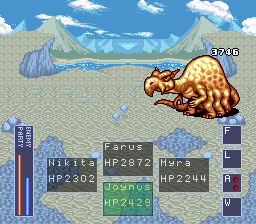
The Metal Sandels can just straight up remove an enemy from battle, which is not that great since we don’t get their spirits. Then again, we will reach a point where our spirits will be maxed out, so instant kill effects could be a time saver.

Lennus II6696Lennus II6697Lennus II6698

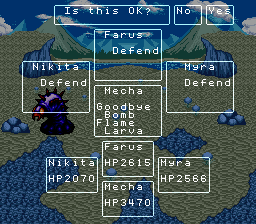
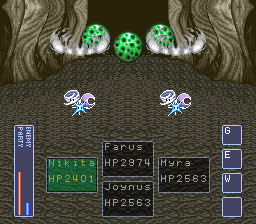
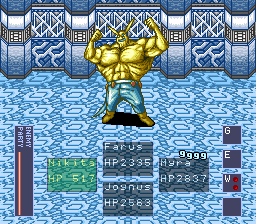
The Goodbye Bomb hits everyone on screen, and does some pretty good fire damage as well.

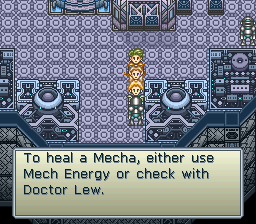
In conclusion, the Mecha is a strong candidate for helping us out in Lennus. We’ll need to take it back to the lab for repairs regularly, but if we play it smart it could really pay off.

Lennus II6700Lennus II6701Lennus II6702

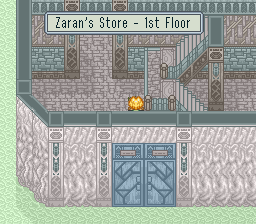
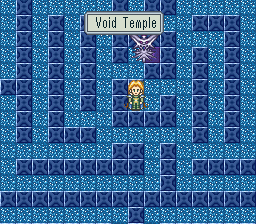
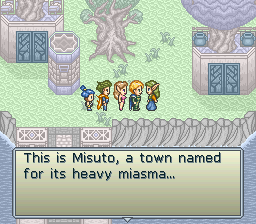
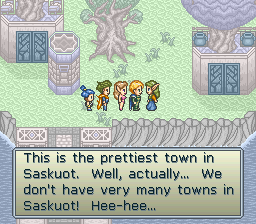
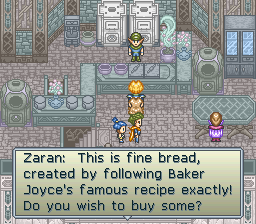
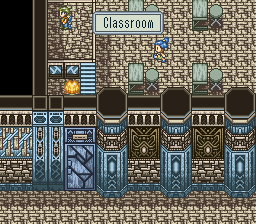
Our next stop is in the ever misty town of Misuto, and in particular in Zaran’s shop.

Lennus II6716Lennus II6717Lennus II6718Lennus II6719

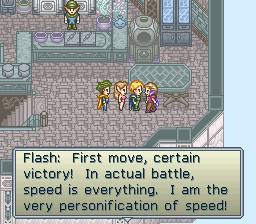
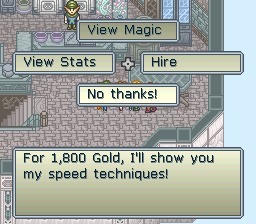
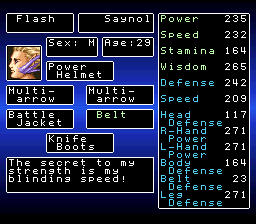
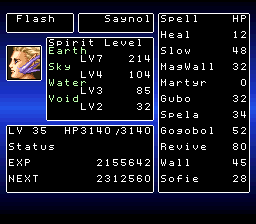
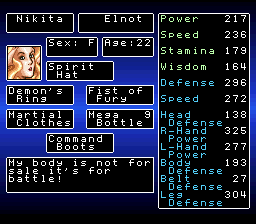
Flash is, in a word, full of it. His speed is only slightly better than Nikita’s is, and he doesn’t have nearly the utility or the battle power of other characters. We can absolutely do better than him.

Lennus II6721Lennus II6722Lennus II6723Lennus II6724Lennus II6725Lennus II6726

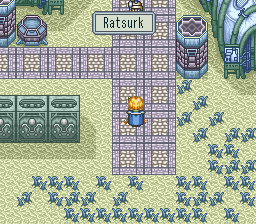
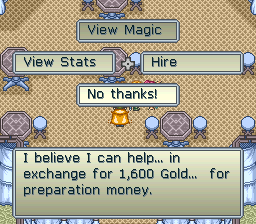
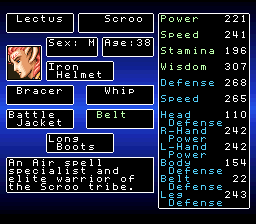
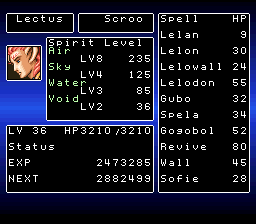
Lectus here is our old friend Tiger from the first game, complete with all the same equipment that he had back in our old adventure with him. Sadly we don’t get to do the flying around sequence with him, that would be fun to revisit. But that’s not what we’re recruiting for; Lectus is the wind magic specialist who operate very much like Zane and can definitely do a lot of good in our party.

Lennus II6729Lennus II6731Lennus II6732Lennus II6734Lennus II6736Lennus II6737Lennus II6738Lennus II6739

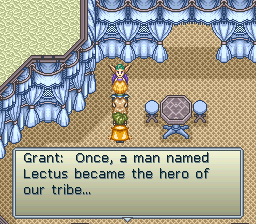
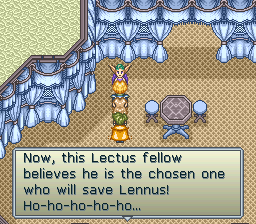
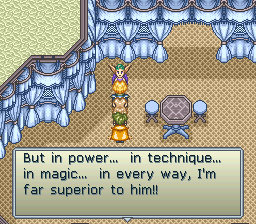
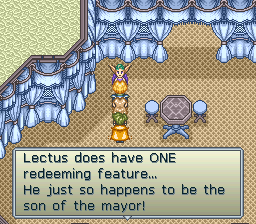
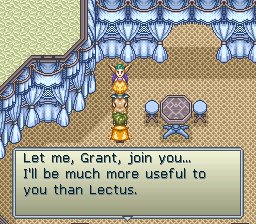
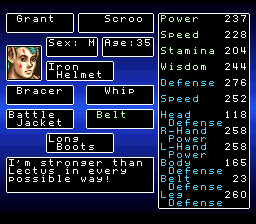
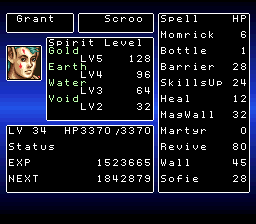
Despite Grant’s boasting, he really doesn’t measure up to Lectus. He’s got good support magic options, but there’s just no way for him to measure up to Lectus’s superior wisdom and offensive magic options. Plus the stats that are better than his aren’t better by much. We could use him, but do we want that kind of smug energy in our party?

Lennus II6743Lennus II6744Lennus II6745Lennus II6746Lennus II6747Lennus II6748Lennus II6749

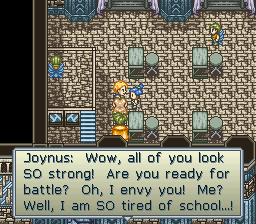
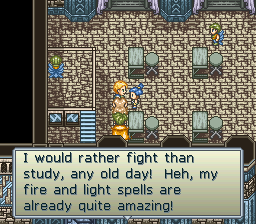
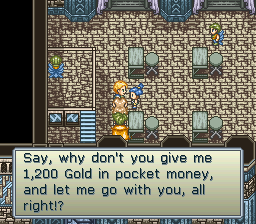
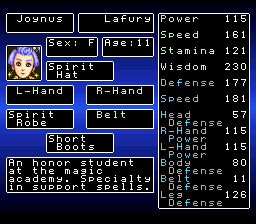
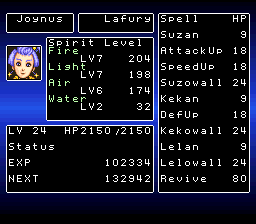
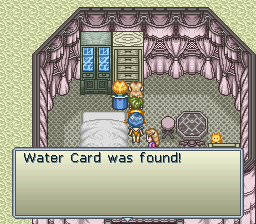
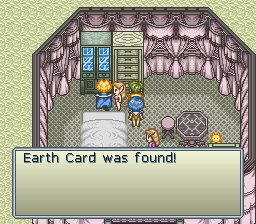
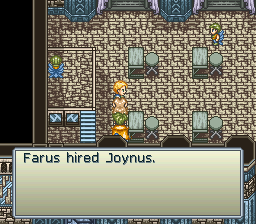
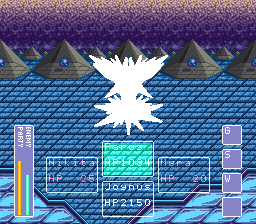
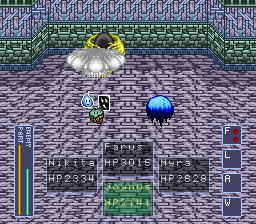
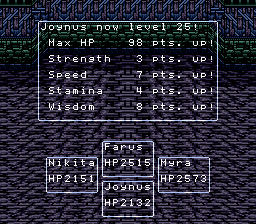
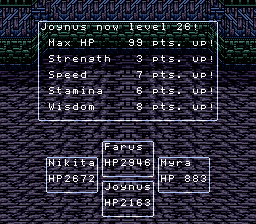
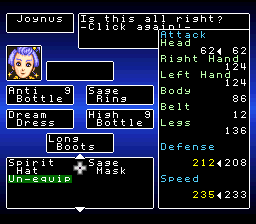
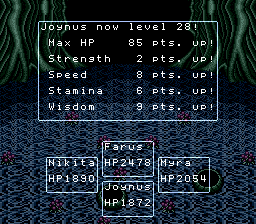
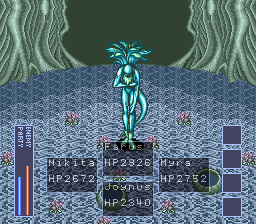
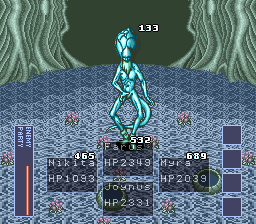
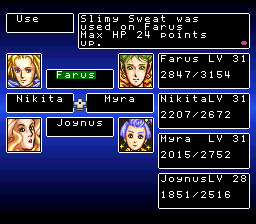
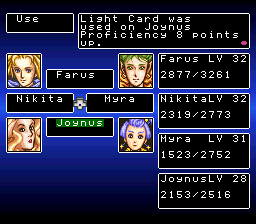
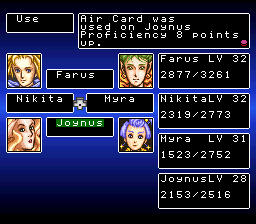
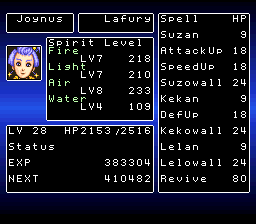
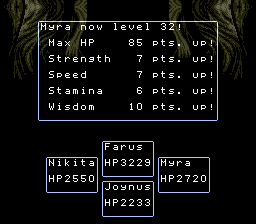
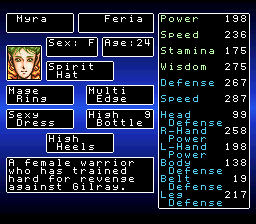
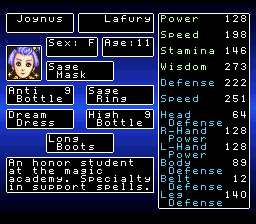
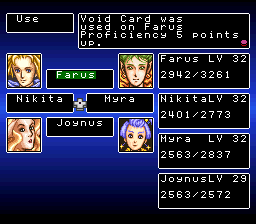
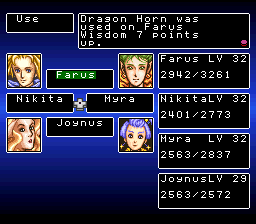
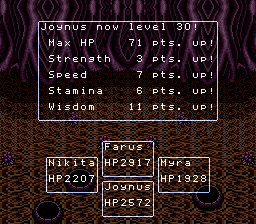
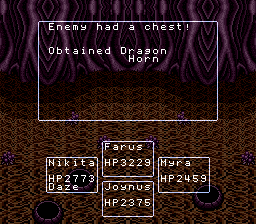
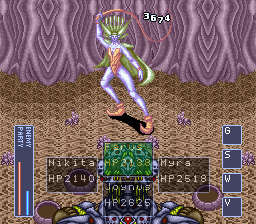
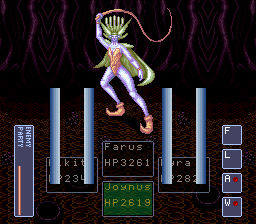
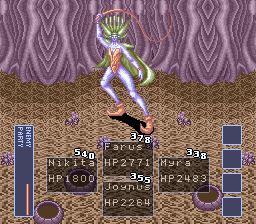
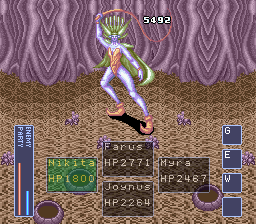
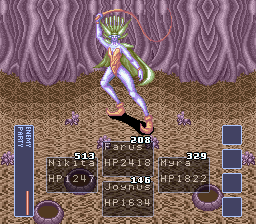
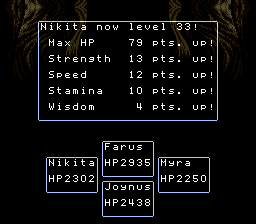
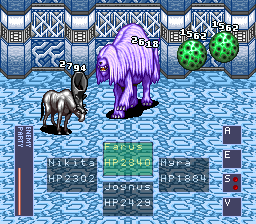
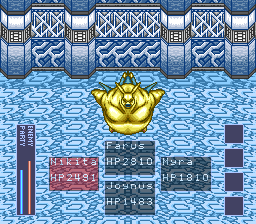
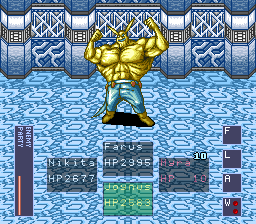
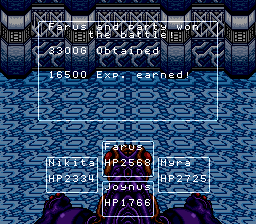
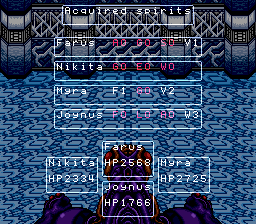
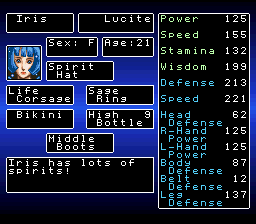
Joynus, in addition to having an adorable kick-stomp walking animation, is an absolute beast of a spellcaster. She has all three elemental single target attack spells so she can target any weakness she wants, and the Water spirit gives her strong utility in protection against any elemental damage we may come across. Furthermore, notice that unlike the other mercenaries who are in their mid-30’s, Joynus is only level 24, yet she already has a wisdom of 230. She will level up very quickly and her Wisdom will skyrocket fast, letting her magic hit hard. Put simply, she is better than Iris in every way that matters.

Lennus II6430Lennus II6431Lennus II6440Lennus II6441

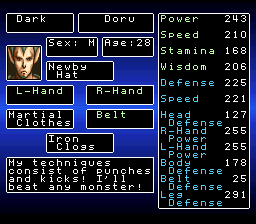
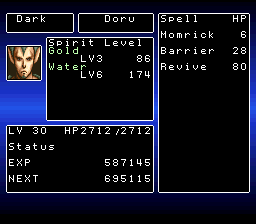
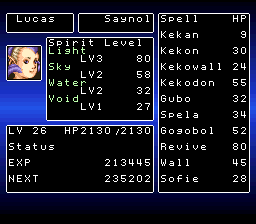
And now for ease of access, here is Dark and Lucas so you don’t need to go digging around in the previous post to see what their stats are.

So, there you have it folks. Its a lot to consider all at once, but I’ve done my best to put all the information before you. Look over each character and what I have had to say about them, and then cast your vote for which three characters you want me to travel with. Whatever you decide, I will make it work.

1 Like

Iris, it’s time to retiris.
Start babysitting Joynus

i don’t feel qualified to vote but you did put a hard sell on Joynus yeah

Update, I have resumed progression in Lennus II, I aim to have posts ready to go in just a few days.

5 Likes

Episode 57: The Old College Stomping Grounds

Lennus II6750

With our child prodigy magic school student in tow, we are now having the true Lennus experience. With all the mercenaries met, we can now properly tour the towns of Lennust, and what better place to start with than our very own Ratsurk?

Lennus II6751Lennus II6752Lennus II6753

Naturally Ratsurk has used its fame as the place where Chezni and Midia got their start to its own advantage.

Lennus II6754Lennus II6755

Alas, the Raigans, statistically speaking, are a bunch of colonizing jerks.

Lennus II6756Lennus II6759Lennus II6761Lennus II6762Lennus II6763

Midia’s family still worries about her; even when your daughter is a demi-god of battle, its still worrying when you haven’t heard from her in a long time.

Lennus II6764Lennus II6765

Ratsurk’s selection of weapons and armor.

Lennus II6766

Don’t ask about what happened to the old magic school, its a long story!

Lennus II6767

Stat boosting items right in the front door, I’m feeling smarter already!

Lennus II6769Lennus II6771Lennus II6772

I wonder when exactly Midia picked up the ability to project herself into people’s dreams. I’m not complaining, its been very helpful to us, I just wonder.

Lennus II6774Lennus II6775Lennus II6776

It would seem that for the sake of brand consistency with the previous game, we’re going to continue to use the term “immortals” instead of “gods”.

Lennus II6777Lennus II6778Lennus II6779Lennus II6780Lennus II6782Lennus II6784Lennus II6786Lennus II6787Lennus II6788Lennus II6789Lennus II6790Lennus II6791

The principal had a lot of words for us, but the words that I want to talk about the most are the words regarding the Mountain of Learning. The Mountain of Learning is an optional side dungeon where you can get some of the best equipment in the game, and also I have read stuff that says that clearing it will improve your stat growth but I don’t remember for sure if it actually does that or not. Either way, we will not be going through the Mountain of Learning just yet.

Lennus II6792Lennus II6793Lennus II6794

Another hint for the Mountain of Learning.

Lennus II6795Lennus II6796Lennus II6797Lennus II6798Lennus II6799

Chezni’s a jerk; he gets a super secret mega awesome spell when he gets all the spirits, but I get nothing!

Lennus II6801Lennus II6802

Schools everywhere alike are underfunded and don’t have enough texts.

Lennus II6803

Despite this being the storeroom, there are no items whatsoever for us to pick up in here.

Lennus II6804

The Void Temple will be our next dungeon, and it will be both very short, yet very long and frustrating. You’ll see when we get there.

Lennus II6805Lennus II6806Lennus II6807

Here we get a hint to go visit the Raigans who were in the sea hemisphere back in the first game.

Lennus II6808Lennus II6809Lennus II6810Lennus II6811Lennus II6812

You might notice that there are a lot fewer towns in Lennus than there were in the previous game. Goes to show the real extent of the devastation that Granada and his cronies caused.

Lennus II6813Lennus II6815Lennus II6817Lennus II6818

For some reason I’m now imagining the “Romans go home” bit from Life of Brian, except with the spell conjugations here.

Lennus II6819Lennus II6820Lennus II6821

And that is everyone that there is to talk to in Ratsurk. Next time, I will be visiting the Sea Hemisphere, and then we’ll go to the Void Temple to get the final spirit and bring Farus to his true ultimate power. See you then!

2 Likes

hahaha i hope you dont have to remember all those chants for a later puzzle or something

1 Like

If I did, it would be a good use of school for once in my life!

Episode 58: I Experience the Pain So You Don’t Have To!

Lennus II6558Lennus II6559

Our first stop today is at the Taiga Sanctum, the name of the Raigan outpost from the first game.

Lennus II6560Lennus II6561Lennus II6562Lennus II6563

Kind of a shame that the bad guys get to use the awesome power of the seals but we don’t. Personally I like it when the player gets to use the McGuffins they collect.

Lennus II6564Lennus II6565Lennus II6566

The free medicine refill station is always a good way to start with helping out.

Lennus II6567Lennus II6568Lennus II6569Lennus II6570Lennus II6572

Now we know why we save Belts for last; the aerial fortress is being protected with a force field and we need the power of the other seals in order to break through it, and we especially need to do that since that’s where Petro is. Sure, he hasn’t been all that useful to us, but Midia likes him and she’s been plenty helpful to us so we can do her a solid and save her boytoy.

Lennus II6825Lennus II6826Lennus II6827

After that we track down the Void Temple. Now, what challenge will the Void spirit have in store for us?

Lennus II6828Lennus II6829Lennus II6830

We get the most annoying iteration of the crystal death maze yet! See, in order to clear the maze, we need to catch the Void Spirit, who moves one step for every one step we take.

Lennus II6831Lennus II6832Lennus II6833

Furthermore, we have a steady stream of Black Cross acolytes for…some reason. Their stats are not upgraded to match up with how strong we’ve become so they’re just speed bumps to us, but given how very obnoxiously difficult it can be to catch the Void Spirit, those speed bumps can add up.

Lennus II6837Lennus II6838Lennus II6839

Then we have the fight with the Void spirit which starts off like any other elemental spirit battle; sure his defenses are greater than any of the preceding spirits, but he doesn’t do anything too bad…

Lennus II6842Lennus II6843Lennus II6844Lennus II6845Lennus II6846

Until he starts pulling the same spiral of doom attack that the Water Spirit had, only worse because he is faster and his bulkier durability means we can’t just rush through it. In this way I see the game over screen for the first time in this run.

Which means I have to do this all over again.

Cut out what feels like an hour of horse dookie dealing with the void spirit and the soldiers pathfinding through the maze and then having to deal with the actual fight itself…

Lennus II6856Lennus II6857Lennus II6858

Victory, at long last, is had.

Lennus II6860Lennus II6861Lennus II6862

The void spirit doesn’t even say the standard spiel. Weak.

Lennus II6863Lennus II6864Lennus II6865Lennus II6866Lennus II6867Lennus II6868Lennus II6869Lennus II6870Lennus II6871

At long last, Farus has all eight spirits and can equip four of them at a time. With the Void spirit comes some of the most potent spells in the game, held back only by the fact that we need to level the spirit itself up, but we can absolutely take care of that.

Sofie: Reduces enemy defenses to zero. Very useful, and rather reliable even at level 1.

Suzodon, Kekodon, and Lelodon: The ultimate elemental attack spells, once you’ve leveled up the void spirit some.

SkillsUp: Buffs attack, defense, and speed all at once. Once void is leveled up, it can affect the entire party all at once. Incredibly useful.

Martyr: Kills the caster to restore everyone else to full. Can be a good panic button as long as someone else in the party has the revive spell to pick them back up.

Gogobol: Instant Death. Alas, enemies don’t really have the durability needed to make instant death all that useful.

Wall: Reflects physical damage back at the enemy, but between it only reflecting a quarter of the damage dealt instead of half and the changes in enemy health, its not anywhere near as useful as it was in Paladin’s Quest

By getting the Void spirit first thing, we will have our best shot to be able to max out that spirit and see just how powerful and flashy that magic can get.

Next time, we will visit Jurayn to prepare for our invasion into Balmod’s castle. See you then

3 Likes

Episode 59: Just Like Old Times

Lennus II6874Lennus II6875Lennus II6876Lennus II6877

Upon entering Jurayn we are given cold reception.

Lennus II6878Lennus II6879Lennus II6880

At least the weapon and armor shops weren’t destroyed.

Lennus II6583

Get with the times man, the term is immortals!

Lennus II6585Lennus II6587Lennus II6588Lennus II6591Lennus II6594Lennus II6595

In the tavern the fan translators once again saw room to put themselves into the story and took the chance. A harmless gesture all in all.

Lennus II6596Lennus II6597Lennus II6599Lennus II6601

Here we get a hint to direct us to Daphne. Its not nearly as important as going to see her in the first game, but its still an option.

Lennus II6602Lennus II6603Lennus II6604Lennus II6605

There’s always another mystery.

Lennus II6606Lennus II6607Lennus II6608

Some people just like to complain.

Lennus II6881Lennus II6882Lennus II6884Lennus II6885

Things look about the same as they did in the first game, but…

Lennus II6886Lennus II6887Lennus II6888Lennus II6889

The temple has definitely been pretty badly bashed up. Also for some reason they made everything transparent which is very visually annoying.

Lennus II6890Lennus II6891Lennus II6893

Its a short climb up to meet the chief, who is a little intimidated by the arrival of a new Raigan in town.

Lennus II6896Lennus II6898Lennus II6899

Fortunately it does not take long to clear things up and for him to start giving us the scoop.

Lennus II6900Lennus II6901Lennus II6902Lennus II6903Lennus II6904Lennus II6905Lennus II6906Lennus II6907Lennus II6908Lennus II6909Lennus II6911Lennus II6912Lennus II6913

After a great many words, we are given permission to go into the basement to retrieve the McGuffin therein so that we may go to Balmod’s castle, defeat him, and take the McGuffins that he stole from us.

And next time, that is exactly what we will do.

4 Likes

Episode 60: A God Without a Friend

Lennus II6914Lennus II6915Lennus II6916

We go down into the basement of the Sky Temple, which has seen some renovation, much like how Jurayn itself has had some renovation in the last ten years.

Lennus II6917Lennus II6918Lennus II6921

The enemies in the Jurayn temple are a good source of both experience and void spirits. If you’re feeling the pinch, grinding down here for a level or two would not be a bad way to fix that.

Lennus II6922Lennus II6923Lennus II6925

And with our final new enemy of the area, Joynus gains a new level that gives a big boost to speed and wisdom, both the stats that Joynus cares about.

Lennus II6926

This room has absolutely nothing in it, don’t bother.

Lennus II6927Lennus II6928Lennus II6929

Instead, enjoy these level ups!

Lennus II6930Lennus II6931Lennus II6933

This is the first time I think we’ve ever seen the INT DOWN state applied on us. A pity we can’t do it to the enemies, that would be really fun!

Lennus II6934Lennus II6935Lennus II6936Lennus II6937Lennus II6938Lennus II6939

I decide to demonstrate that my intelligence hasn’t gone down by using up all my stat boosting items I’ve accumulated.

Lennus II6940Lennus II6941Lennus II6942Lennus II6943

We grab the Flame Sphere and depart, gaining some levels on the way out. This is a very short, straight forward dungeon, but that’s okay, this is just the prelude for what’s to follow.

Lennus II6946Lennus II6947Lennus II6948Lennus II6951Lennus II6953Lennus II6955

You might ask why we couldn’t just use our already existing fire powers to burn down the tree and get in, but this is before your Skyrims and your Breath of the Wilds.

Lennus II6956Lennus II6957Lennus II6960Lennus II6961Lennus II6962Lennus II6963

Fire is going to be the order of the day in Balmod’s Castle, everything here is very vulnerable to being set on fire.

Lennus II6965Lennus II6966Lennus II6967

By the time we get out of the first floor, we’ve encountered every new enemy the place has to offer. The dungeon is short and straightforward, but the encounter rate is plenty high to make up for that.

Lennus II6968Lennus II6969Lennus II6970Lennus II6971Lennus II6972Lennus II6974Lennus II6977

A few short floors and treasure that can’t be missed along the way, we now stand in the final floor, confronted with the same musical theme that beset us when Granada’s four angels first showed themselves to us.

Lennus II6979

Everyone, this is Balmod. I’d say that the robes were hiding a lot, but given past precedent with Raigans, I am going to speculate and say that Balmod’s form is a mutation brought about by abusing the Seals powers. Or maybe Granada experimented on them, the game won’t really say what is going on with their appearances. But appearances aren’t what really matters, what matters is the quality of boss fight they can provide.

Lennus II6982Lennus II6983Lennus II6984

On a lark, I decide to say yes to Balmod!

Lennus II6988Lennus II6989Lennus II6990Lennus II6991

And thus does Balmod express the isolation that power brings, that cruelty and oppression will doom you to never knowing genuine friendship and the soul crushing isolation that brings with it.

Now let’s get ready to rumble!!!

Lennus II6993Lennus II6998

Balmod is a very straightforward foe; he attacks twice per round, once with a stem that slaps you twice, and then once with an AOE attack. His damage output is no concern at all.

Lennus II6994Lennus II6995Lennus II6997

This is what I mean about Wall just not being useful in this game; the amount of damage we can do directly is so much greater than what we can bounce back at him, the turns I spend putting Wall on everyone are just wasted.

Lennus II7000Lennus II7001Lennus II7002

Balmod, in short, is pretty easy. Having the best mercenaries in the group helps out with that, but even so Balmod just doesn’t have any real way to threaten us.

Lennus II7003Lennus II7005Lennus II7006

Even Granada’s most elite agents will receive nothing from him as they face death.

Lennus II7007Lennus II7008Lennus II7009Lennus II7010Lennus II7011Lennus II7012Lennus II7013

With nothing to stop us, we retrieve the seals and leave, gaining levels along the way. That’s two down, six to go.

Next time, we’ll be making preparations for another castle invasion.

3 Likes

Episode 61: Secret Tunnel!

Lennus II7015Lennus II7016Lennus II7017

I decide at this time to go visit Daphne’s cave to see if she has anything of use to share with us.

Lennus II7018Lennus II7019

First thing to note, Daphne got a massive redesign from the first game, where she was represented by the elderly old man sprite with the beard turned flesh colored. I’m honestly impressed that they went through the effort to put together a brand new sprite unlike anything else in the entire game, for a completely optional character.

Lennus II7020Lennus II7022Lennus II7023

I don’t know why Daphne is calling Chezni, Petro, but its not our concern.

Lennus II7024Lennus II7026Lennus II7028Lennus II7029

In the end Daphne has nothing new for us, but her hut does have a Mega Bottle so that is extremely rewarding!

Lennus II7030Lennus II7031Lennus II7034

There is also a tunnel inside of Daphne’s cave, in which we can fight some new monsters.

Lennus II7037Lennus II7038Lennus II7039Lennus II7040

I give Joynus some spell cards to speed along her development into the ultimate all purpose boss killer.

Lennus II7041Lennus II7042Lennus II7043Lennus II7046Lennus II7047

In the end, the tunnel takes us into the southern continent, just like it did in the first game. Unlike the first game though, we already have the Holy Ship so we could have just flown to here. They just kept the tunnel for the sake of continuity. I approve of that kind of dedication.

Lennus II7048Lennus II7049Lennus II7050Lennus II7051

On the way back through the tunnel Myra and Joynus both gain a level and I take a moment to note that despite the three level difference, Joynus’s wisdom is only two points behind Myra’s. I think that says it all.

Lennus II7052
Lennus II7053

Our next stop on our world tour is Misuto

Lennus II7054
Lennus II7055

One crisis ends, another begins.

Lennus II7056
Lennus II7058

The people of Saskuot really do have sharp noses, they can even tell you’re from another planet!

Lennus II7060Lennus II7061Lennus II7062

I think we all know where we’re going next!

Lennus II7063Lennus II7083

Here are the weapons and armor you can buy in Misuto.

Lennus II7065Lennus II7066Lennus II7067Lennus II7068

Another town confirmed destroyed by Granada and his minions, and what’s more all the surface bases that led into the underground from the first game are also gone. That is not an accident, Granada is making certain that no one can even reach him, let alone challenge him.

Lennus II6702Lennus II7070Lennus II7071Lennus II7072

Going into Zaran’s shop and taking the stairs behind the counter gets us this clue. Normally that would be the end of it, but our friendly localizers decided to have some fun with things.

Lennus II7073Lennus II7074Lennus II7076Lennus II7077Lennus II7079Lennus II7081

Insert Sonic Real Time Dub “What the **** are you talking about” meme here.

Lennus II7082Lennus II7085Lennus II7086

No bread for us, but the Dragon’s Horn will be a nice consolation.

Lennus II7087Lennus II7088Lennus II7089

In order to reach Bejould’s castle, we must first pass through another tunnel. Our Holy Ship is unable to land on green, forested squares.

Lennus II7091Lennus II7094

We can get Sky spirits here, which will be very appreciated for helping Farus to get his Gubo spell up to the same destructive potential that Iris had.

Lennus II7095Lennus II7096Lennus II7097

Dinosaur dragons are big and beefy, but nothing a little heavenly lightning can’t destroy.

Lennus II7098Lennus II7099Lennus II7100

The final batch of new enemies and more sky spirits for Farus to power up with.

Lennus II7103Lennus II7104Lennus II7105

Bejould’s cave is very straightforward, so there’s not too much to screencap along the way.

Lennus II7106Lennus II7107Lennus II7109

If I had a nickel for every time I got a Preyer’s Tear in battle in Bejould’s Cave I’d have two nickels, which isn’t a lot but its kind of weird that it happened twice.

Lennus II7110Lennus II7111Lennus II7112Lennus II7113

Thanks to our very thorough instruction in Misuto, we enter Bejould’s Castle no problem. Next time, we will traverse Bejould’s Castle and recover two more seals. See you then.

5 Likes

oh my god i cant stand this incorrect spelling of daphny its so jarring ITS SO WRONG

also yes. its the mid nineties! there is miasma everywhere!

3 Likes

So much miasma, you’d think it was an early PS1 or N64 game!

Episode 62: Castle Anthrax (Free Cookie If You Get The Reference)

Lennus II7114Lennus II7115Lennus II7118

It does not take long to discover the central gimmick of Bejould’s nest; rather than have a series of different screens for each room, the entire dungeon is all one massive maze-like screen. Now, the rooms are not all identical but it is very much possible to get lost in this place, and while not right away I did end up resorting to a map I found online in order to make sure I didn’t miss anything, because there are some good treasures in this dungeon.

Lennus II7116Lennus II7117

We get our first random encounter, one of whom is a woman in a battle bikini and shoulder pads and I dare you to find a more 80’s design than that.

Lennus II7119Lennus II7120Lennus II7122

An important thing to note is that the bikini clad battle women can change their color and elemental affinity on their turn, which can mess you up if they change to the element that resists whatever attack you were going to use on them.

Lennus II7123Lennus II7124Lennus II7125

We have an encounter with all three variations, all of which can switch into one another at any time, we get a Purpbird feather, and Farus reaches level 8 in the Sky spirit so now his Gubo spell is going to be hitting really hard.

Lennus II7127

Like that!

Lennus II7126Lennus II7128Lennus II7129

There are plenty of dead ends around here, and the encounter rate makes you feel those mistakes.

Lennus II7130Lennus II7131Lennus II7132

The Mech Energy is an item that can be used to fully restore our Mecha if we choose to have one in our party, a major improvement on the viability of that arrangement.

Lennus II7133Lennus II7134Lennus II7135

The Zaygos Killer, in addition to having a fun name, is also a pretty strong weapon; unlike the Tsunami Sword it doesn’t always hit three times, but when it does it will do a lot more damage than its predecessor and even two hits from the Zaygos Killer gets the job done so we upgrade Farus.

Lennus II7136Lennus II7137

Remember what I said about everything being one giant screen? That includes this part too. Bejould is just in the middle of the nest and you can easily stumble on her without even realizing until you’re already there.

Lennus II7138Lennus II7140Lennus II7142Lennus II7143Lennus II7144Lennus II7145

I remember on previous playthroughs getting the impression that Bejould’s “daughters” were women that she abducted and brainwashed, but I can’t actually seem to find any evidence of that anywhere in the game. What I was able to find is that Bejould has an entry in the female villain wiki.

You got to hand it to those wikis, they are thorough.

Lennus II7146Lennus II7147Lennus II7148

I work on getting my defenses up. Bejould attacks twice per turn and likes to use wind attacks that hit the whole party. Joynus’s Lelowall spell is very useful for guarding against that, and with her Water spirit where it is she can buff two characters at a time with it.

Lennus II7149Lennus II7150Lennus II7151Lennus II7152Lennus II7154

Once all our buffs are in place, Bejould is no threat. We can easily keep our health up under these conditions and tear through her defenses.

Lennus II7155Lennus II7156Lennus II7157Lennus II7158

And so with our team of very powerful ladies, Bejould goes down.

Lennus II7159Lennus II7160Lennus II7161Lennus II7162

With Bejould defeated we recover the seals in her possession. We could just leave the dungeon now, but there are actually a few more treasures to grab.

Lennus II7163Lennus II7164Lennus II7165Lennus II7166Lennus II7167Lennus II7168

But before I grab those treasures I use my stat boosters and rearrange Farus’s spirits so that he can cast Escape so once I’ve gotten the last treasure I can just leave immediately. At this point the only spirit Farus needs to level up is Void, so the rest of his slots can be very flexible.

Lennus II7169Lennus II7170Lennus II7171Lennus II7172

The Mage Ring will be a much appreciated buff for Farus’s Gubo spell, while the Arm-X is a strong upgrade for a Mecha. The Bomb Bottle, as before, is a joke.

Next time we do another test run with the mecha and do some towning around. See you then.

5 Likes

i get the feeling that bejould’s daughters are the random encounter element swapping 80s ladies

Oh for sure! I just wonder in my mind if she brought them with her to Lennus, or if she raided a bunch of towns to brainwash them into being her daughters.

Episode 63: Tasty Treats are Fun to Eat

Lennus II7174

We open today with one heck of a level up for Nikita. 13 points of strength, 12 points of speed, 10 points of stamina. Lennus II gets it, big number increases are good!

Lennus II7175Lennus II7176Lennus II7177

I stop by Karon to get the bits of dialogue I didn’t do earlier in my world recruitment tour, and for something else that is really important.

Lennus II7178Lennus II7179

This Mega Bottle that will let us heal for 4000 HP a pop, very nice.

Lennus II7180Lennus II7181Lennus II7182Lennus II7183Lennus II7184Lennus II7185Lennus II7186Lennus II7187

We get confirmation on the fate of our old friend Bean, see that Joyce’s grave is being tended to, Garana’s grave gets the disrespect it deserves, and Ogawa…I have no idea what that’s about.

Lennus II7188Lennus II7189

Finally I switch my Mecha from having regular arms to having Arm-X, giving us two new attacks in place of the rocket punch and bullet shower.

Lennus II7190Lennus II7191Lennus II7192

The Grand Slicer is a group hitting attack that does decent damage.

Lennus II7197Lennus II7198Lennus II7199

The Energy Drain on the other hand is absolutely amazing and will absolutely be able to keep the Mecha’s health up while also doing good damage. With this, the mecha’s Body Slam attack has just become viable to use regularly.

That said, I’ll still be sticking to my current party, but it is fun to see how strong the Mecha can be as we keep getting better parts for it.

Lennus II7200Lennus II7202

We make our way to Conshuito to prepare for the assault on Boozoo’s castle.

Lennus II7203Lennus II7204

Conshuito is as weirdly fanatically evil as ever.

Lennus II7205Lennus II7206Lennus II7207Lennus II7208

I bet that kid’s got a Boozoo action figure, zoooooo!

Lennus II7209Lennus II7210

The Consuito weapons and armor shops.

Lennus II7211Lennus II7212Lennus II7213Lennus II7214Lennus II7215Lennus II7216

And with this big tray of rotten food, we will now be able to enter Boozoo’s castle.

Lennus II7217Lennus II7218Lennus II7219

Dude, you knew that going into the relationship, you have no business complaining and being insecure.

Lennus II7220Lennus II7221Lennus II7222

And that concludes our business in Conshuito. Next time, Boozoo’s castle where we will recover two more seals. See you then.

3 Likes

Episode 64: Is That a Monkey-Fighting JoJo Reference???

Lennus II7223Lennus II7224

Boozoo’s castle is up on this snowy rise that our Holy Ship cannot land on. Thus, we must land down south and walk our way up these stairs to reach it.

Lennus II7225Lennus II7226Lennus II7227Lennus II7228

We encounter one new set of enemies on our way to Boozoo’s castle and rip our way through them quite decisively with Nikita and Joynus’s brutal fighting power.

Lennus II7230Lennus II7231Lennus II7233Lennus II7234Lennus II7235

With the food in our pack, we are able to get past the guards and go on in to Boozoo’s castle.

Lennus II7236

I feel that we, as gamers, can all recognize exactly what kind of setup this is and I see no reason at all to explain anything about the gimmick of Boozoo’s castle.

Lennus II7237

…Not going to lie, Boozoo suddenly calling us out like that is a bit spooky.

Lennus II7238Lennus II7239Lennus II7240

Our first encounter contains the only new enemies of the area, and Farus wipes them all out with his good and powerful Gubo that even earns him a level that will make all his spells even stronger.

Lennus II7241

The Combat Bottle has an interesting use, it can be used in battle to raise a target’s max HP by 4000. I don’t think I ever really use it, but options like that are always good to have around.

Lennus II7242Lennus II7243Lennus II7244Lennus II7245

The Head-77 will give us some more upgrade potential for our Mecha friend.

Lennus II7246Lennus II7247

This bit can trip you up a little bit, your first inclination would be to slide down to the open sections, but that just leaves you stuck with the only way being to slide back to where you started. So you have to go down into the pillars where you can’t see yourself and slide right.

Lennus II7248

The Budding Sword is a joke weapon; it appears on the surface to be one of the stronger weapons in the game, but in battle a multiplier is applied that causes it and any spells you cast to become much weaker. Don’t use it.

Lennus II7249

All in all, Boozoo’s castle is pretty short, just make sure you slide in the right spots and you’ll get through with all the treasures in no time.

Lennus II7250Lennus II7251Lennus II7252Lennus II7253Lennus II7254Lennus II7255

Each of Granada’s Four Angels has their own unique boss theme, and Boozoo’s is by far the goofiest. And what’s more, you do not have to take my word for it.

https://downloads.khinsider.com/game-soundtracks/album/lennus-2-snes

The entire game’s soundtrack can be found here.

And here is Boozoo’s theme specifically.

Lennus II7256Lennus II7257Lennus II7258

Boozoo is highly vulnerable to Air elemental attacks, and likes to attack us by hurling himself at the party.

Lennus II7259Lennus II7260Lennus II7261

After taking enough damage, Boozoo decides show us all that he’s been using Anchor Arms to become a huge jerk that everyone loves.

Lennus II7262Lennus II7263Lennus II7264Lennus II7265Lennus II7266

His attack animation changes up slightly, but in the end we defeat him with no trouble at all. So much for the supposed strongest Angel.

Lennus II7267Lennus II7268Lennus II7269Lennus II7271

…Boozoo, why haven’t you died yet? Balmod and Bejould did not linger nearly this long when we killed them.

Lennus II7272Lennus II7274Lennus II7277

…Oh no…

Lennus II7279Lennus II7280Lennus II7282Lennus II7283Lennus II7284Lennus II7285

Yep, you guessed it!

Lennus II7286

We have to do the entire boss fight all over again! Now you might be thinking, that’s annoying but not really a big deal, right? After all, didn’t I establish that this guy wasn’t a difficult boss fight at all?

Lennus II7287Lennus II7288Lennus II7289

HA HA HA HA HA HA HA HA HA HA BOOZOO IS THE MOST OBNOXIOUS BOSS FIGHT IN THE ENTIRE GAME BECAUSE ONCE HE GOES INTO HIS MUSCLE PHASE, HE CAN GO ORA ORA ORA ON US AND DEAL ABSOLUTELY LUDICROUS DAMAGE TO THE ENTIRE PARTY HE JUST TOOK DOWN MYRA IN ONE SHOT AND SINCE THIS IS A MULTI-HITTING ATTACK THAT MEANS THE SURVIVING PARTY MEMBERS WILL TAKE EVEN MORE DAMAGE IF HE DECIDES TO DO THAT AGAIN!

Lennus II7290Lennus II7291Lennus II7292

Suffice to say, hoping that Boozoo will not use his ultimate attack two turns in a row is not a viable strategy. And to make sure this is perfectly clear, this attack is not restricted to the rematch. This was something he could have done on the first time around, we just got lucky.

Lennus II7293Lennus II7294Lennus II7295Lennus II7296Lennus II7297Lennus II7298Lennus II7299

What I should have done going into this fight was to make sure I have the Grava Spell available. Fortunately, thanks to Spirit Orbs I’m able to switch that onto Farus and try again. As long as I cast Grava every turn, Boozoo can’t do anything to us and victory is assured.

Lennus II7301Lennus II7302Lennus II7303

Boozoo finally dies for good and we can walk away from this nightmare.

…I wonder if Boozoo ever counted how many breads he’d eaten in his life?

4 Likes