Painted some elbows that needed painted, then touched up where I was sloppy
The masking tape ruined the vallejo it was over so I ended up stripping the thighs, re-masking the knee, painting one, realizing it really needed primer, primed, then finally re-painted. Now I gotta touch up the knees lol. Doing this to an already assembled (and seam-glued) kit is annoying!!
Also picked out a color scheme for the torso and hands, but I still can’t decide on the head for some reason
The clips I use to hold the pieces pick up a cool patina
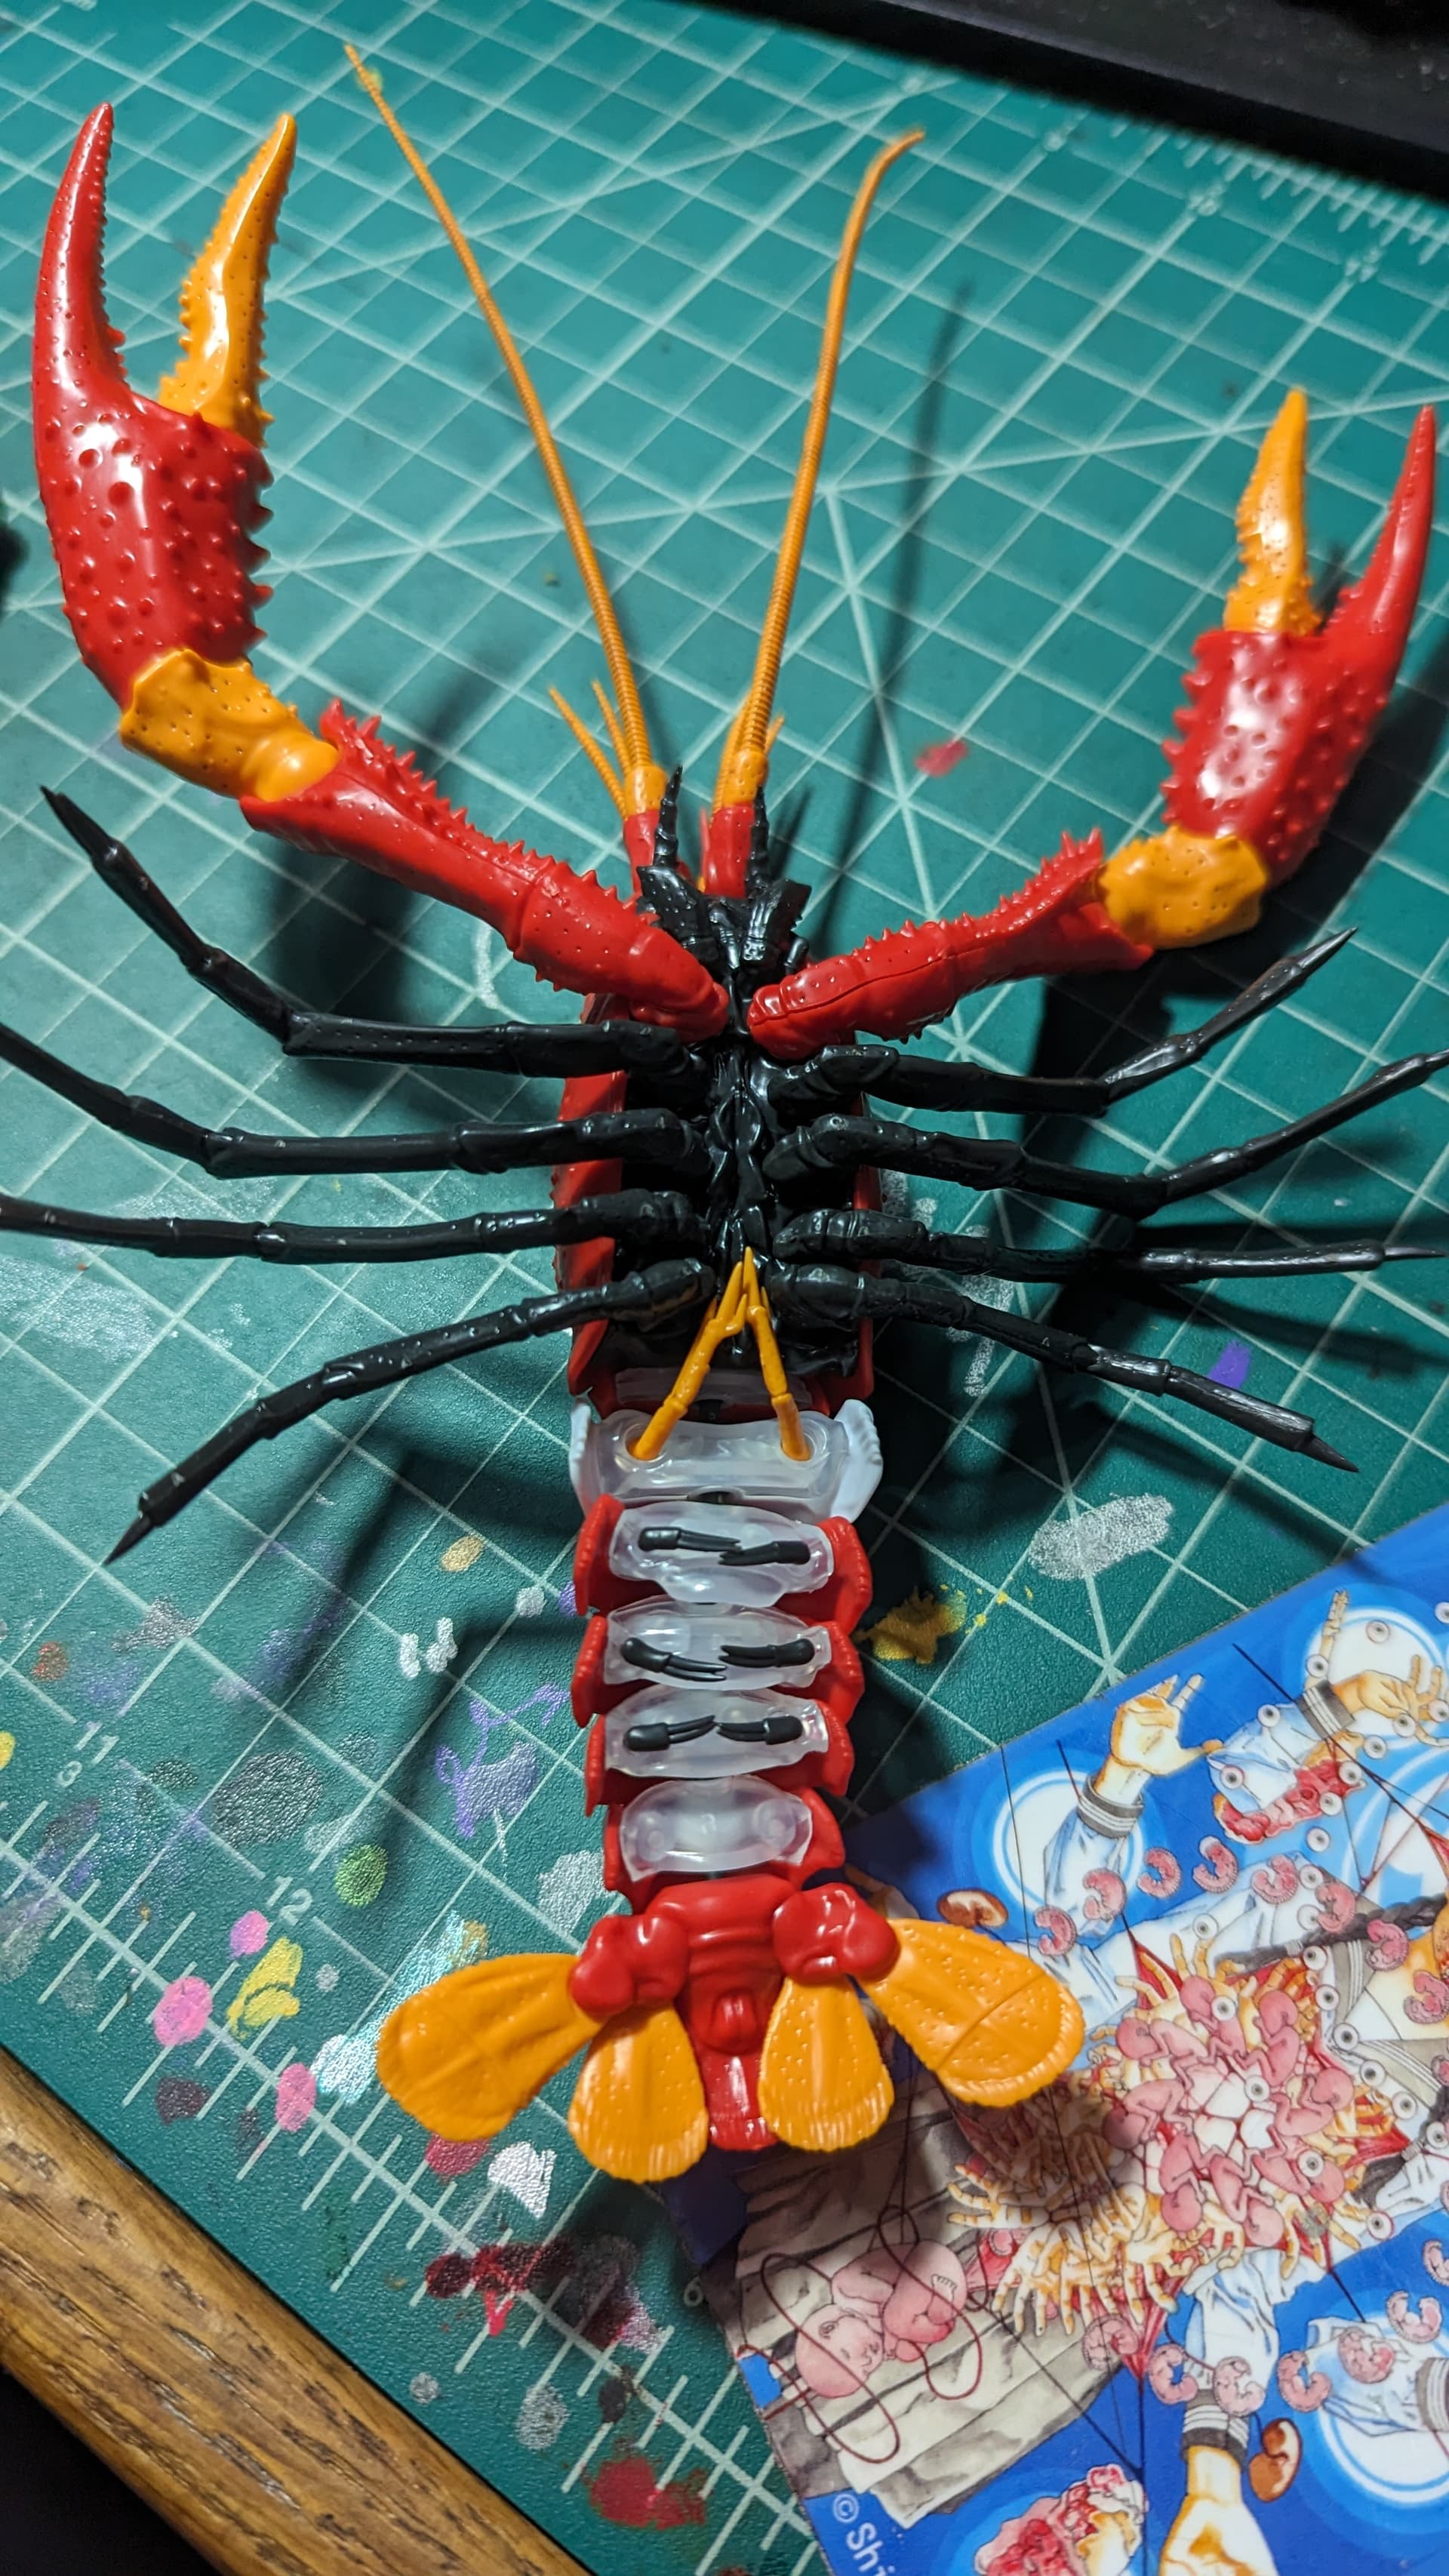
RG eva spine eat your heart out, nothing is harder than trying to get round pegs into round holes especially when the pegs are tiny and shiny and you’re huge and sweaty
at least misato is on every page being like ‘don’t forget your left and rights!’ ‘make sure you pay close attention’ which normally would piss me off because I am not a tiny baby child and maybe offer something actually helpful but she’s right. there were so many times I tried to put a right piece into a left hole and I ended up just labeling everything. so I guess the lesson is to listen to misato
I bought an airplane in a blind box and it was either a plane veronica wanted or one I wanted (basically win/win whoever likes the plane gets the toy) and it ended up being one I wanted but ITS A FUCKIN MODEL KIT THAT I NEED GLUE AND TWEEZERS TO PUT TOGETHER SO OF COURSE I DECIDE I WANT LANDING GEAR OUT
BUT I DID IT. I almost didn’t I almost was like fuck this you’re in flight mode but the runner stared at me and called me a coward so I got the fucking tweezers and glue and did it
A half-finished Type-A from Dodonpachi Dai-Ou-Jou.
It’s assembled but I gave up panel lining it because my fine tip gundam marker was just not getting into the grooves very well. I ordered some Tamiya panel line liquid on @ArOne’s suggestion, so I’m going to see if that helps at all. You can build this to be in either flight mode or parked mode and I went with the parked mode so I could have all the attachments and I thought it would look a little different from usual (even though we all know no shmup player character needs landing gear because you never make it home at the end of the game). I’m going to put it on the stand, and I see how the flight mode would have a better silhouette, but I didn’t want to just leave all those wheels in the box.
Another kit down. A lot of stickers, but really not that hard overall. Some stickers confounded me, and it took a while to figure out the correct placements. Despite how simply constructed the plastic model is, they had tons of small lines that could be panel lined and it took forever to draw in with Gundam Markers. I got some of the Tamiya panel liner accent and figuring that out is an ongoing adventure in itself.
Over the weekend I was at a hobby shop to look at its in-stock Tamiya panel line accents so I could see if they were visually different than the ones I ordered online, because mine looked really weird. I walked out of the store having spent a lot of money on model kits, including this Chinese King of Fighters model kit that I bought because I’d never seen it before. After looking at it more closely at home I might have made a mistake because there are loots of goofy parts to the design, but it is at least kind of a curio. I hope it’s at least a decent size, just like this giant box.
I might take a break from model kits for now, as for the past two months I’ve been redecorating my place to make room to put up all of my model kits. But I’ve got lots left to work through.
About 3 or 5 weeknights I guess? But I’d say most of the time was spent on panel lining. And there were maybe 4 or 5 stickers (these are actual stickers and not water decals) where I spent what felt like 10-15 minutes trying to put on correctly (these stickers are really merciful with how long they keep their stickiness).
These are the entirety of the assembly directions. It’s extremely straightforward and simple.:
And then a sheet showing sticker placement. Most of these are symmetrically placed on the plane, so once you do one side the other side is easier. And only a handful of these really gave me trouble.:
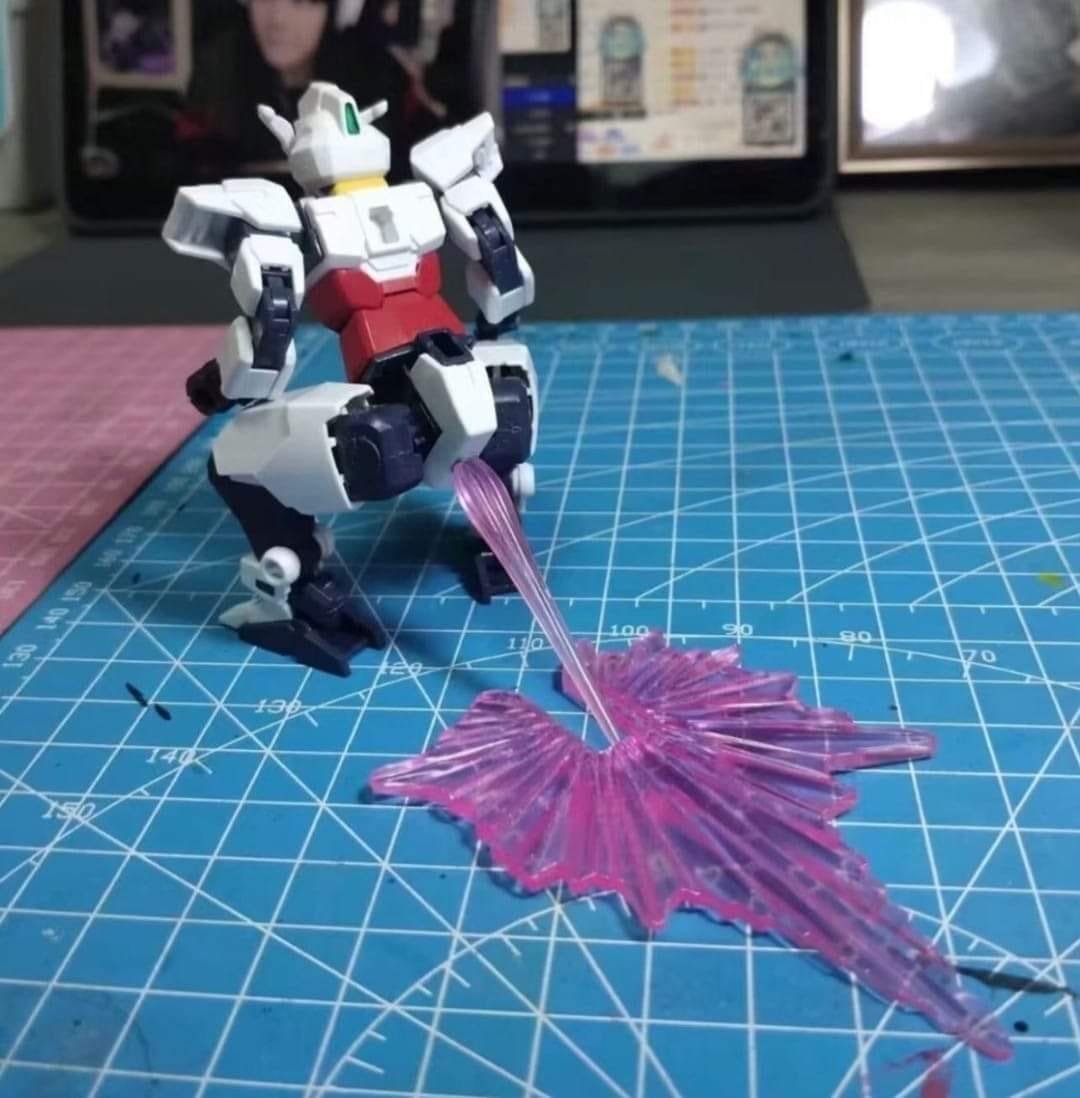
I’ve found the lighter fluid on a nice cotton swab (one of the dense pointy ones) works great for cleaning up. I slather a bunch of the panel liner on until the line looks completely full, then once all it’s dry enough to have lost its wet sheen I go in with the swab and I find that it cleans up really well. The lighter fluid isn’t so aggressive that it instantly dissolves the enamel so you have a lot of control, and unless you’re using enamel paints for some reason it won’t affect other paints. I have experienced it making polystyrene stress lines much much more pronounced so it’s my general policy to do gloss top coat first which helps it wick into the details anyway. When I get lazy and don’t do that I get annoyed at myself because shit like this happens