methods of input (Part 2)

Yeah, IMO they’re as good, if not better, than the 8bitdo Ultimate. I use one for PC games!

I still prefer the Mobapad ChiTu for Switch games though.

Also I have no idea how to reset the Gullikit controller to sync with my Switch, it refuses to switch from the PC binding.

This is great advice but also now I’m thinking of picking up a cheap flight stick to play Space Harrier and also maybe a Virtual On twin stick and just falling into a dark hole of wanting peripherals I’ll only use a few times before putting away :sweatpig: :sweatpig: :sweatpig:

5 Likes

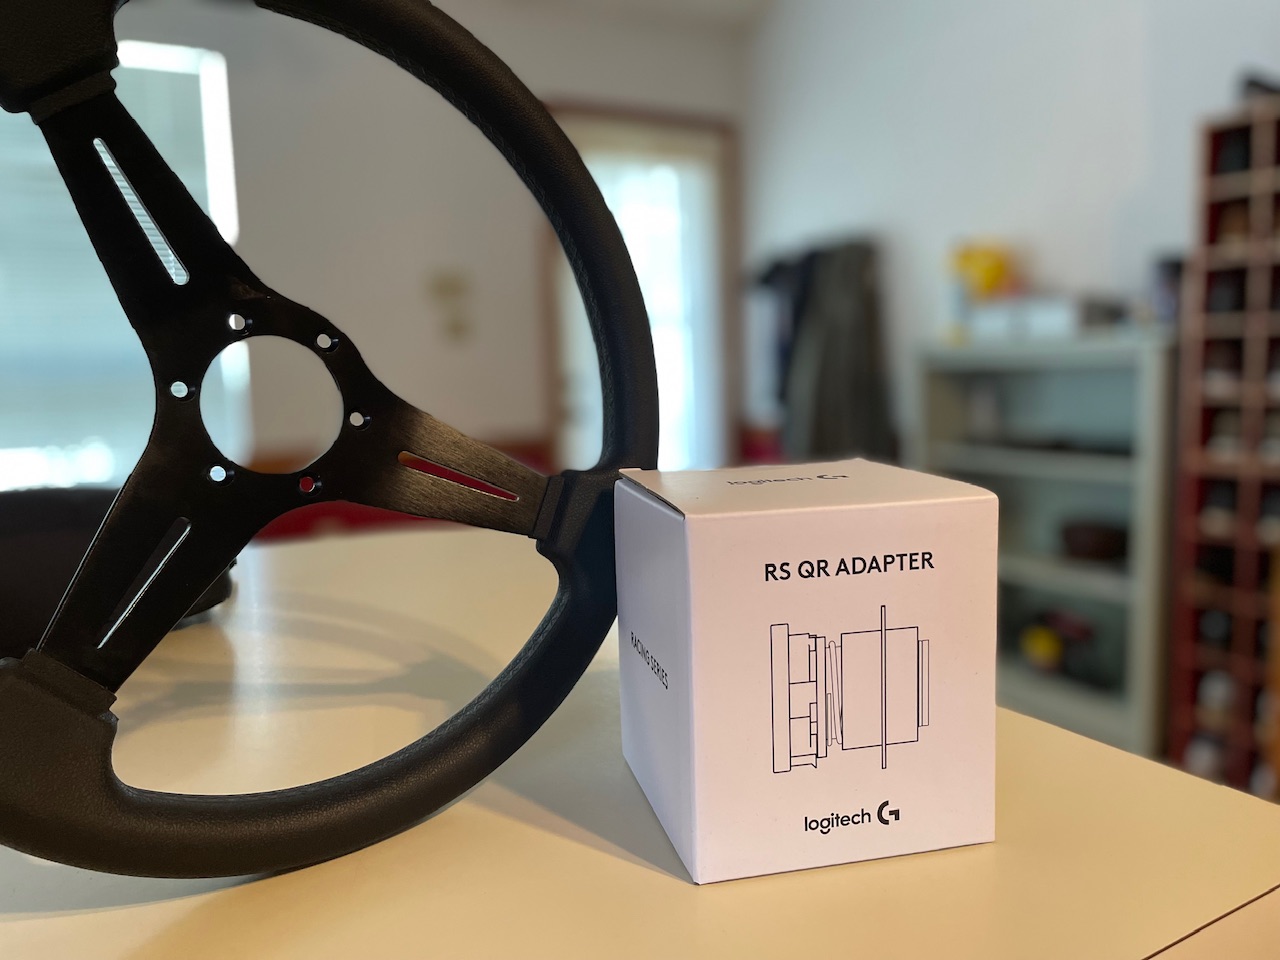
There was a simpler/cheaper solution to get a big round rally wheel!

4 Likes

I hard mounted my wheel to my rig by drilling another hole to accommodate the three mounting holes in the pro wheel base. It’s nice to not bang my knee on that huge clamp anymore! I’ll try out the new hub adapter soon! It’s going to be weird not having any buttons on the wheel.

5 Likes

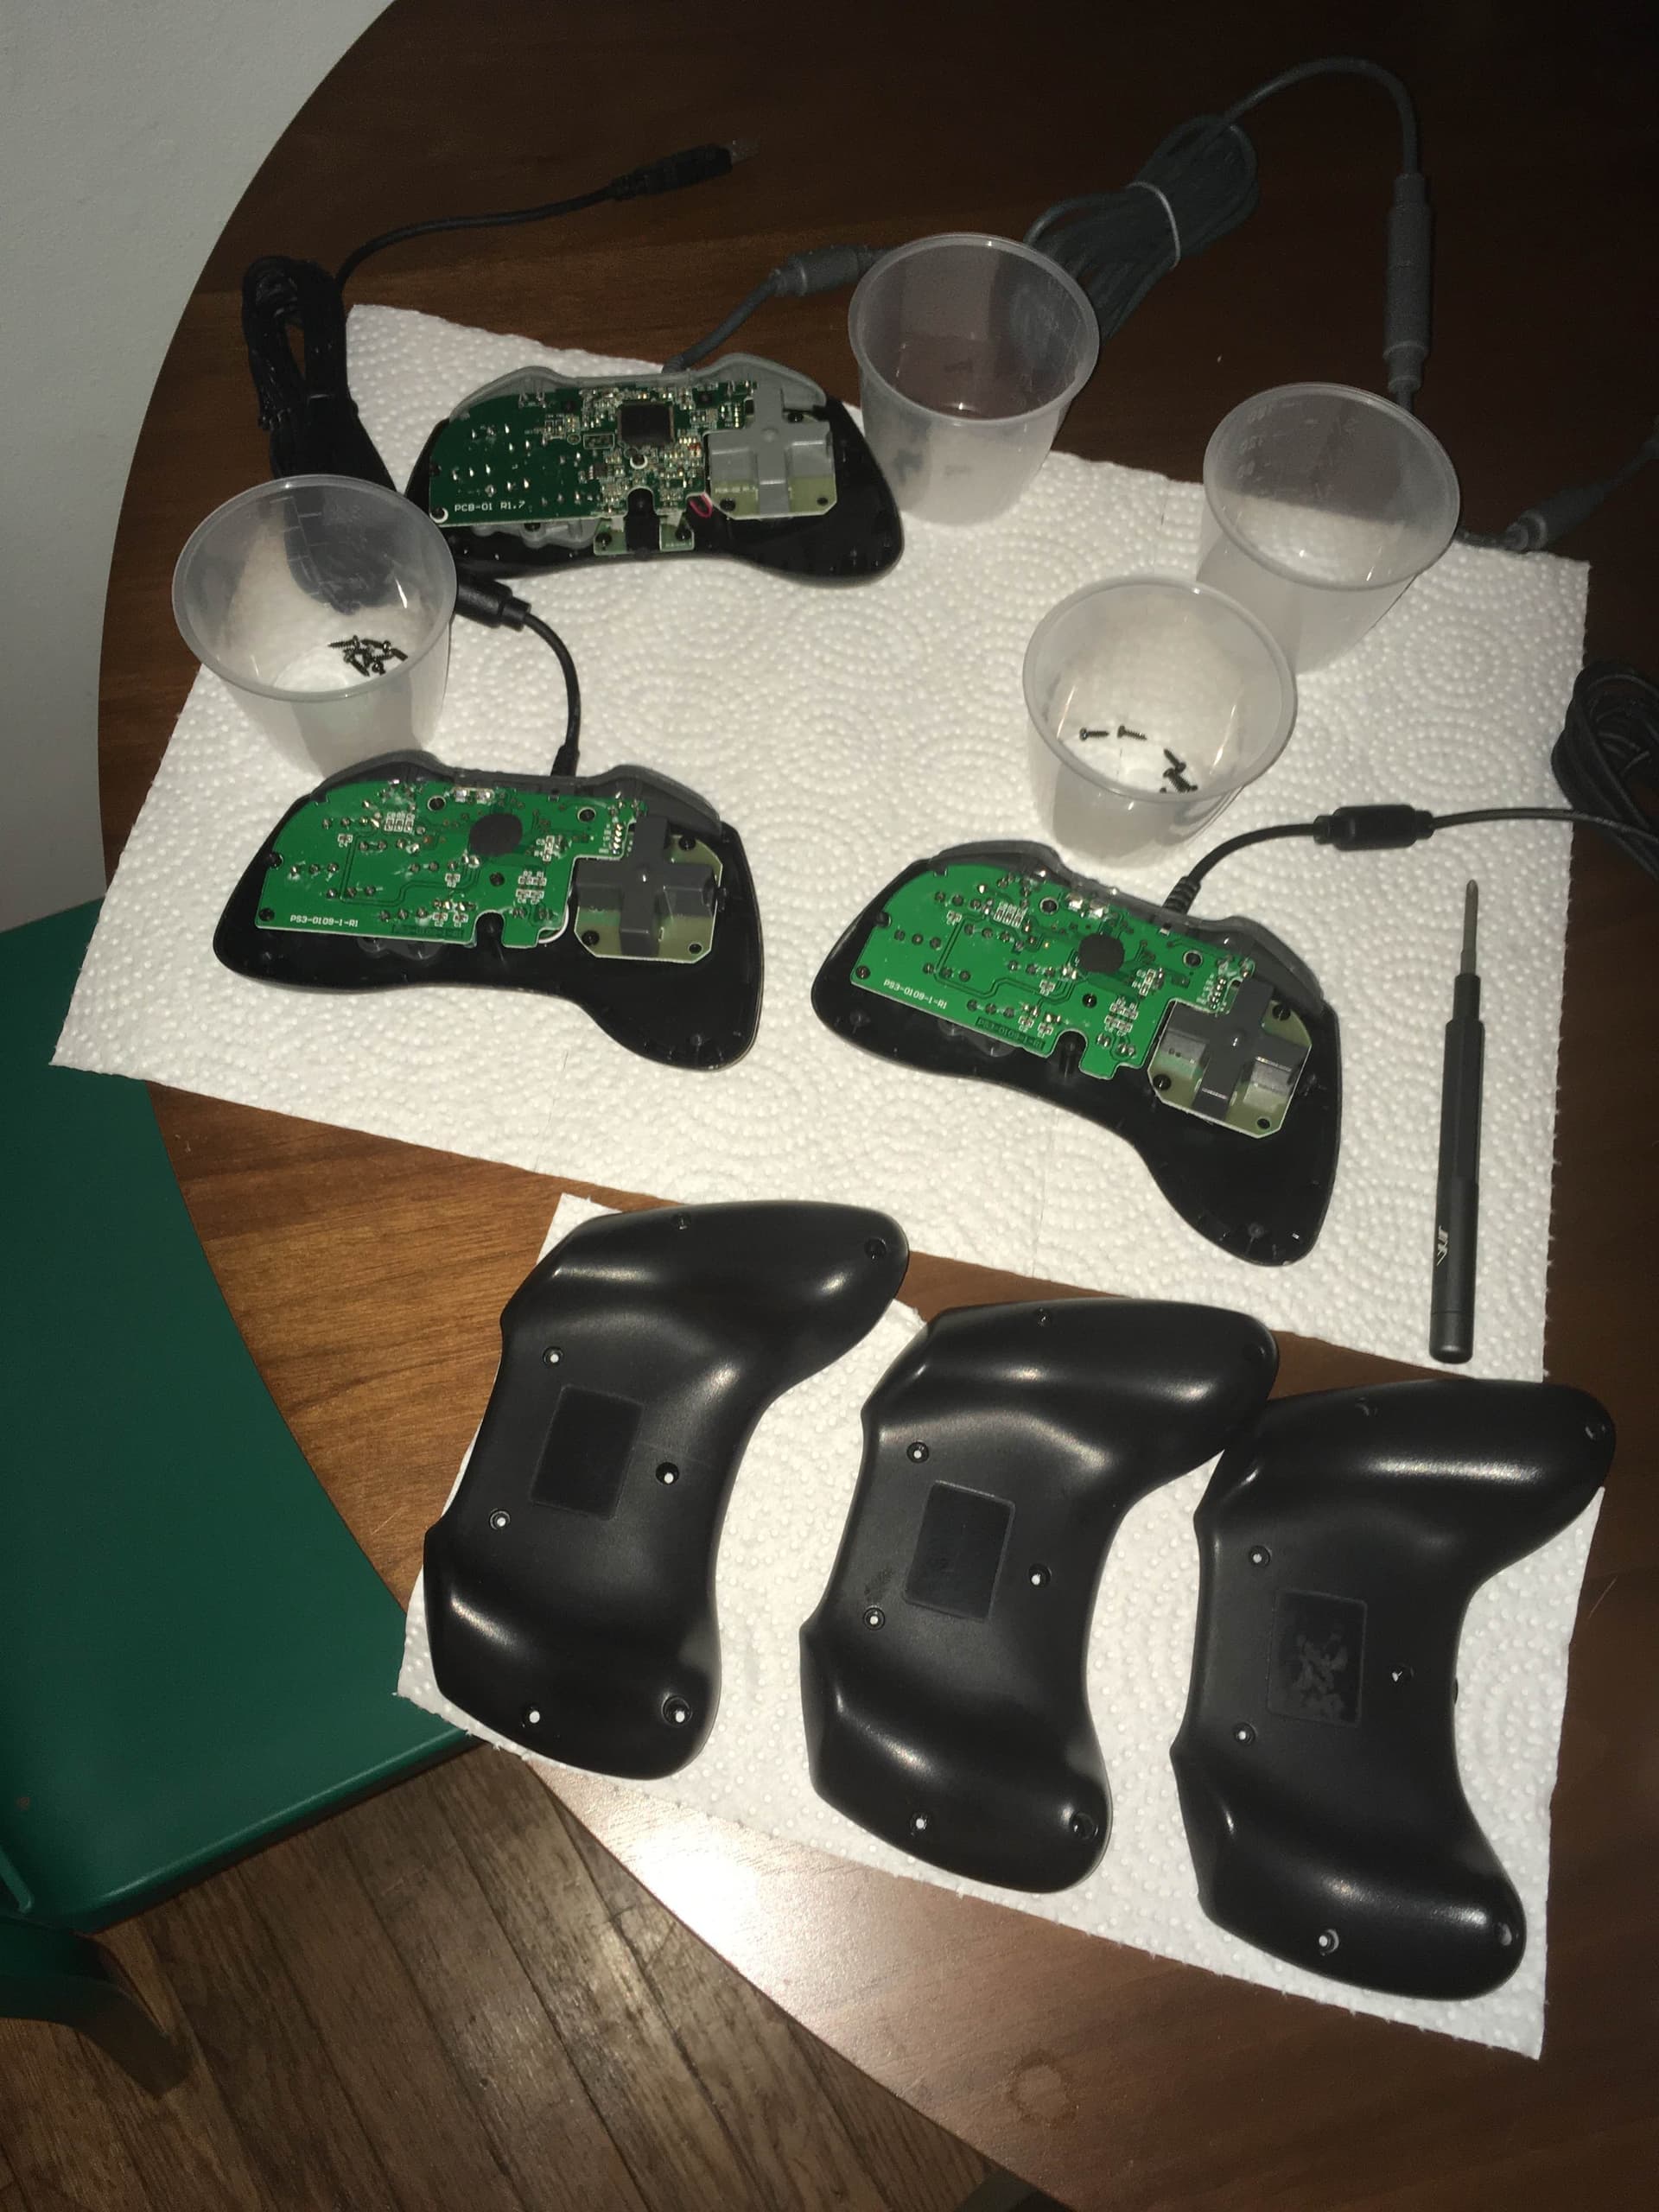
finally de-gooped these fuckers for good

came to my attention that there’s still an amazon listing in addition to the above linked ebay listing if anyone else is fool enough to gamble with the time-bomb electronics in these… https://www.amazon.com/dp/B0051MQK6K

once they fail i’m going to have to work out how to harvest and transplant the clicky thumbsticks into something more feasible :cryingpig:

mobapad m6 hd joycon pair make a close second to these in clickfeel for me, if for a six button layout they would be probably perfect…

10 Likes

I loved this pad but mine also died.
I used it to play through some YS PSP PC ports!
Controllers really make me want to get into 3D printing.

2 Likes

How did you successfully degoop them? I’ve got a 360 one that’s real goopy, and a few other controllers that have fallen prey to rubber emulsification.

2 Likes

isopropyl alcohol is the way, get a rag, give it a rub under bright light (can be tricky since the plastic and rubber solution are the same colour), rinse, repeat as necessary. a little bit will go a long way, it’s not as messy a process as i anticipated it might be given the goop is nasty

basically same process outlined here https://www.instructables.com/How-to-Clean-Sticky-Rubber/

for real, seeing that isolated thumbstick component ripe for the harvesting… :thinking:

8 Likes

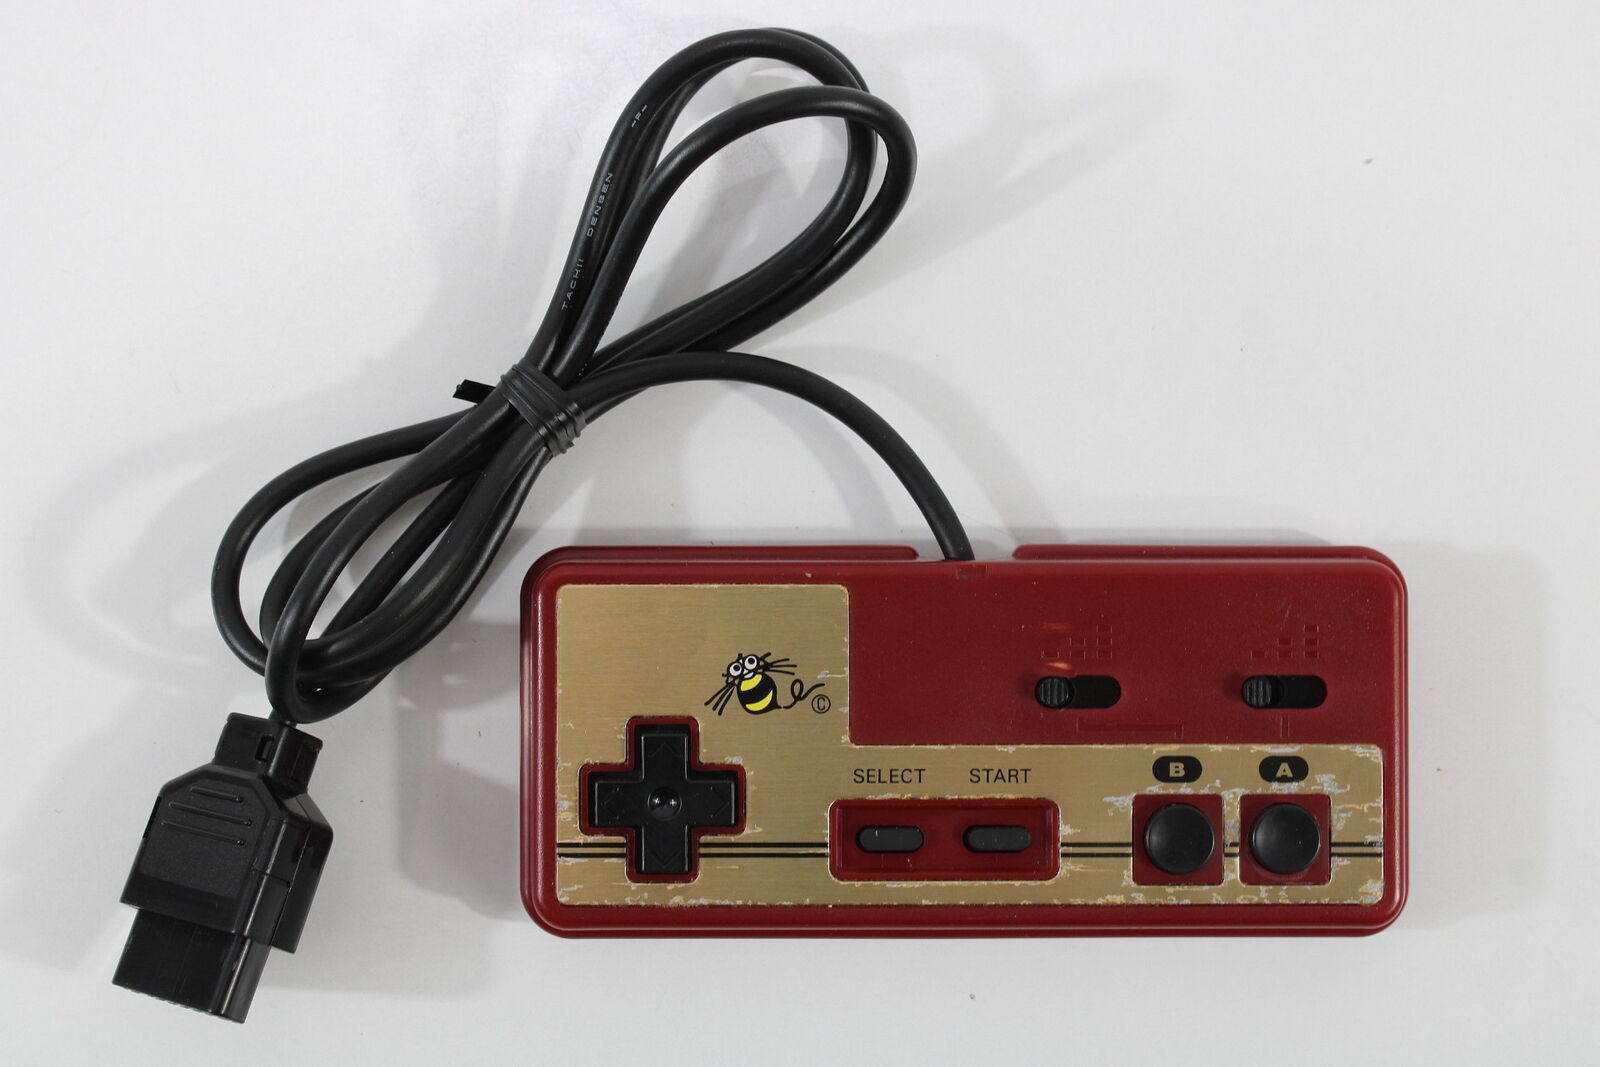
Is Beeshu a bootleg of Hudson? I have Famicom and MSX Hudson controllers that look similars. Great controllers btw

4 Likes

Could you take a closer photo of the back and front of the insides? If you’re good at soldering, you could solder wires to the contacts on the back and then hook it up to a Brook fighting board or GP2040. It wouldn’t fit in the controller but you could wire it up to a separate box or something :thinking:

I also want to learn how to 3D print so I could make myself a cursed controller. The PDP controller’s clicky stick would be great to bolt into something like the Padbox.

1 Like
5 Likes

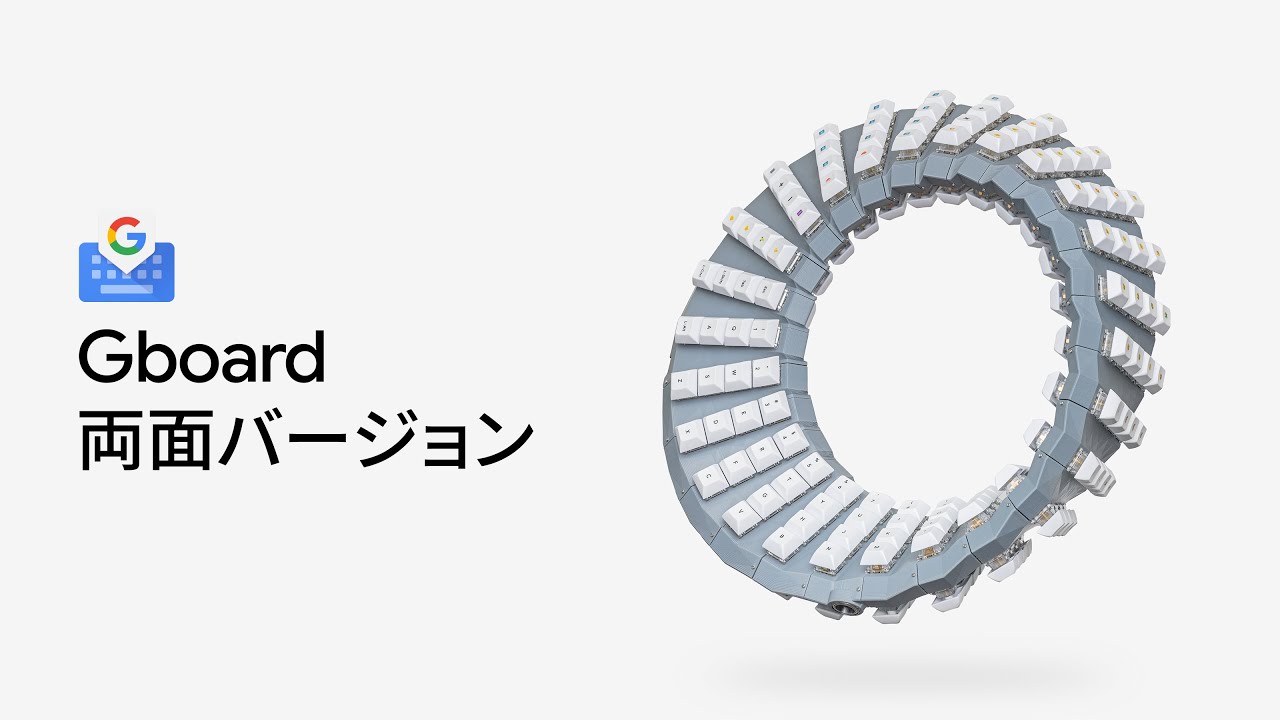
Biblically accurate keyboard.

8 Likes

Key not afraid.

7 Likes

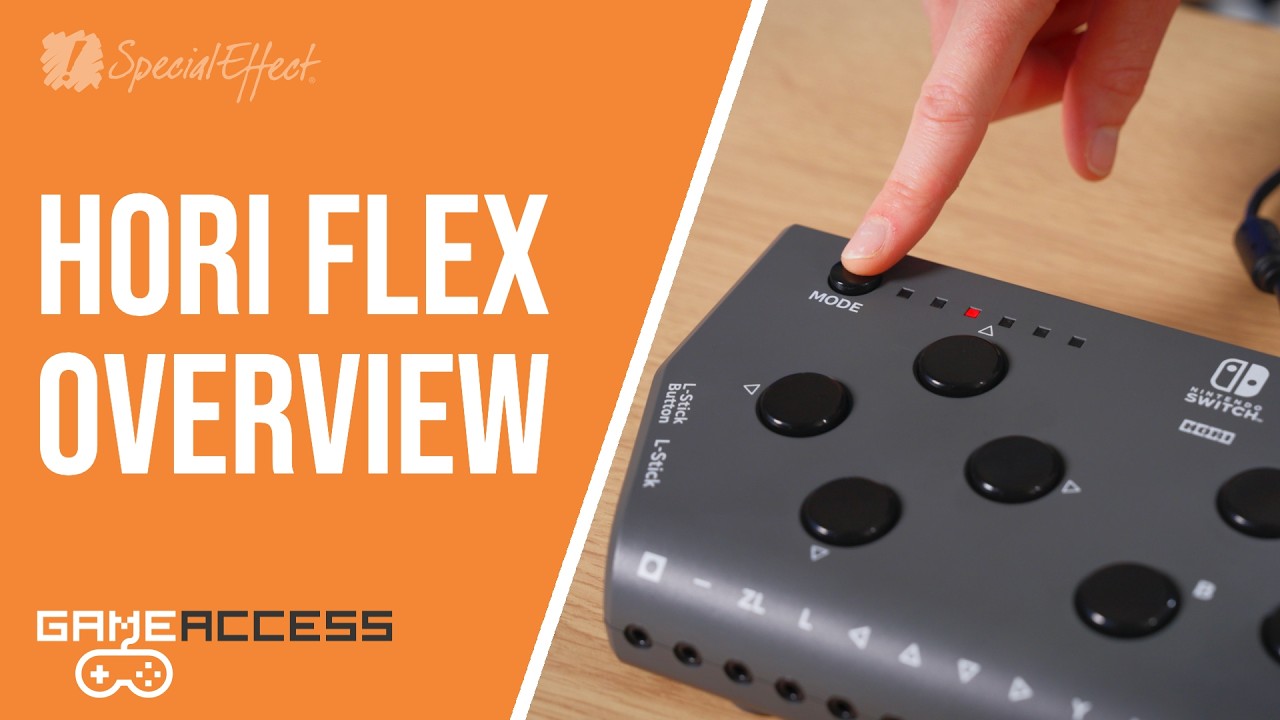
Kinda nice hybrid between the XAC and a more traditional layout. Can also plug in controllers for ‘cheap’ stick attachments.

5 Likes

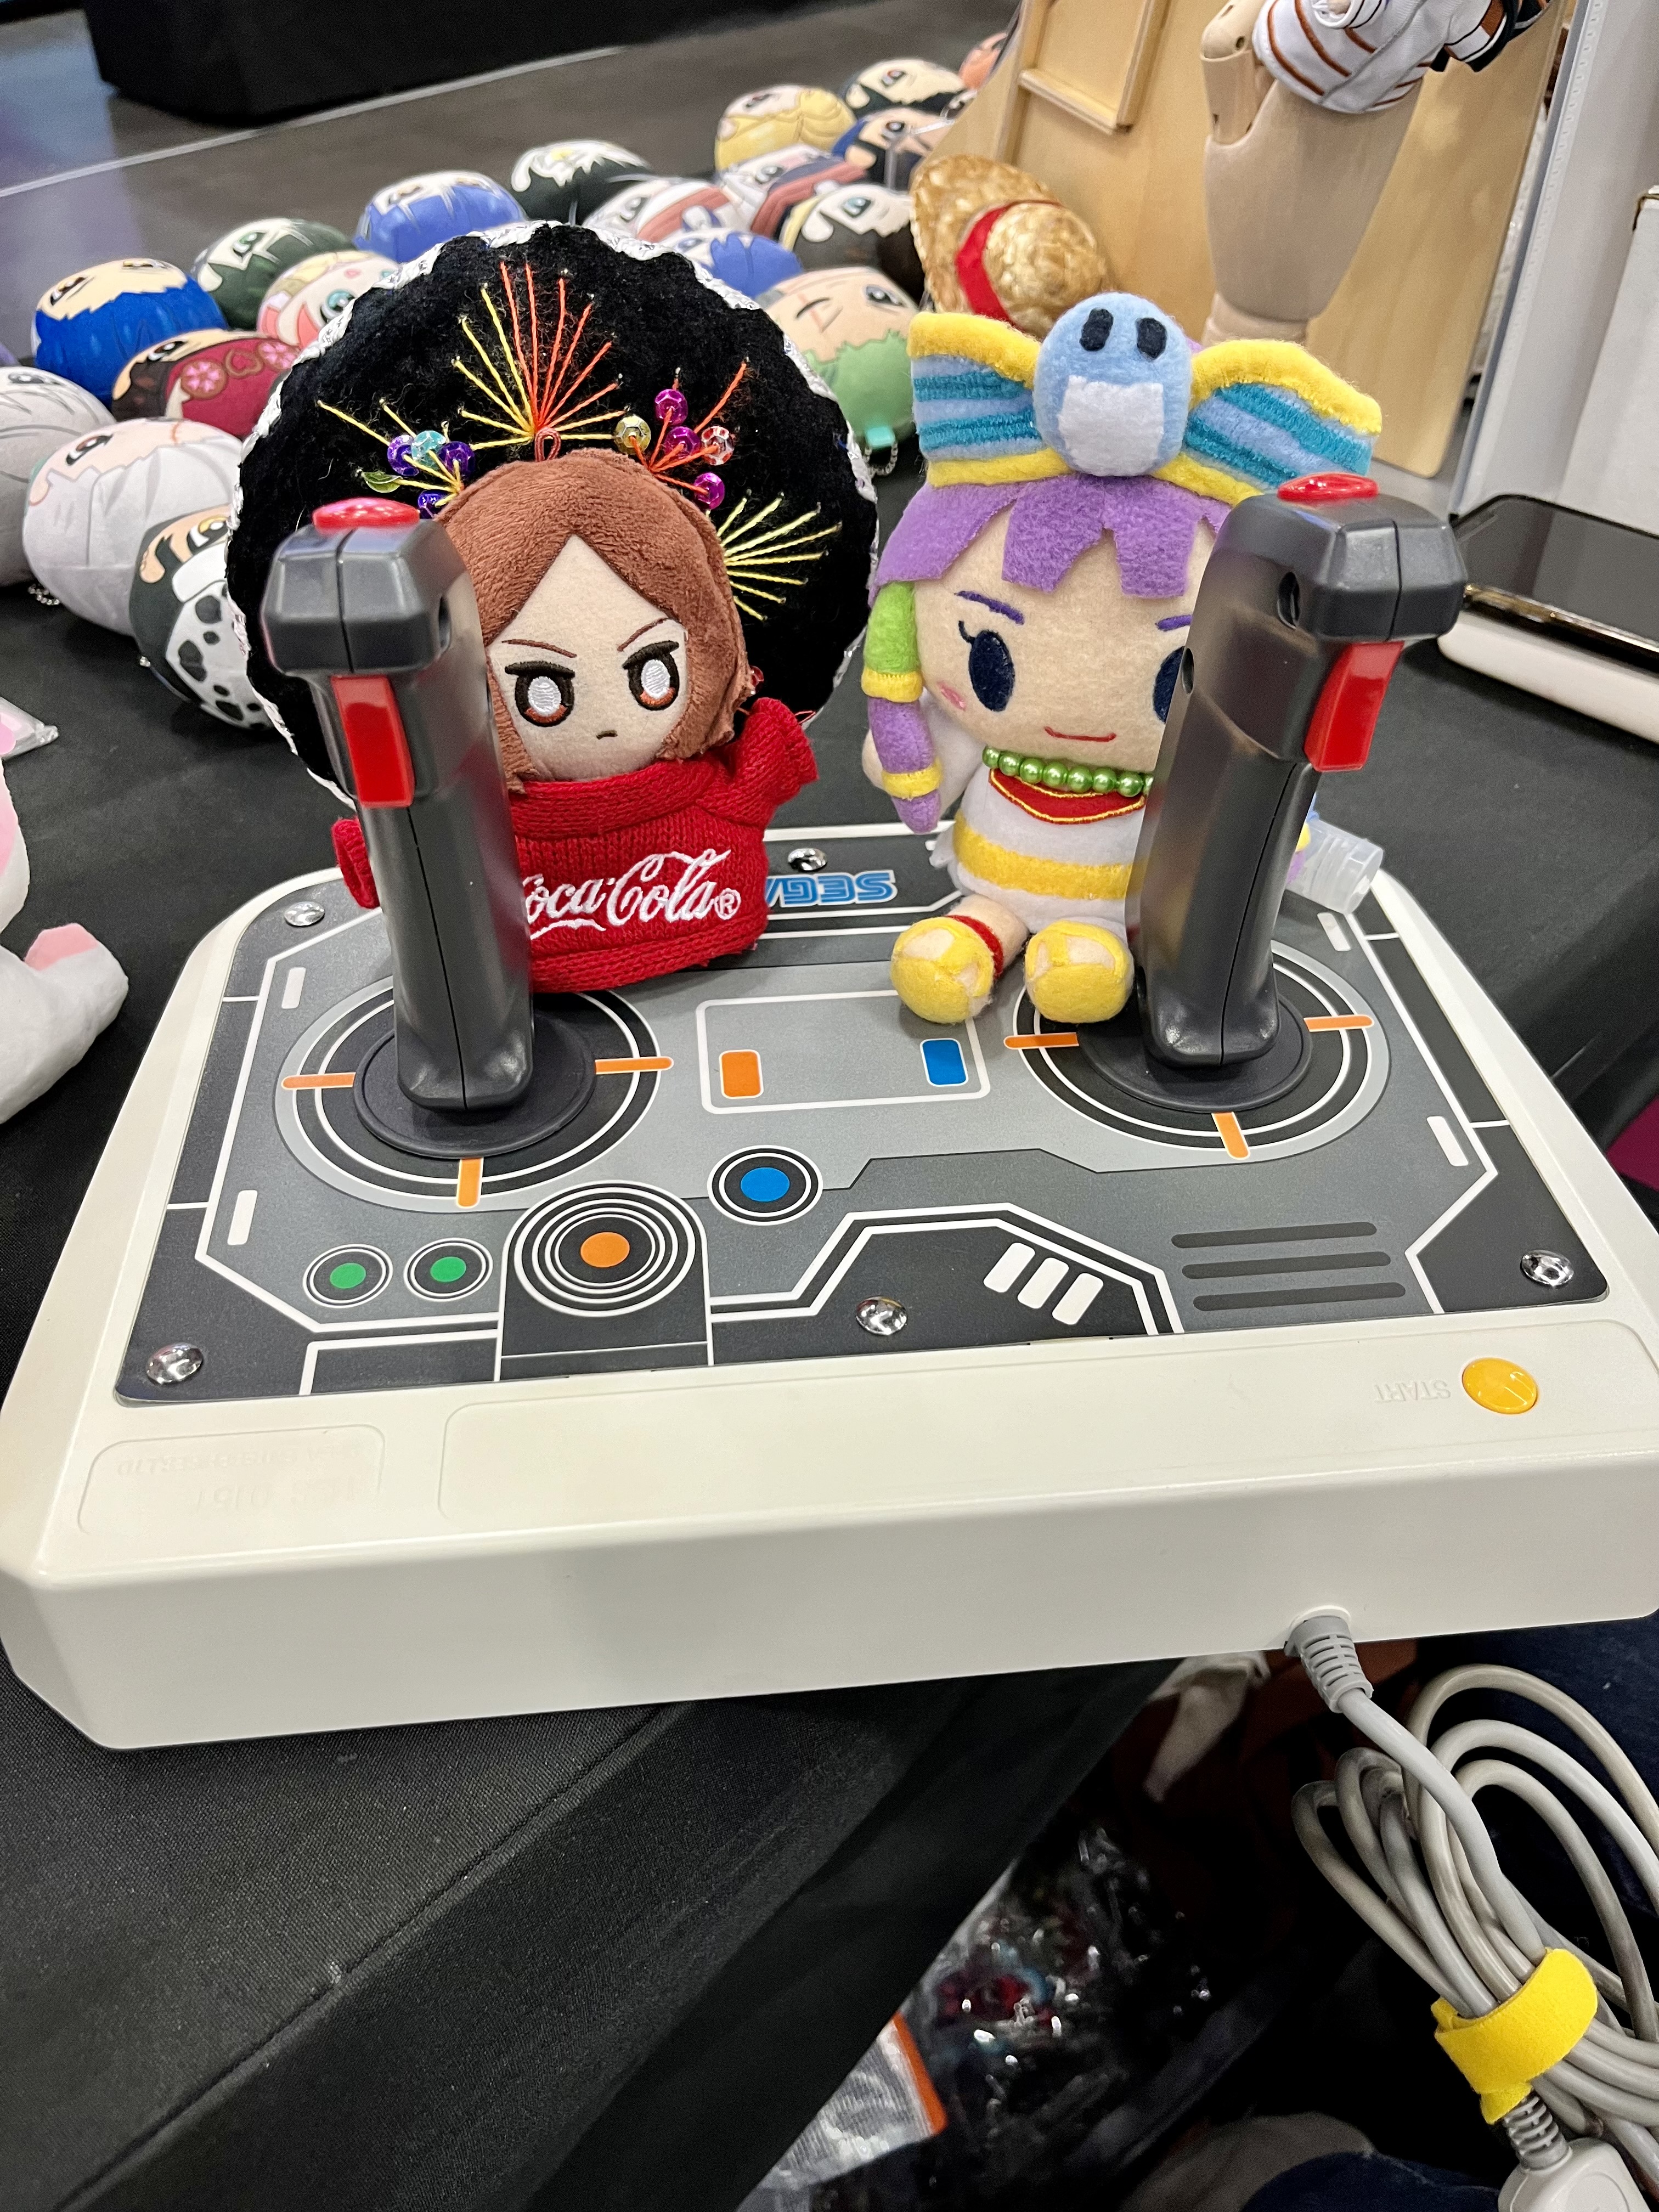
Last weekend my partner and I went to Portland Retro Gaming Expo! I picked up some Virtual On Saturn Twin Sticks there for $150, which is way overpriced compared to eBay listings which go from $80-120, but I wanted to test it out in person and get the one that felt the best to me. The owner actually let me try out two Saturn twin sticks and a Dreamcast twin stick, which was nice of him because he had to pull them out of their boxes and back in each time.


They worked great! I was able to beat Saturn Virtual On no problem, and they felt responsive and nice despite being nearly 30 years old??

I tried using them on PC with a Raphnet Saturn adapter I have, but I just could not get it to work for the life of me. The directions didn’t work and only pressing down on the right stick worked as an A press? I spent hours but it was a waste of time in the end, but that was alright because I had a plan.

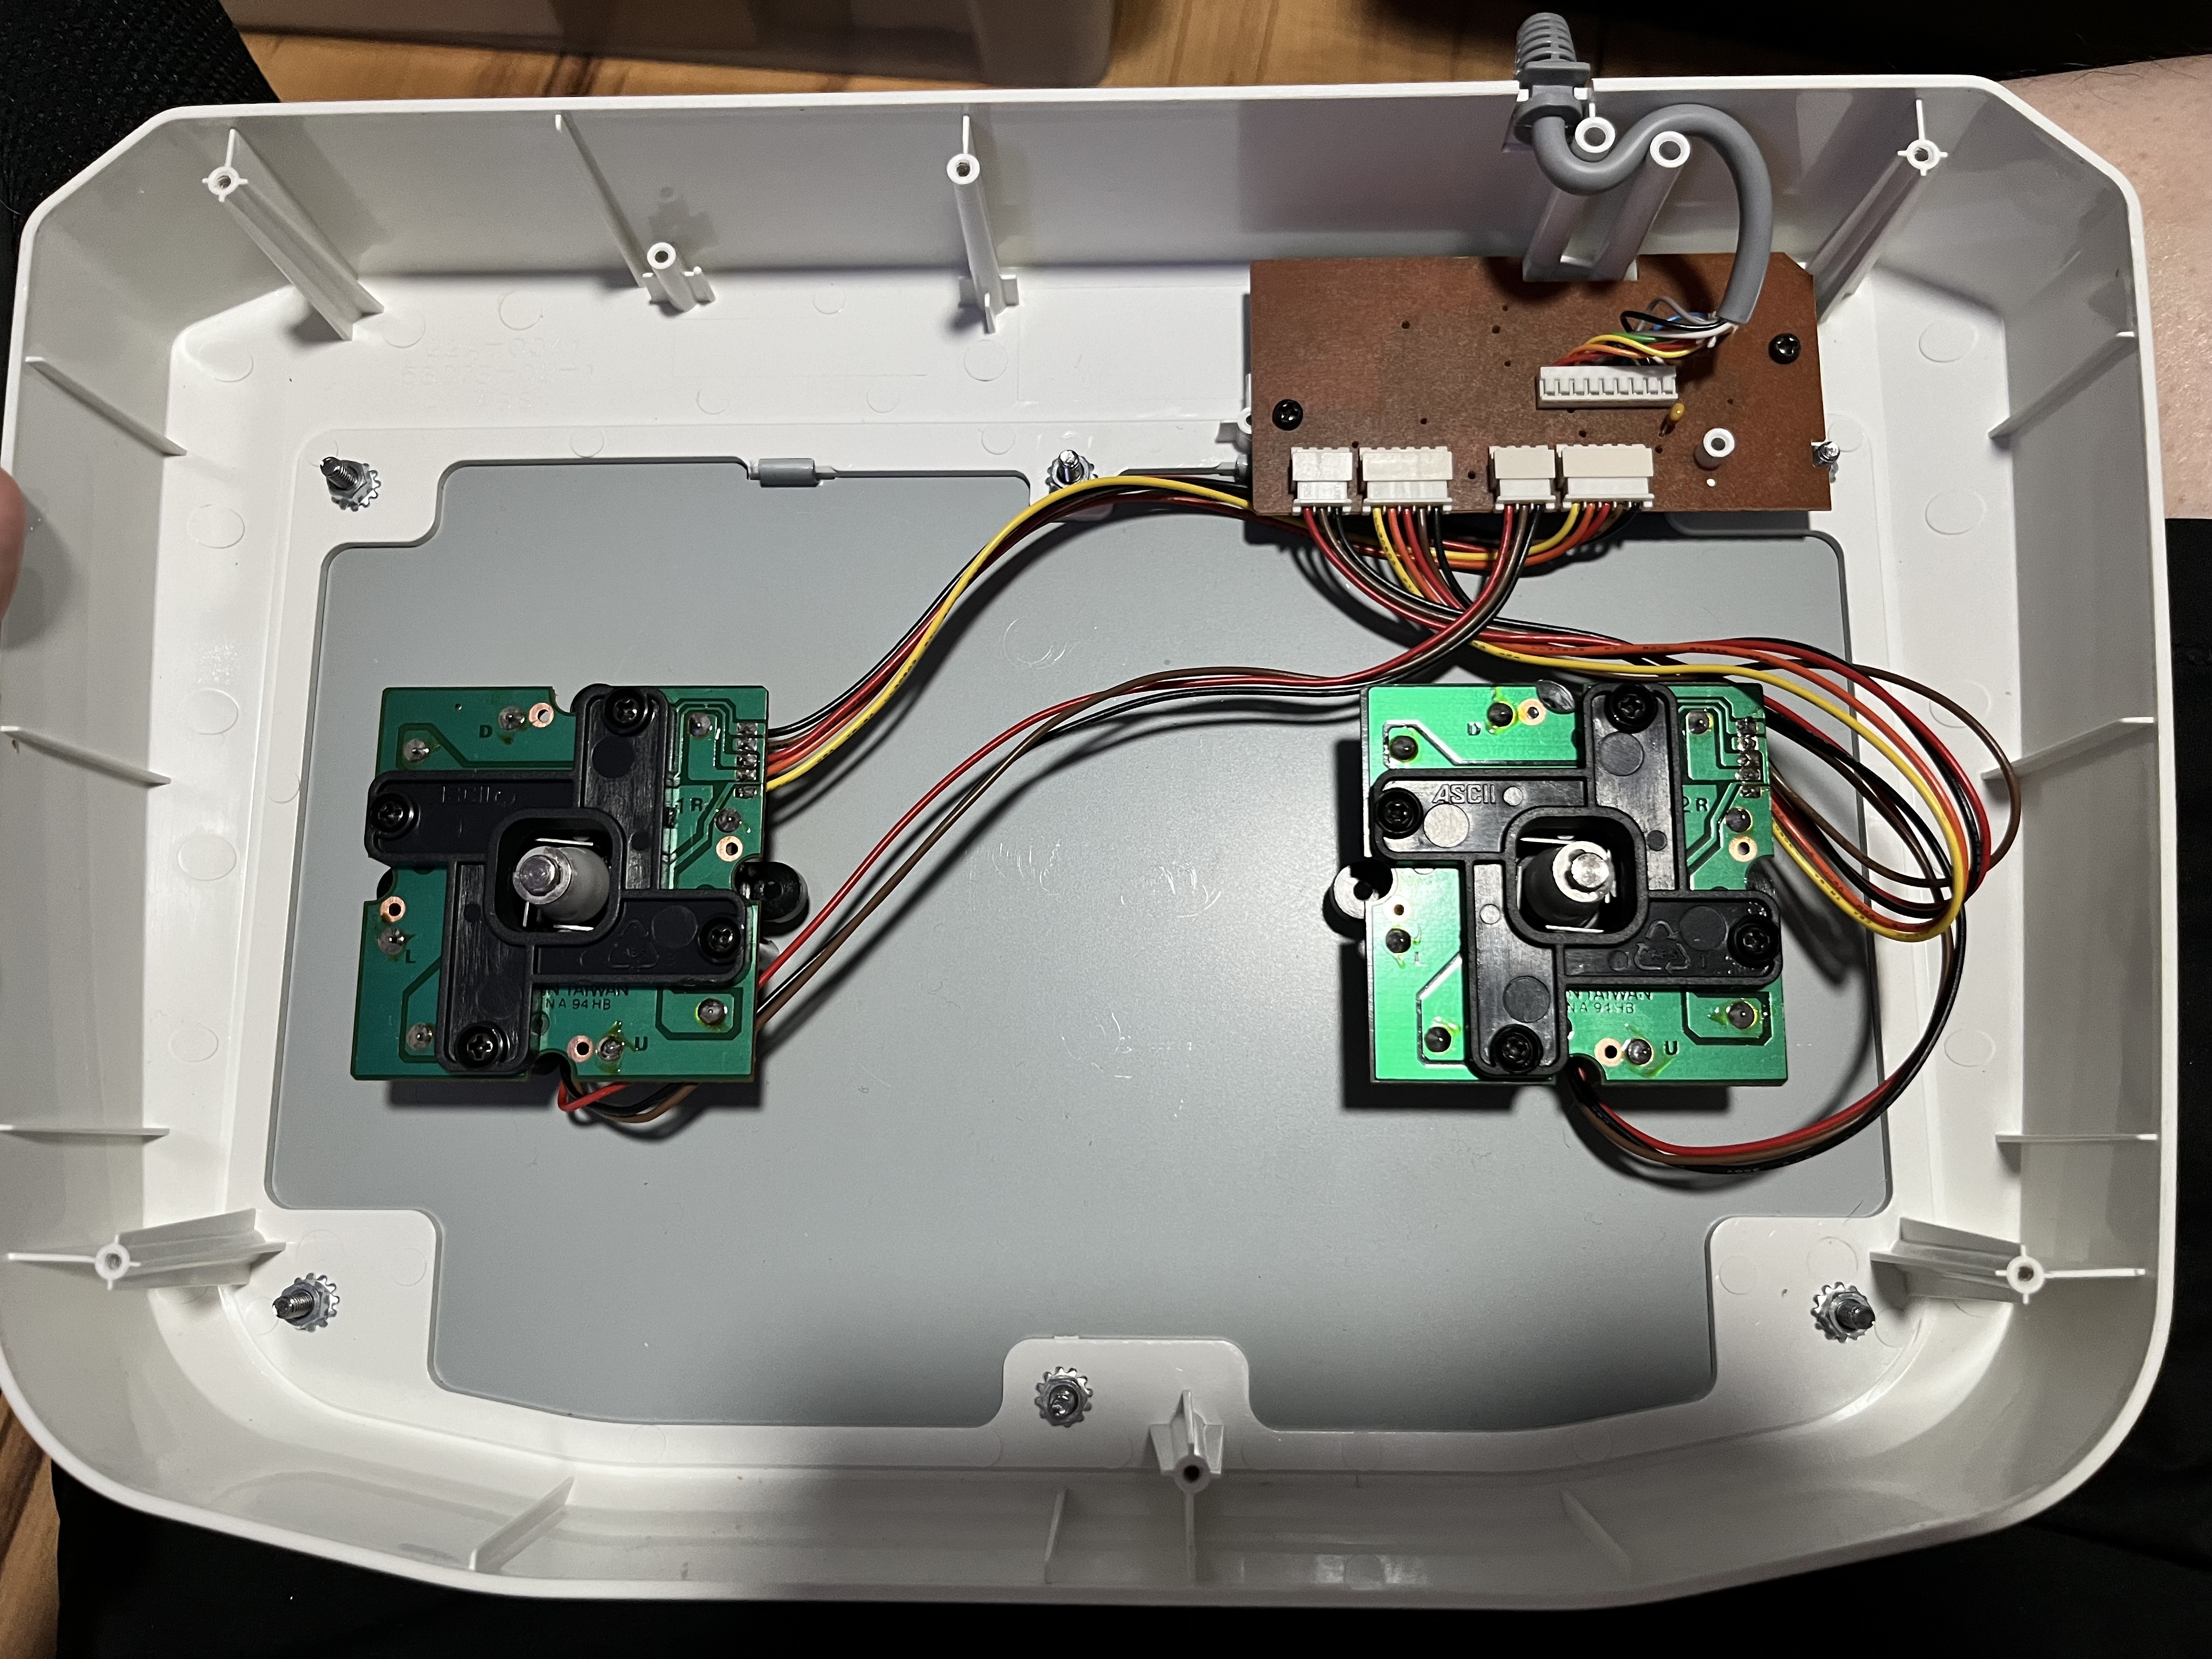
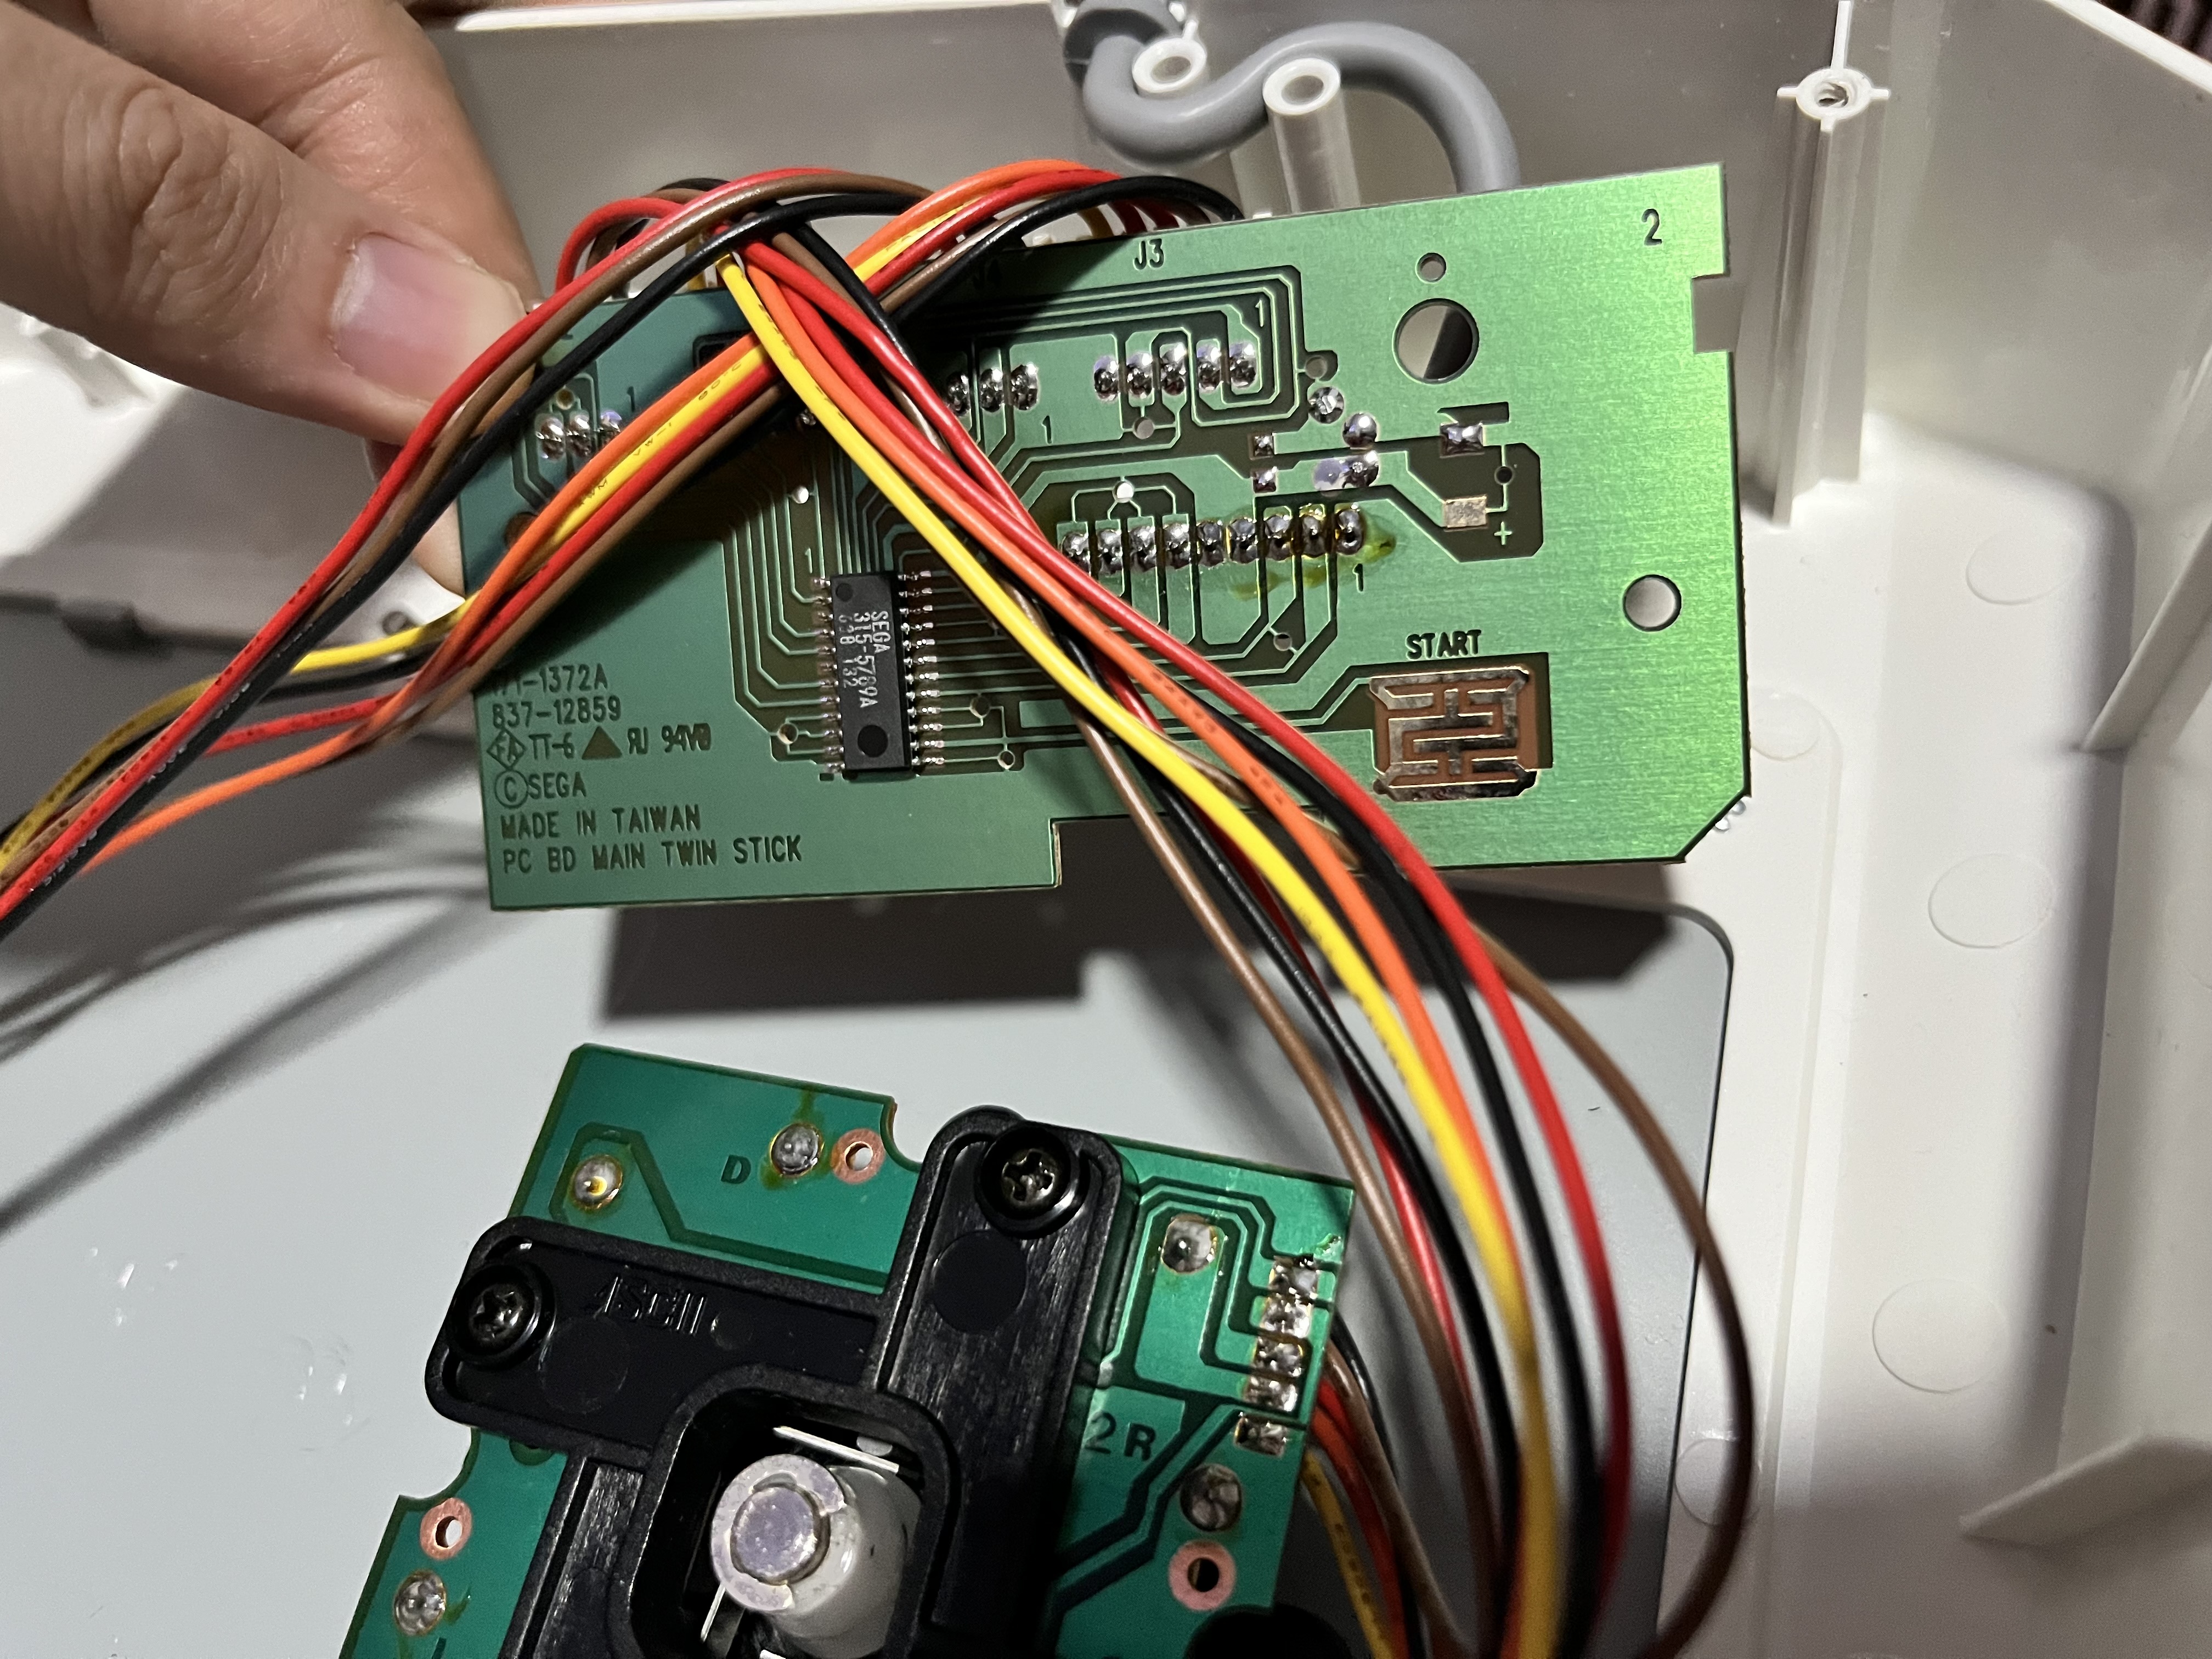
Before getting the sticks, I researched them heavily and learned that they’re basically just two arcade stick levers but with flight stick grips on top hooked up to a pcb, so I knew I could mod them easily. So I bought a cheap PS4 Brook board and wire harnesses to convert them to PS4/PC/Switch compatible sticks.

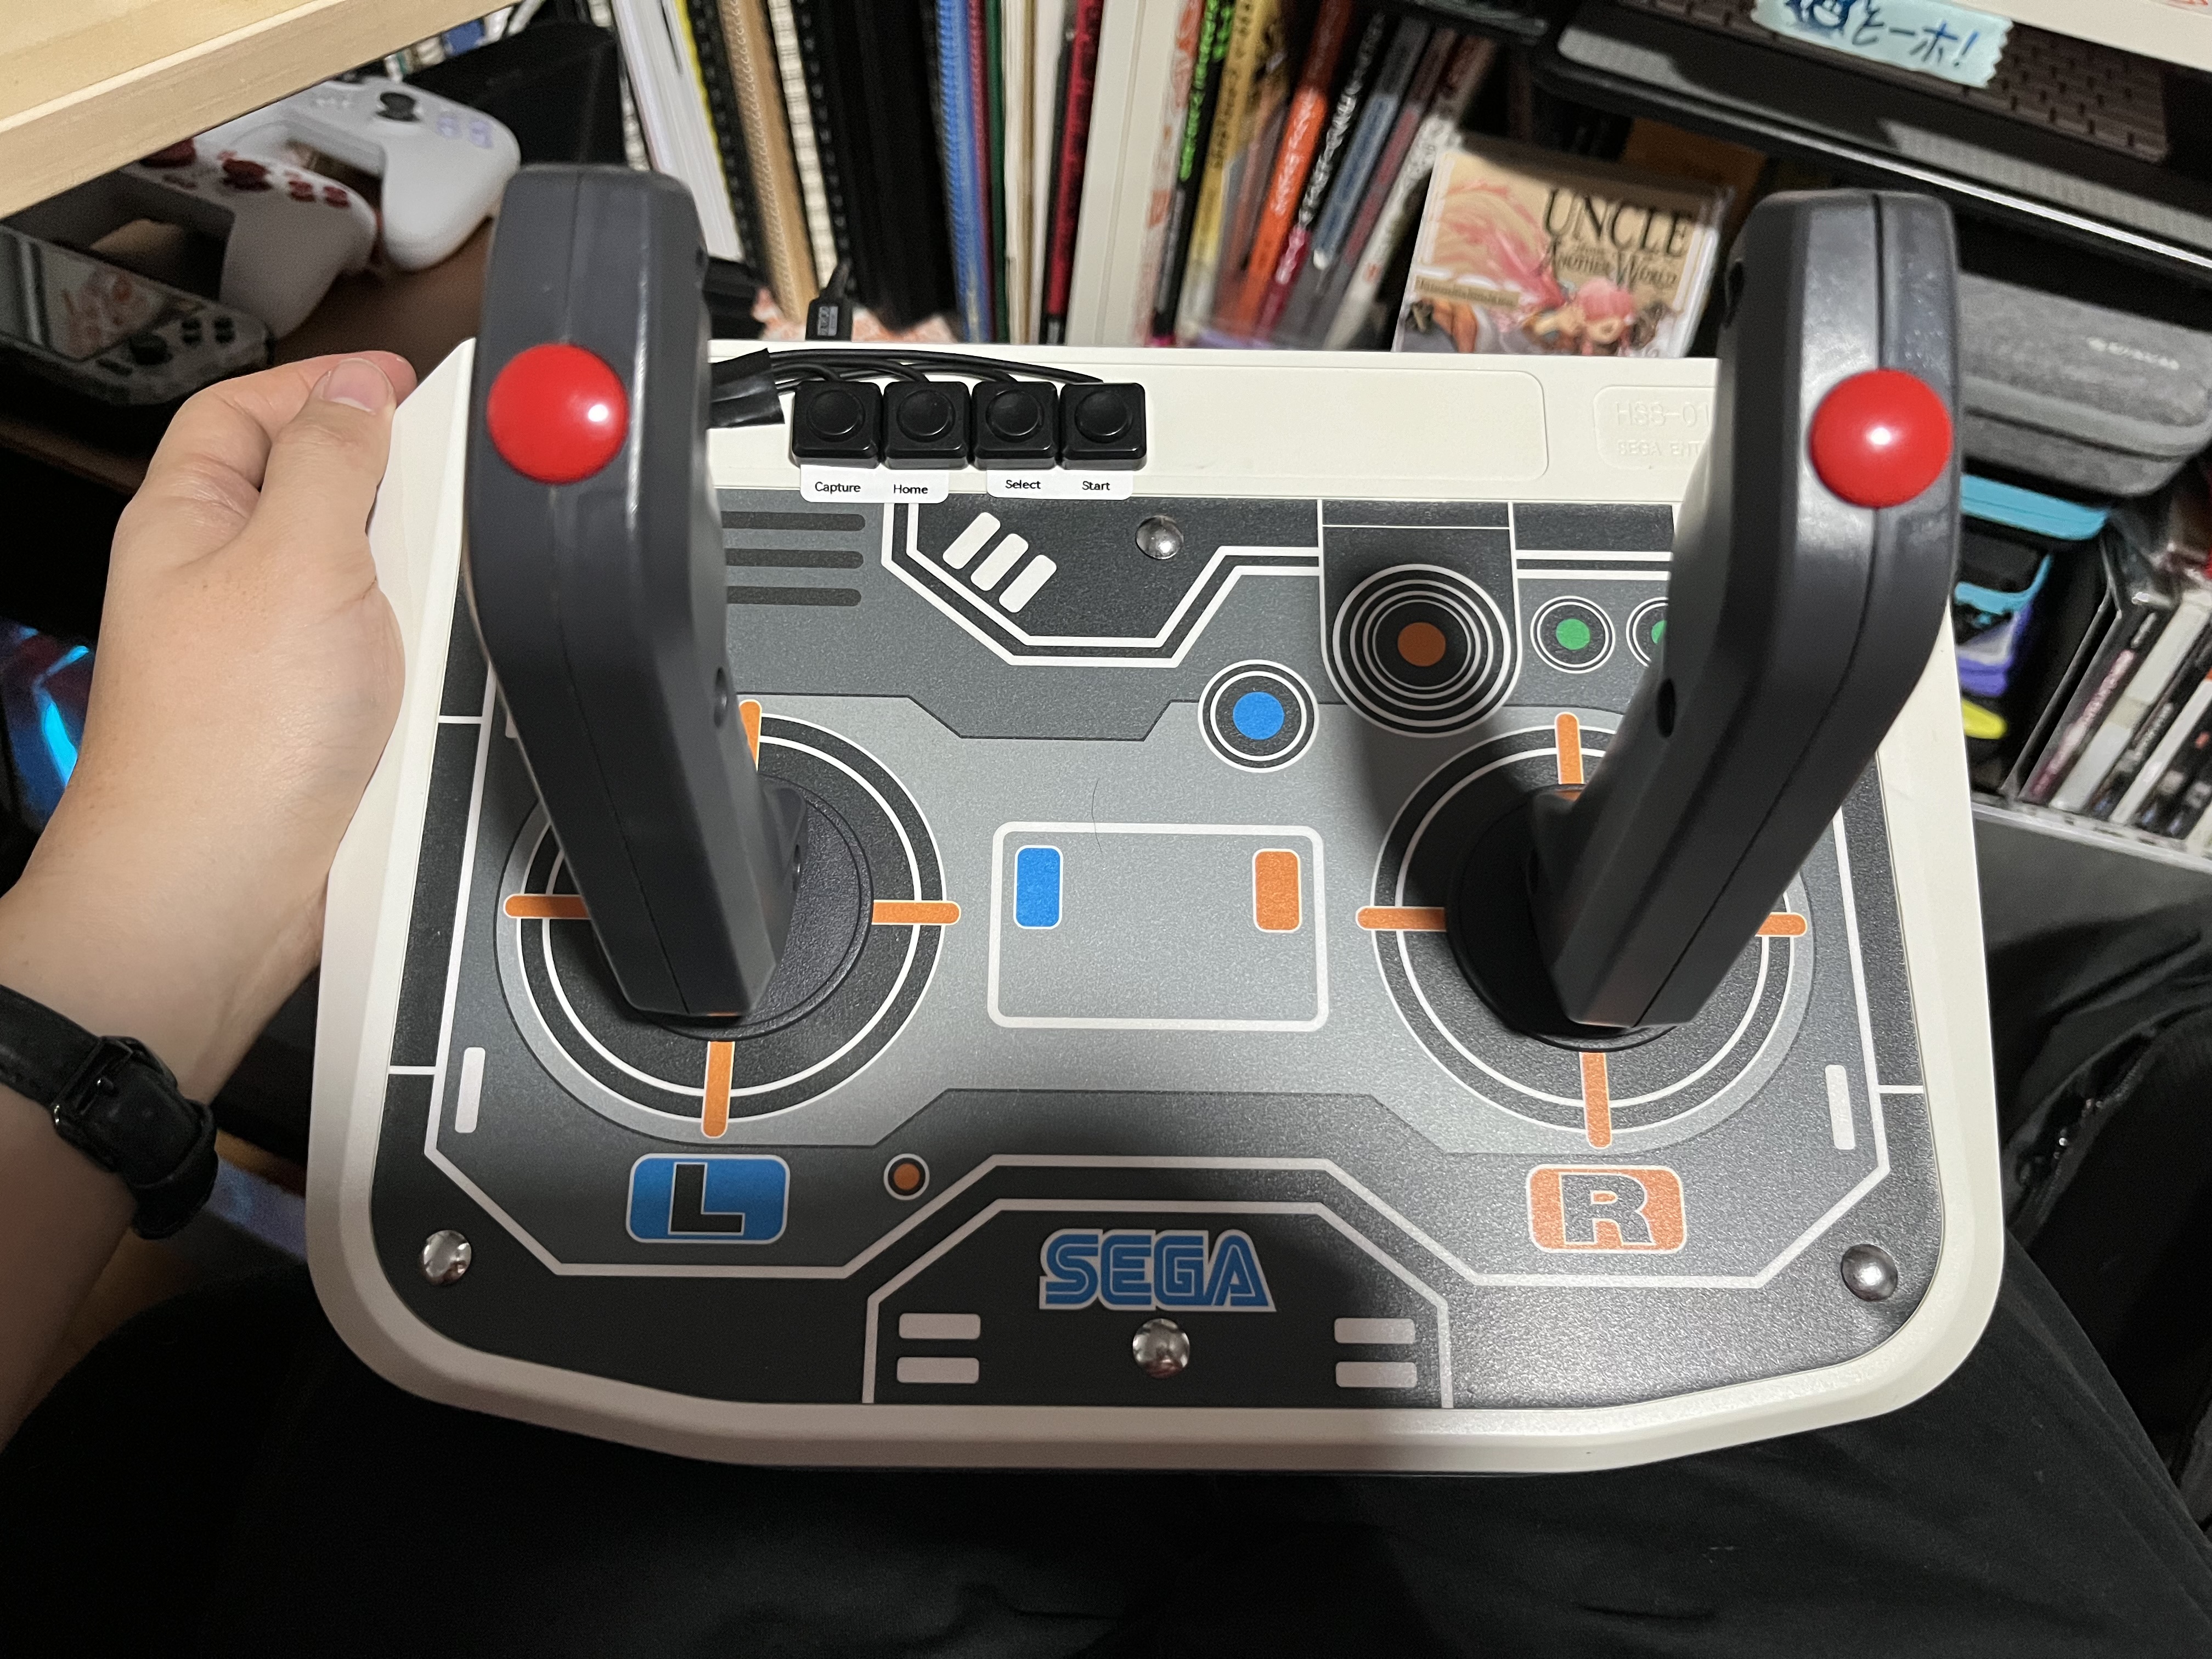
I wanted to make this a non destructive mod so I could play it on Saturn again if I put the old pcb back in. I had to remove the start button though because it’s just a membrane that presses directly to a pcb, so I couldn’t use that on a new pcb. But I figured I could be clever and use that hole to wire out some small buttons that attach to the front to work as Home/Capture/Start/Select buttons.

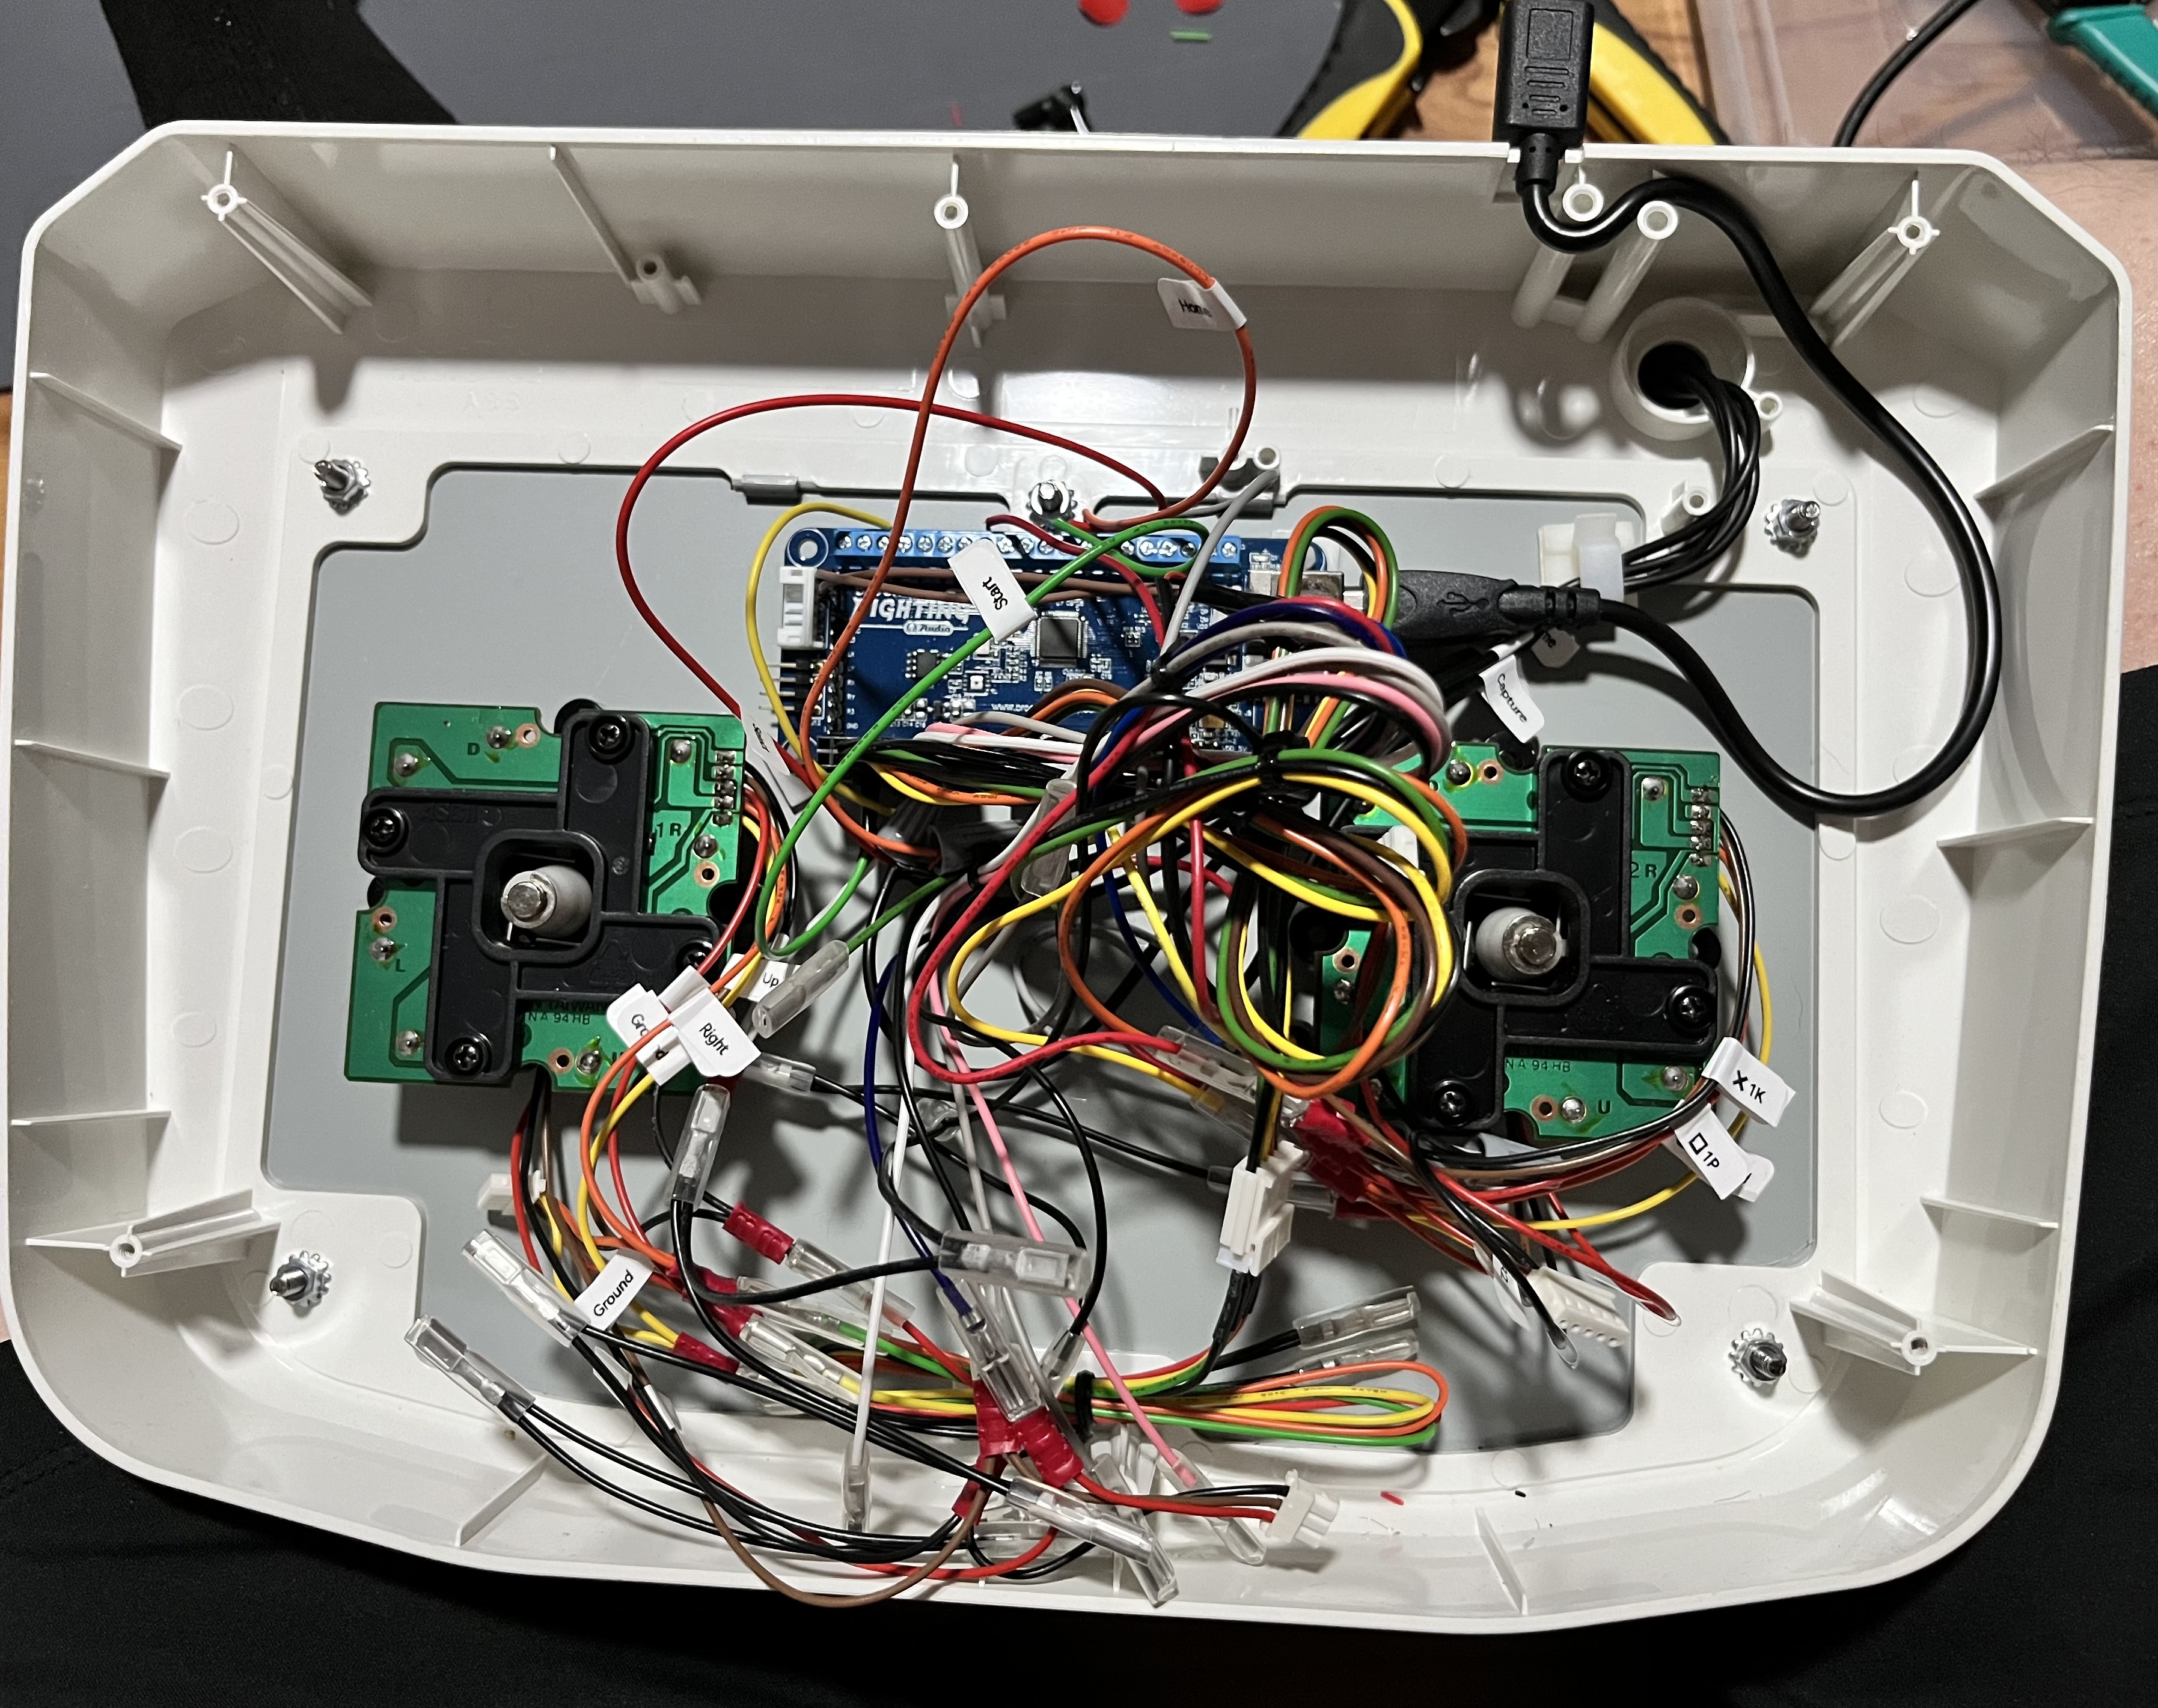
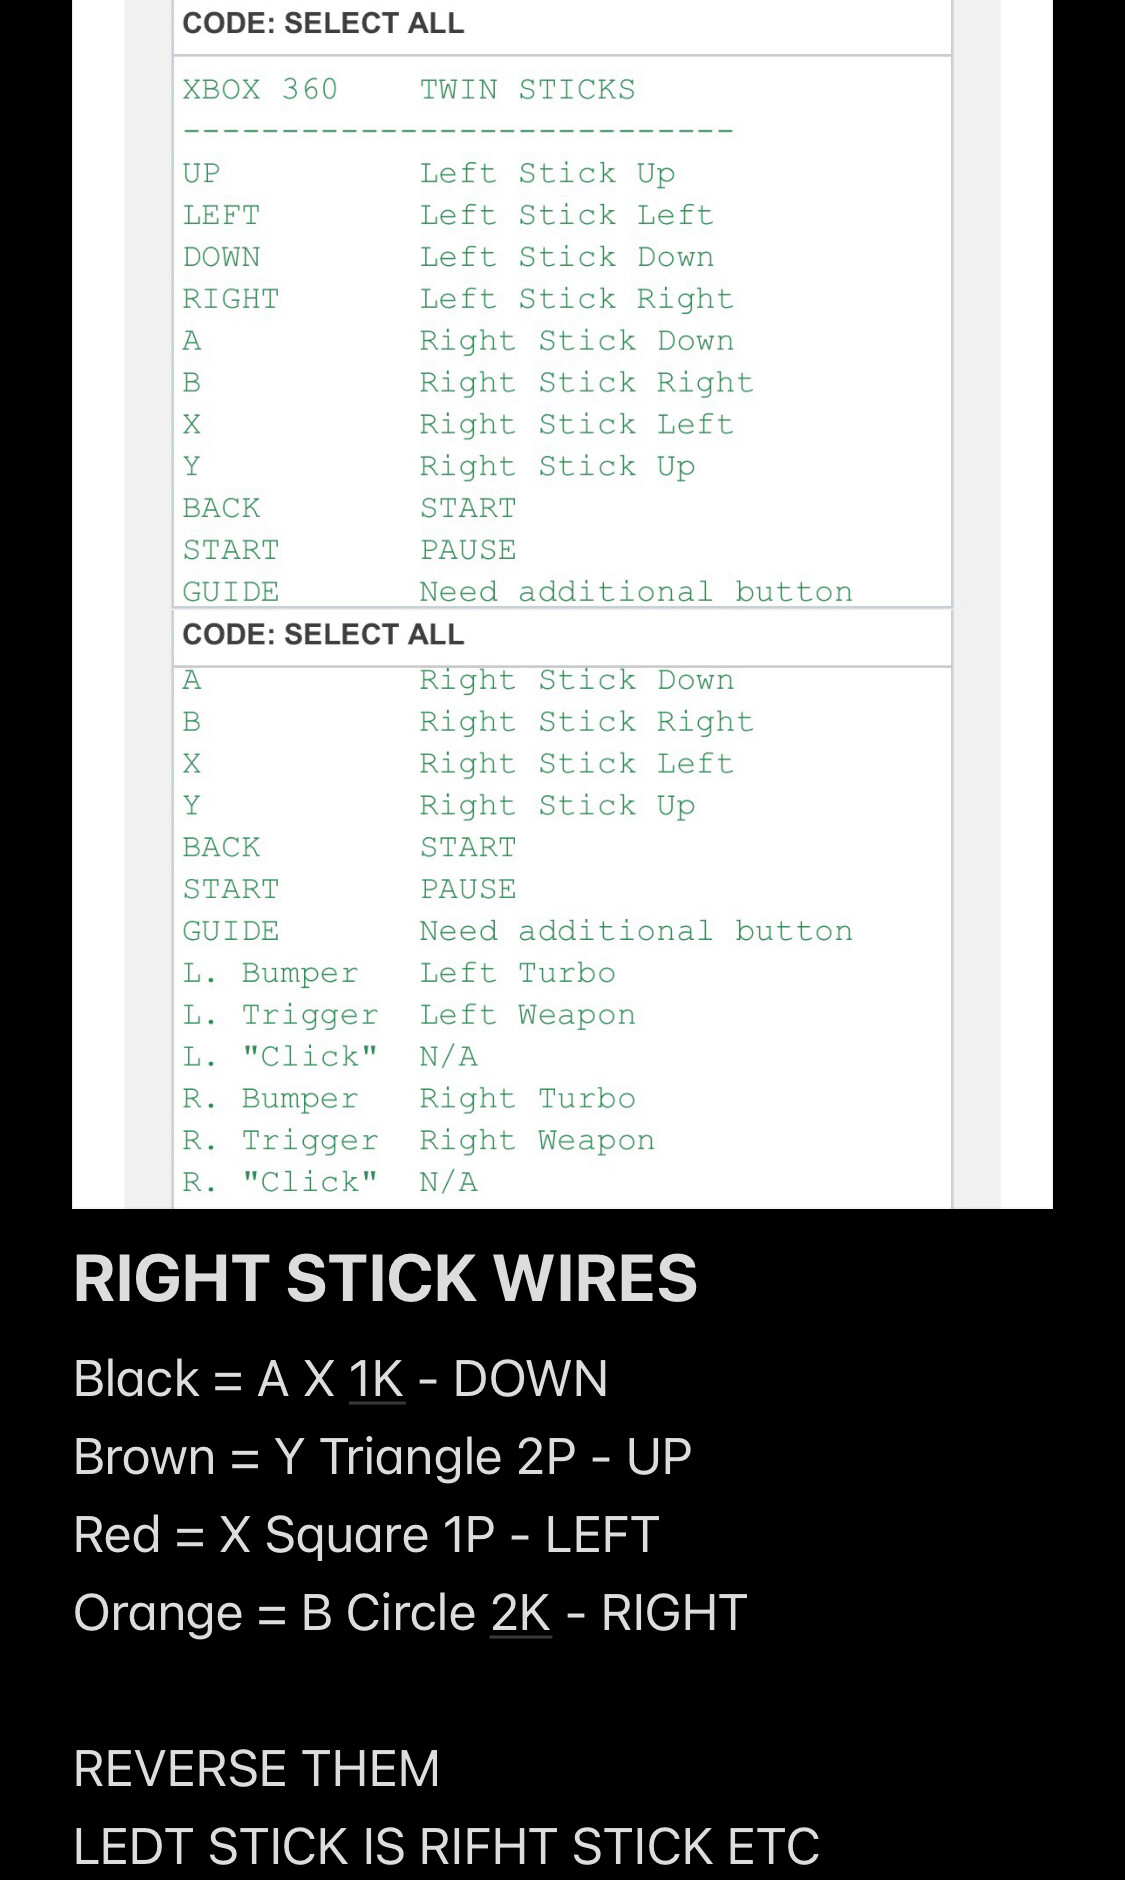
Anyway, I spliced the wires, hooked them up to the wiring harness and bingo, it worked! This was my second stick build but it only took 3 hours and worked exactly as I expected on the first try, so I’m super proud of myself. EXCEPT I’m dumb and accidentally wired the sticks backwards so the left stick is the right and vice versa. I wasn’t thinking about it because I was looking at it upside down, oops.


A look at my awful mess inside. I didn’t bother making it look nice because I didn’t know if it would work right, so I was surprised it did on the first try.


Here’s how the twin sticks look with the small option buttons at the top.

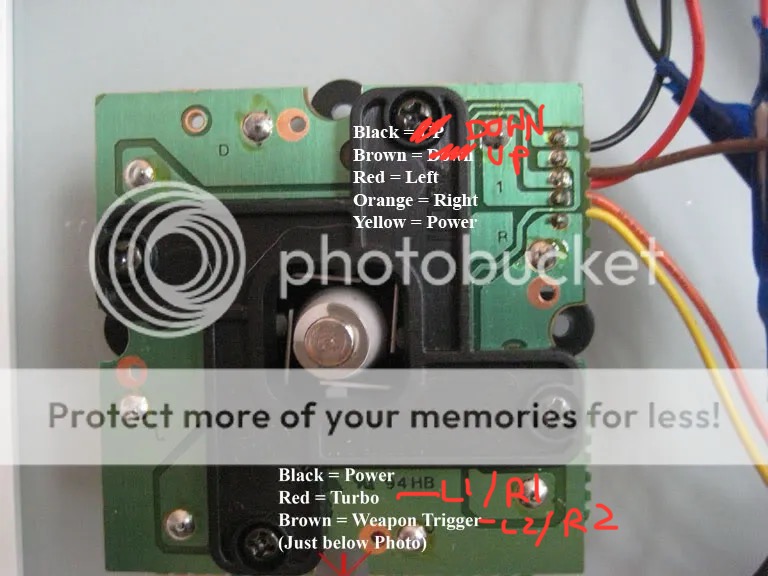
For any future modders looking for info on how to do this yourself, I leave you my wisdom (that I learned from the oratan forums lol) aka my notes:


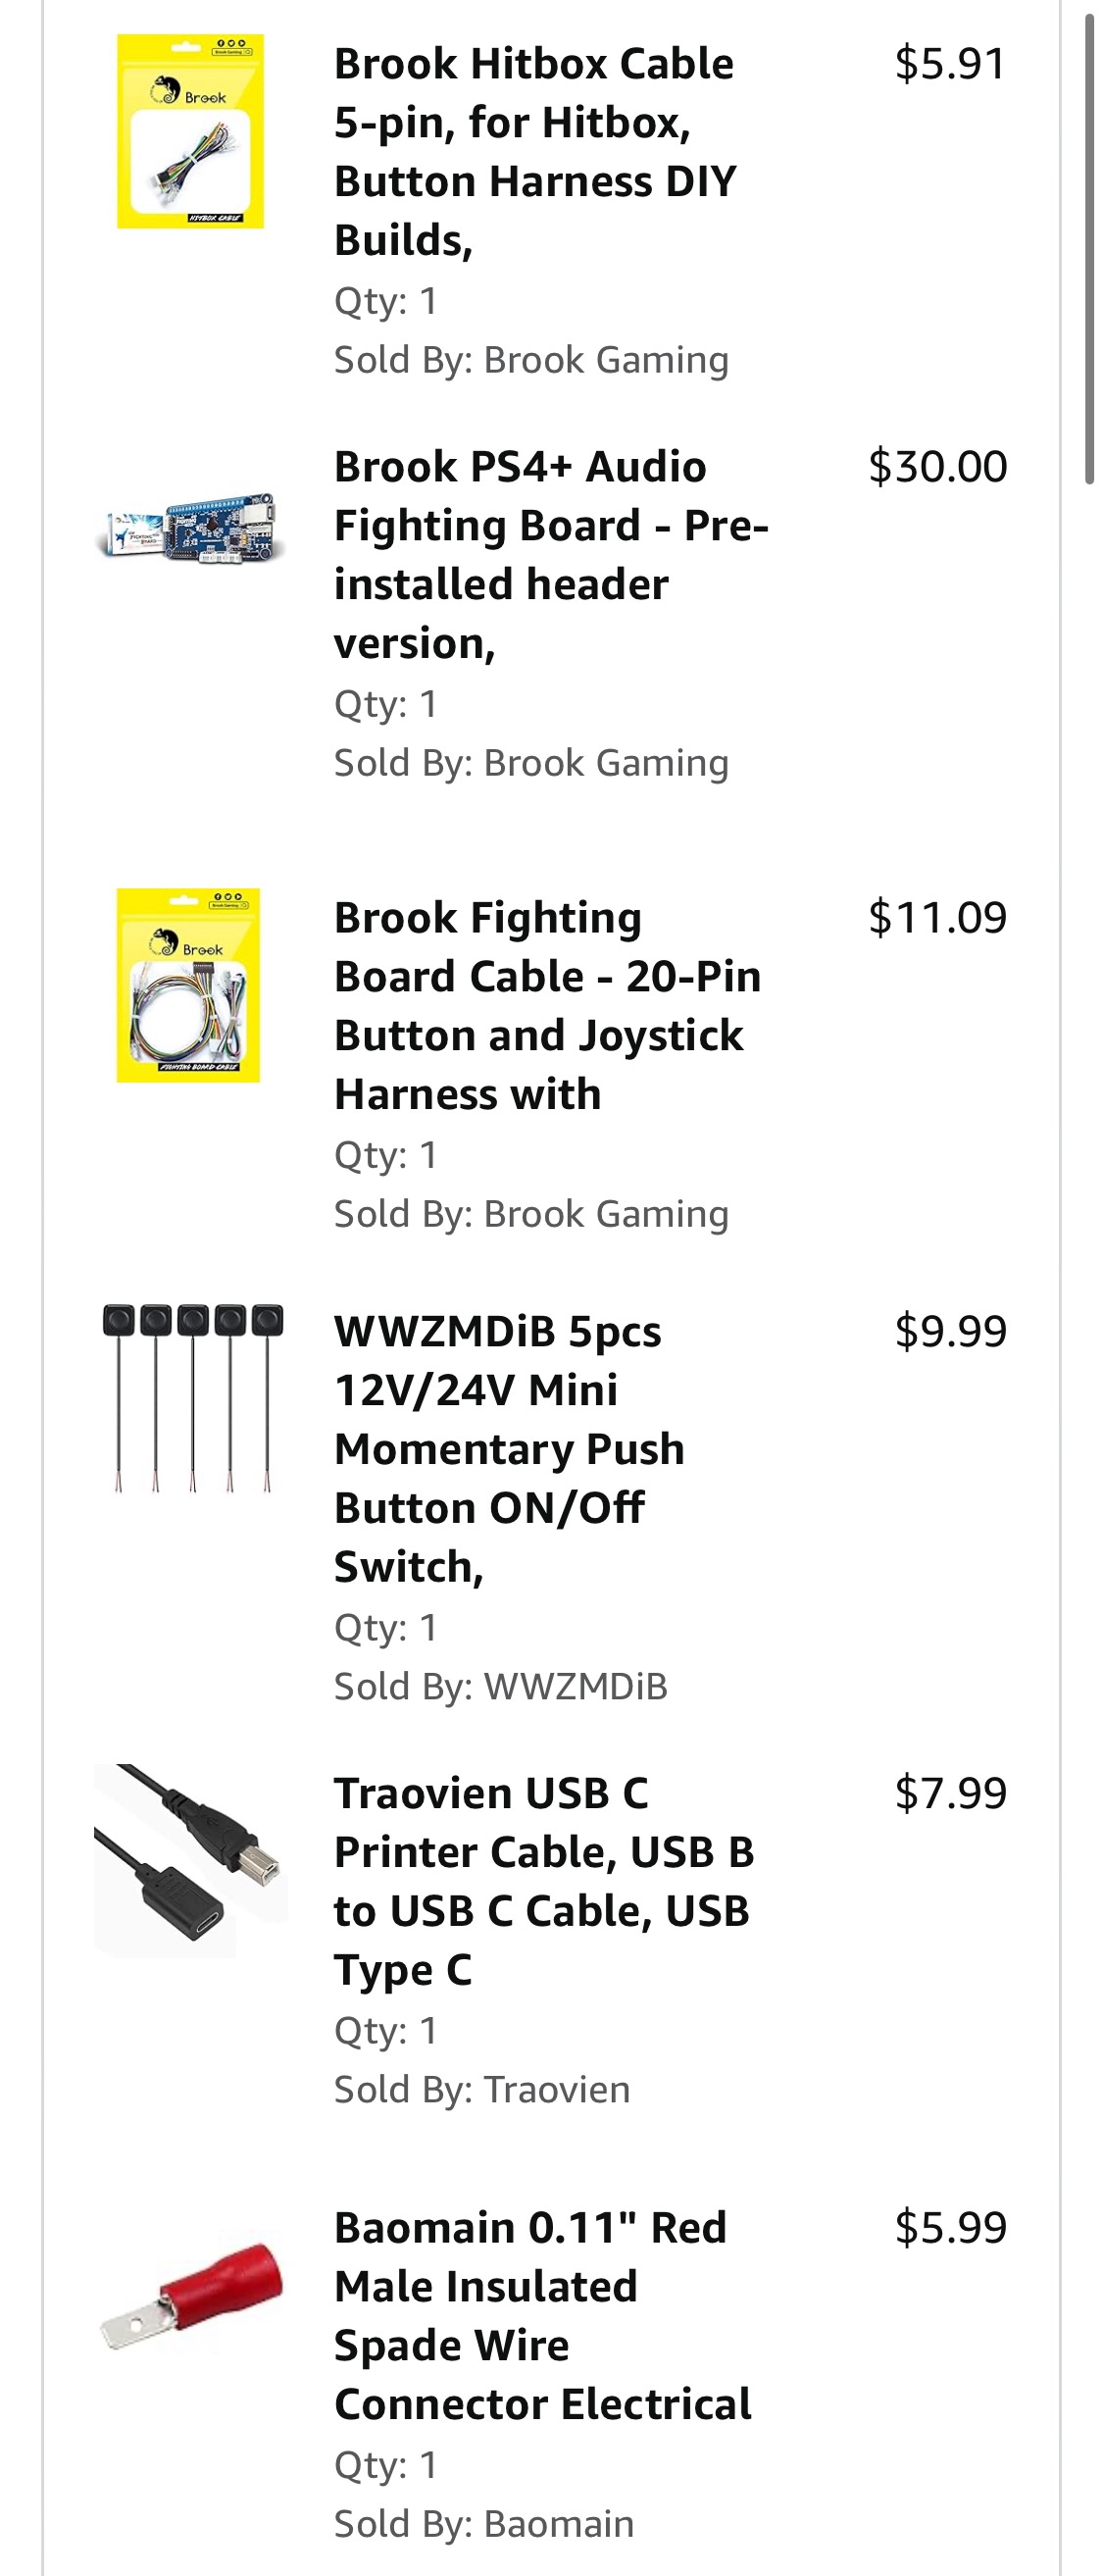
Here’s a list of materials I used.

If you just directly screw the cables to the board headers, you don’t need the wiring harnesses or spade connectors but I wanted to be lazy (though in exchange I had to crimp 16 wires but hey it makes it easier to fix later).

Anyway, this whole process is way cheaper than that Tanita PS4 stick (god I wish I had it), and I would recommend this mod if you too want to play VO Masterpiece collection with twin sticks and have even a little fight stick modding knowledge.

17 Likes

If you don’t already know the fan translation of Bulk Slash made it compatible with those as well. Worth it!

5 Likes

Oh shoot, I should’ve played that before modding them!

Oh well, I can always play on emulator lol

2 Likes

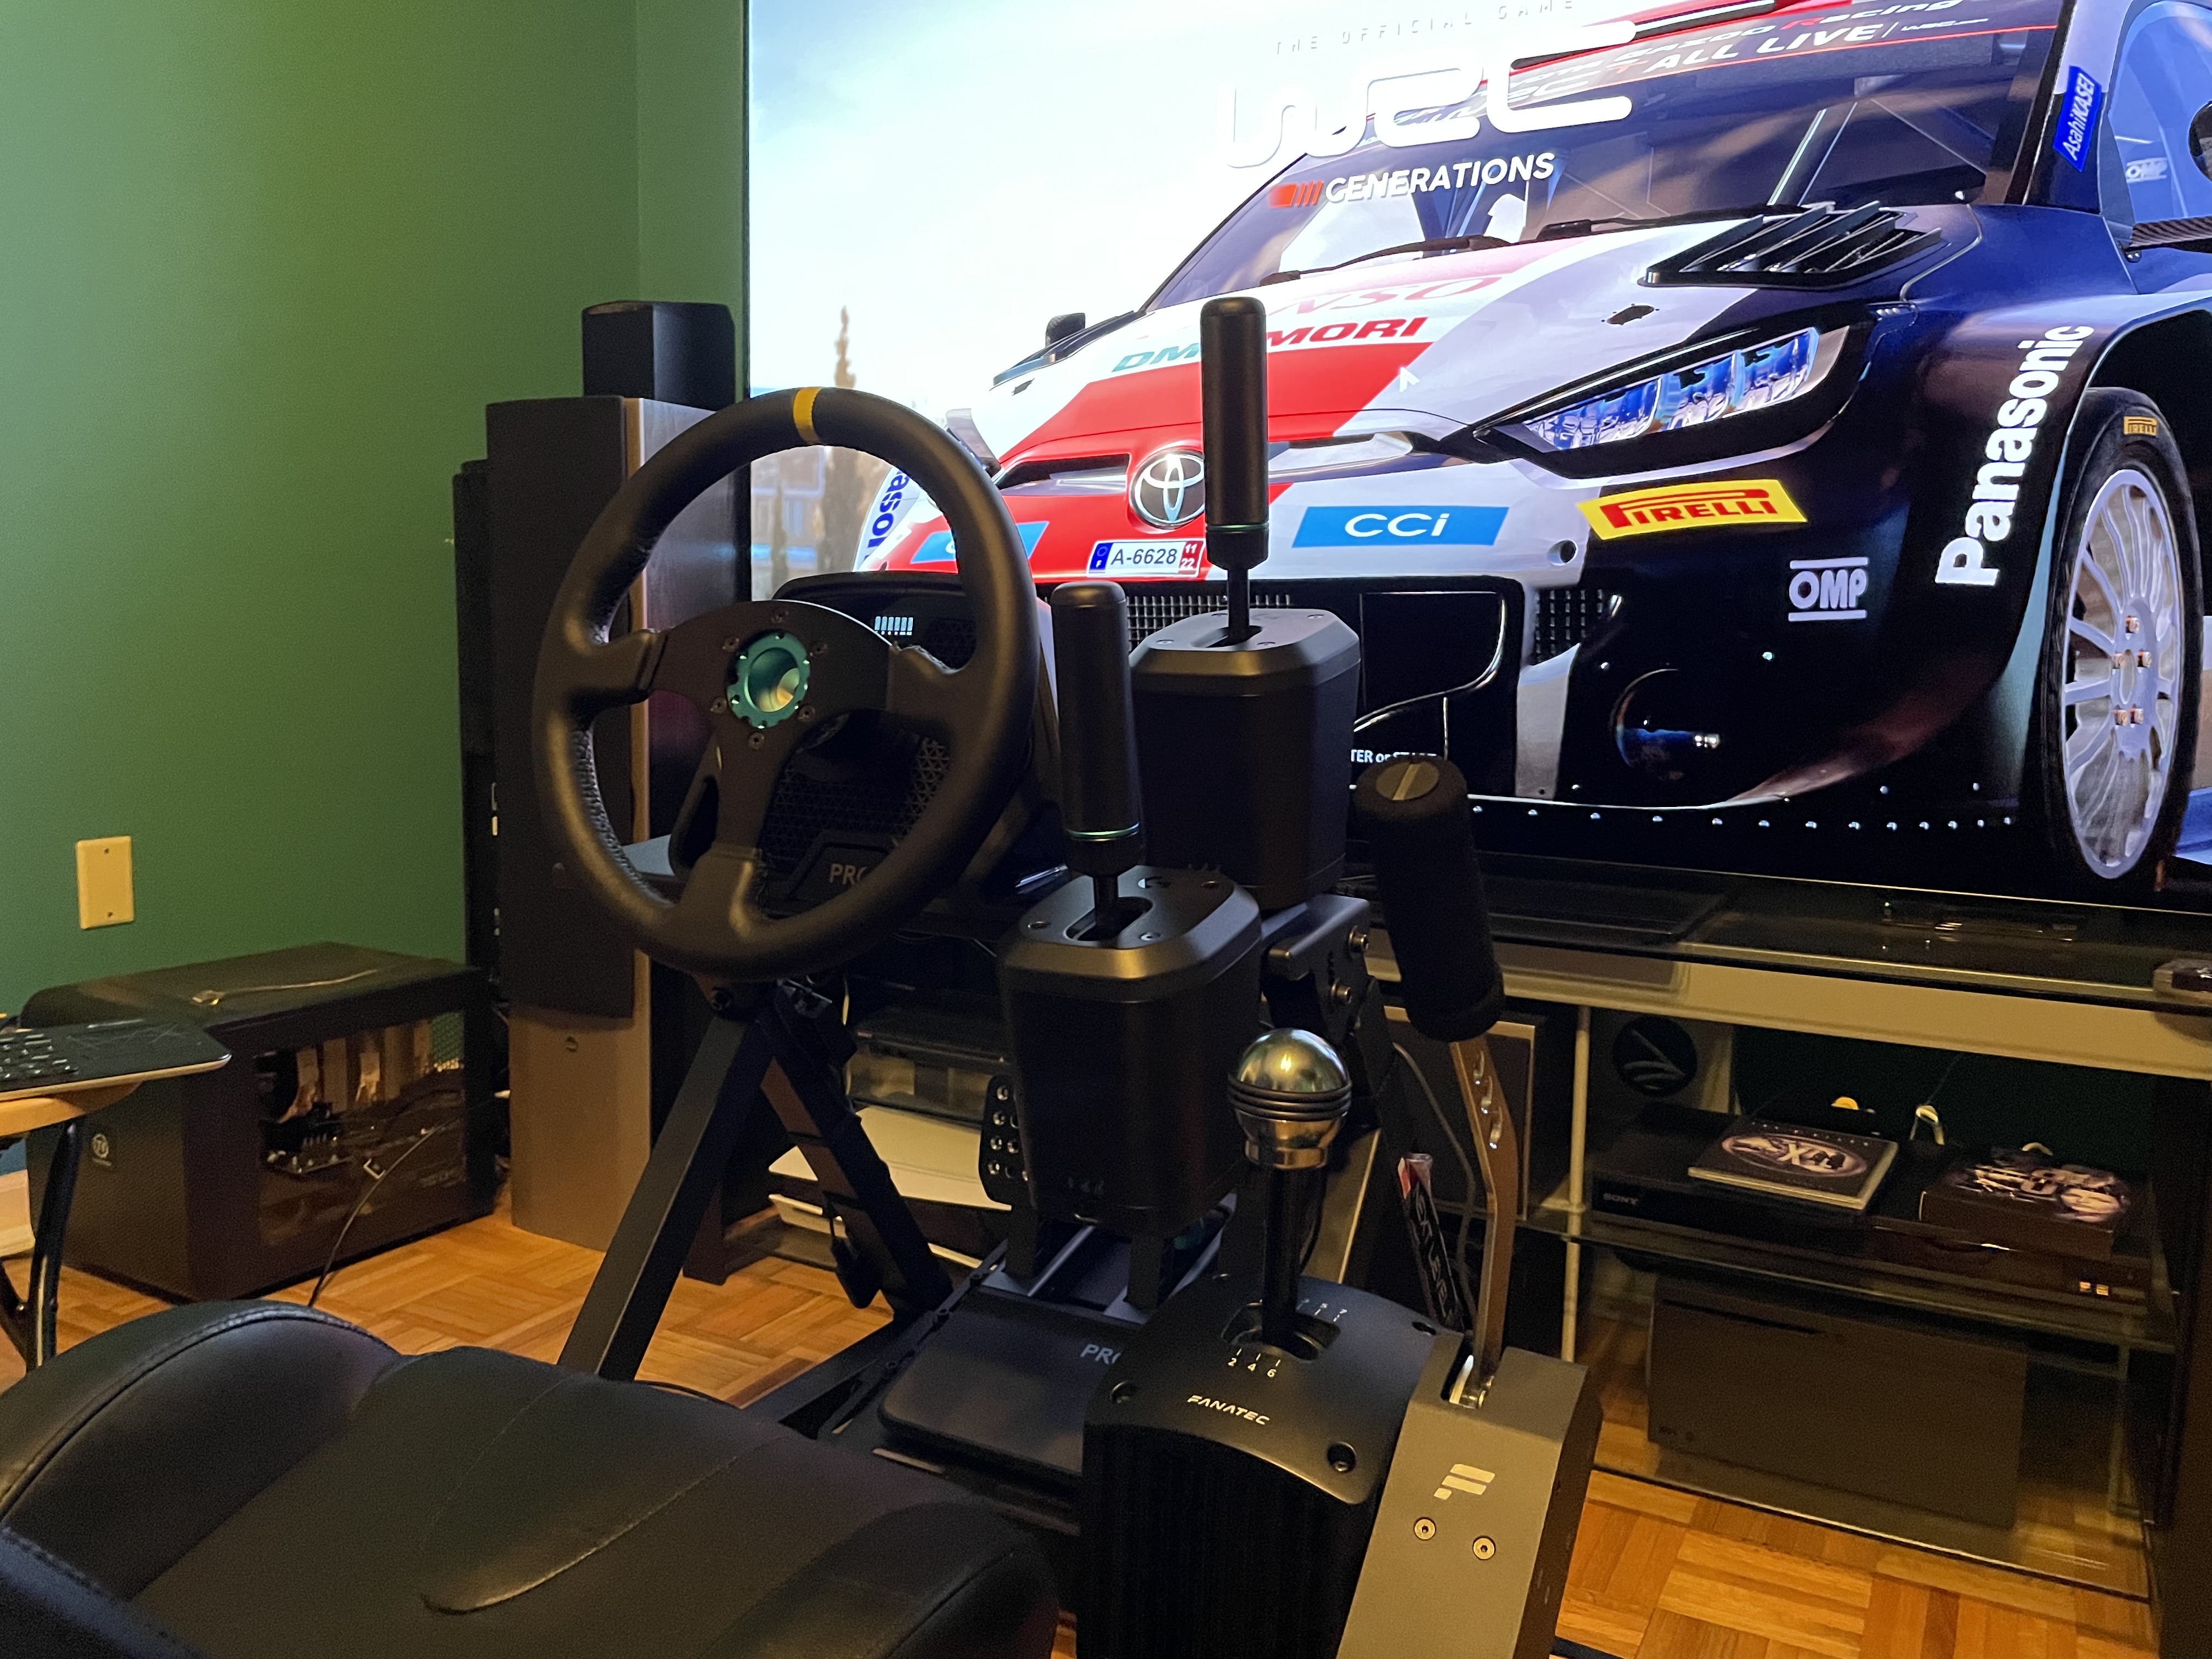
My rallying is vastly improved with shifter placement so close to the wheel. The new Logitech RS shifter/handbrake is very simple but hefty and has a nice clunky feel on shifts.

13 Likes

Neat!
why 2 sequential?

2 Likes

The top one is configured as a handbrake. The lower one is sequential shift. There’s a switch you can flip to toggle between the modes and the levers are height-adjustable.

Edit: I had to disconnect the Fanatec shifter/handbrake as my PC was confused about all the inputs coming in and really flipped out while I was driving.

3 Likes